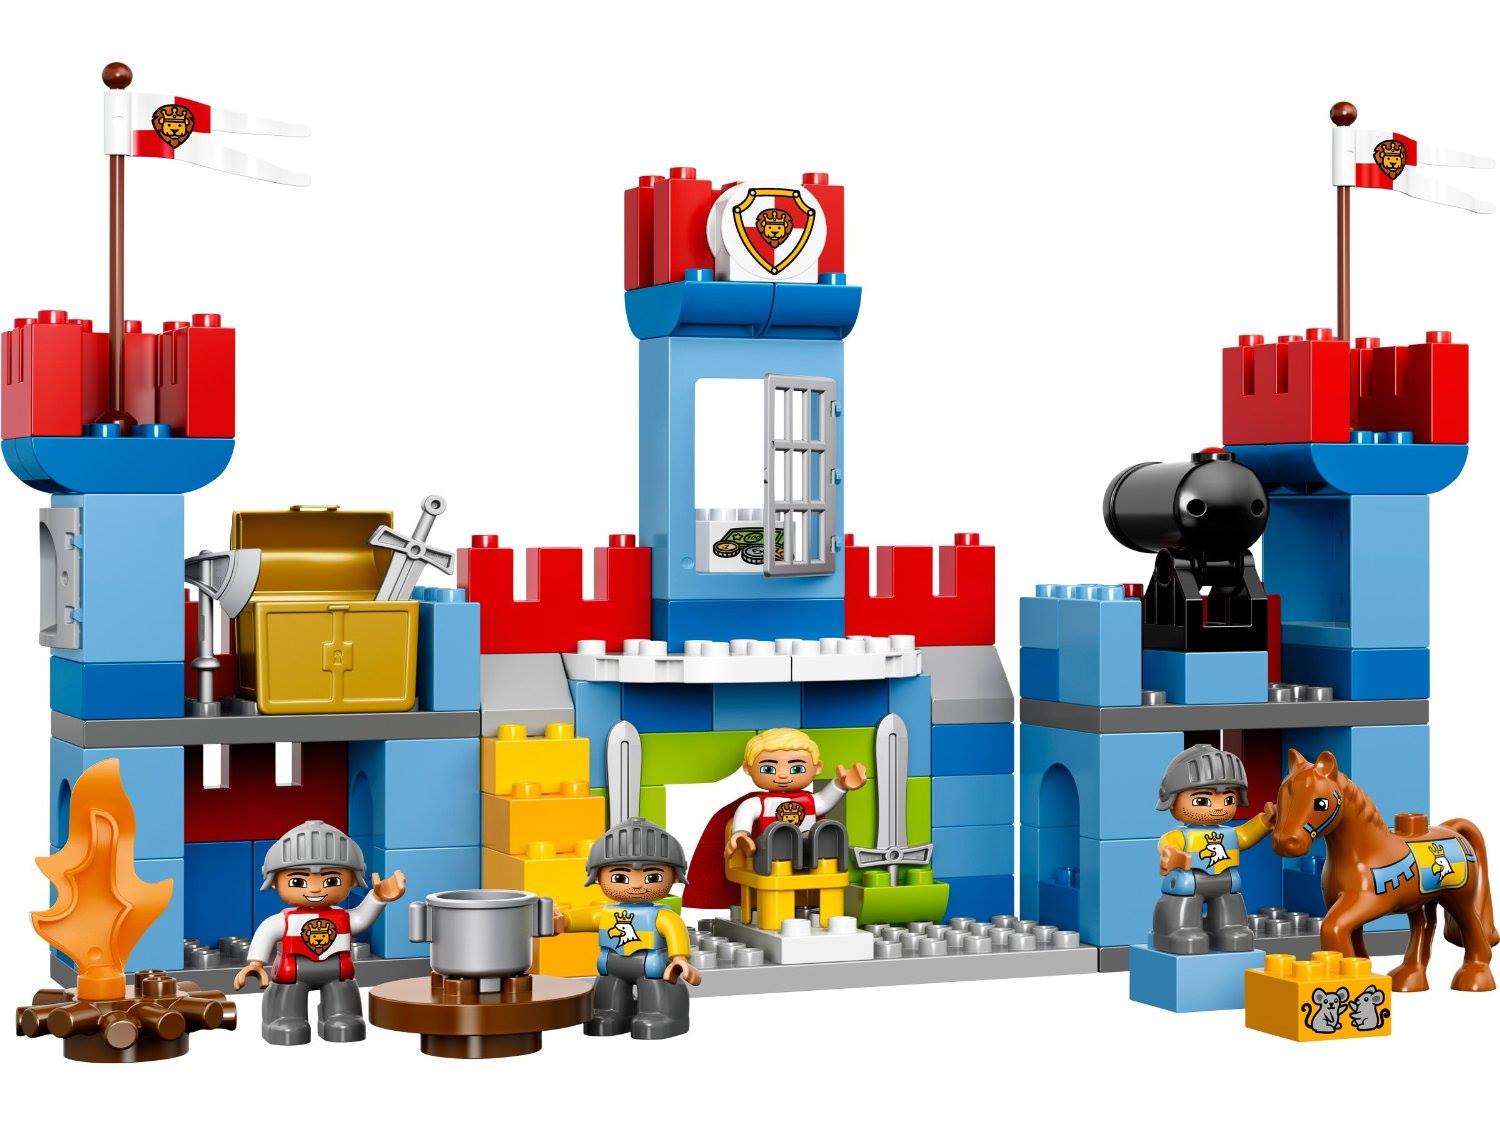
As I’ve discussed in previous posts, our sons love Duplo knights!
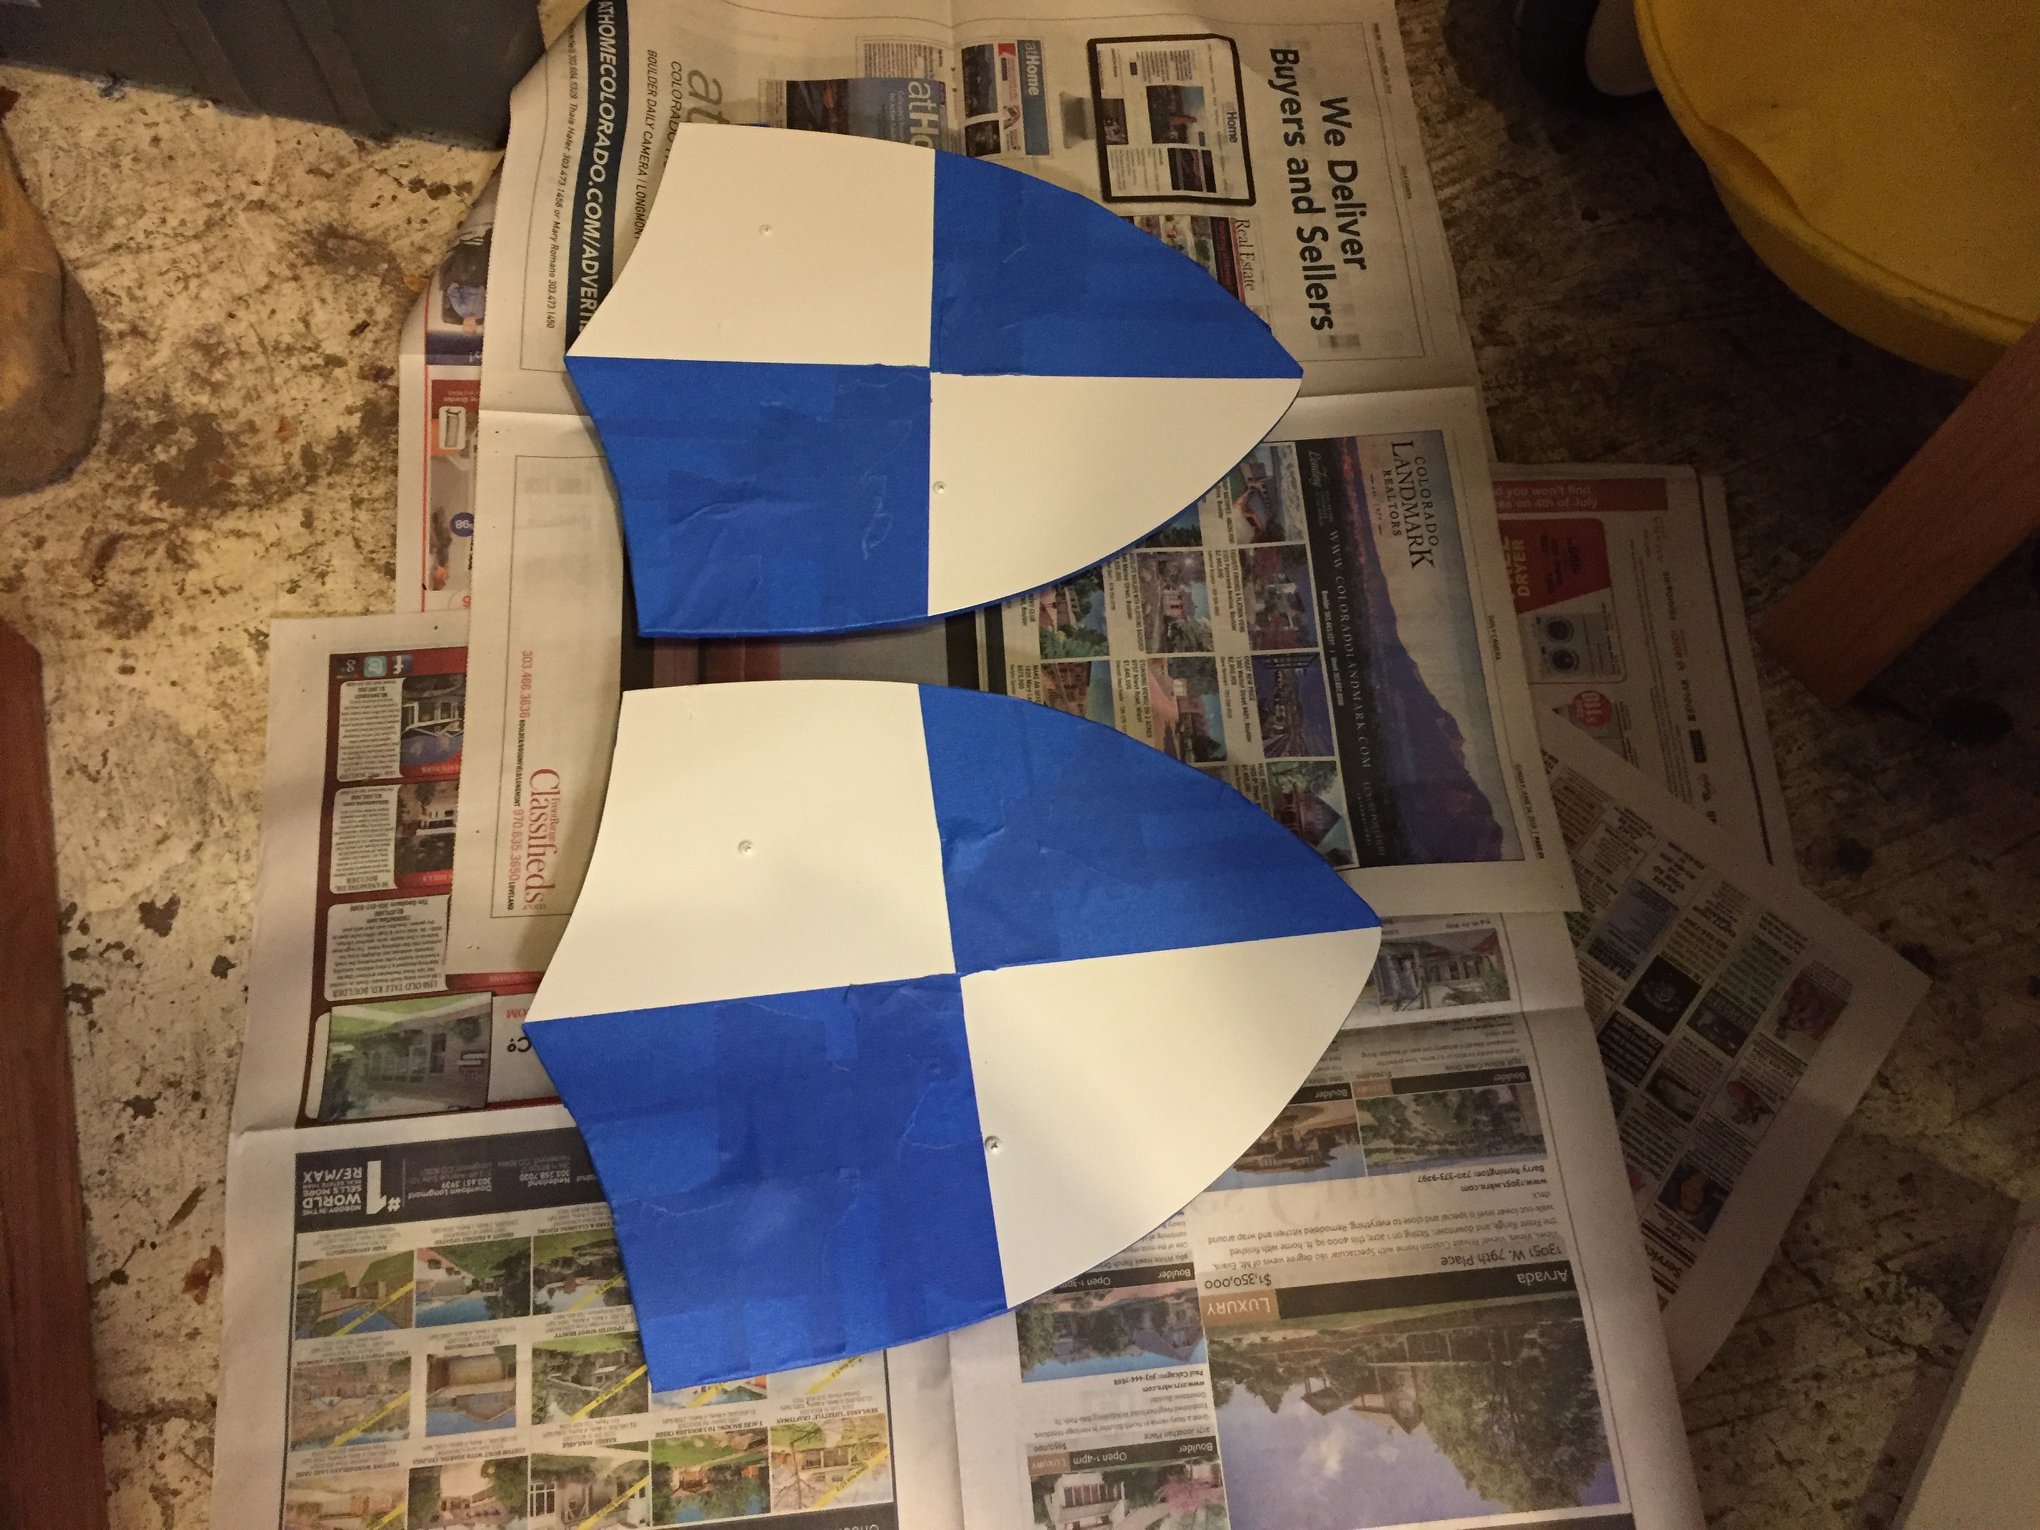
Because we wanted to convert their love for Duplo knights into an outdoor activity, we recently built wooden knight shields for them to play with outside. Below I’ll walk through the process of creating them.
The inspiration for the shields comes from the recent Duplo castle sets that feature lion knight and eagle knight figures.
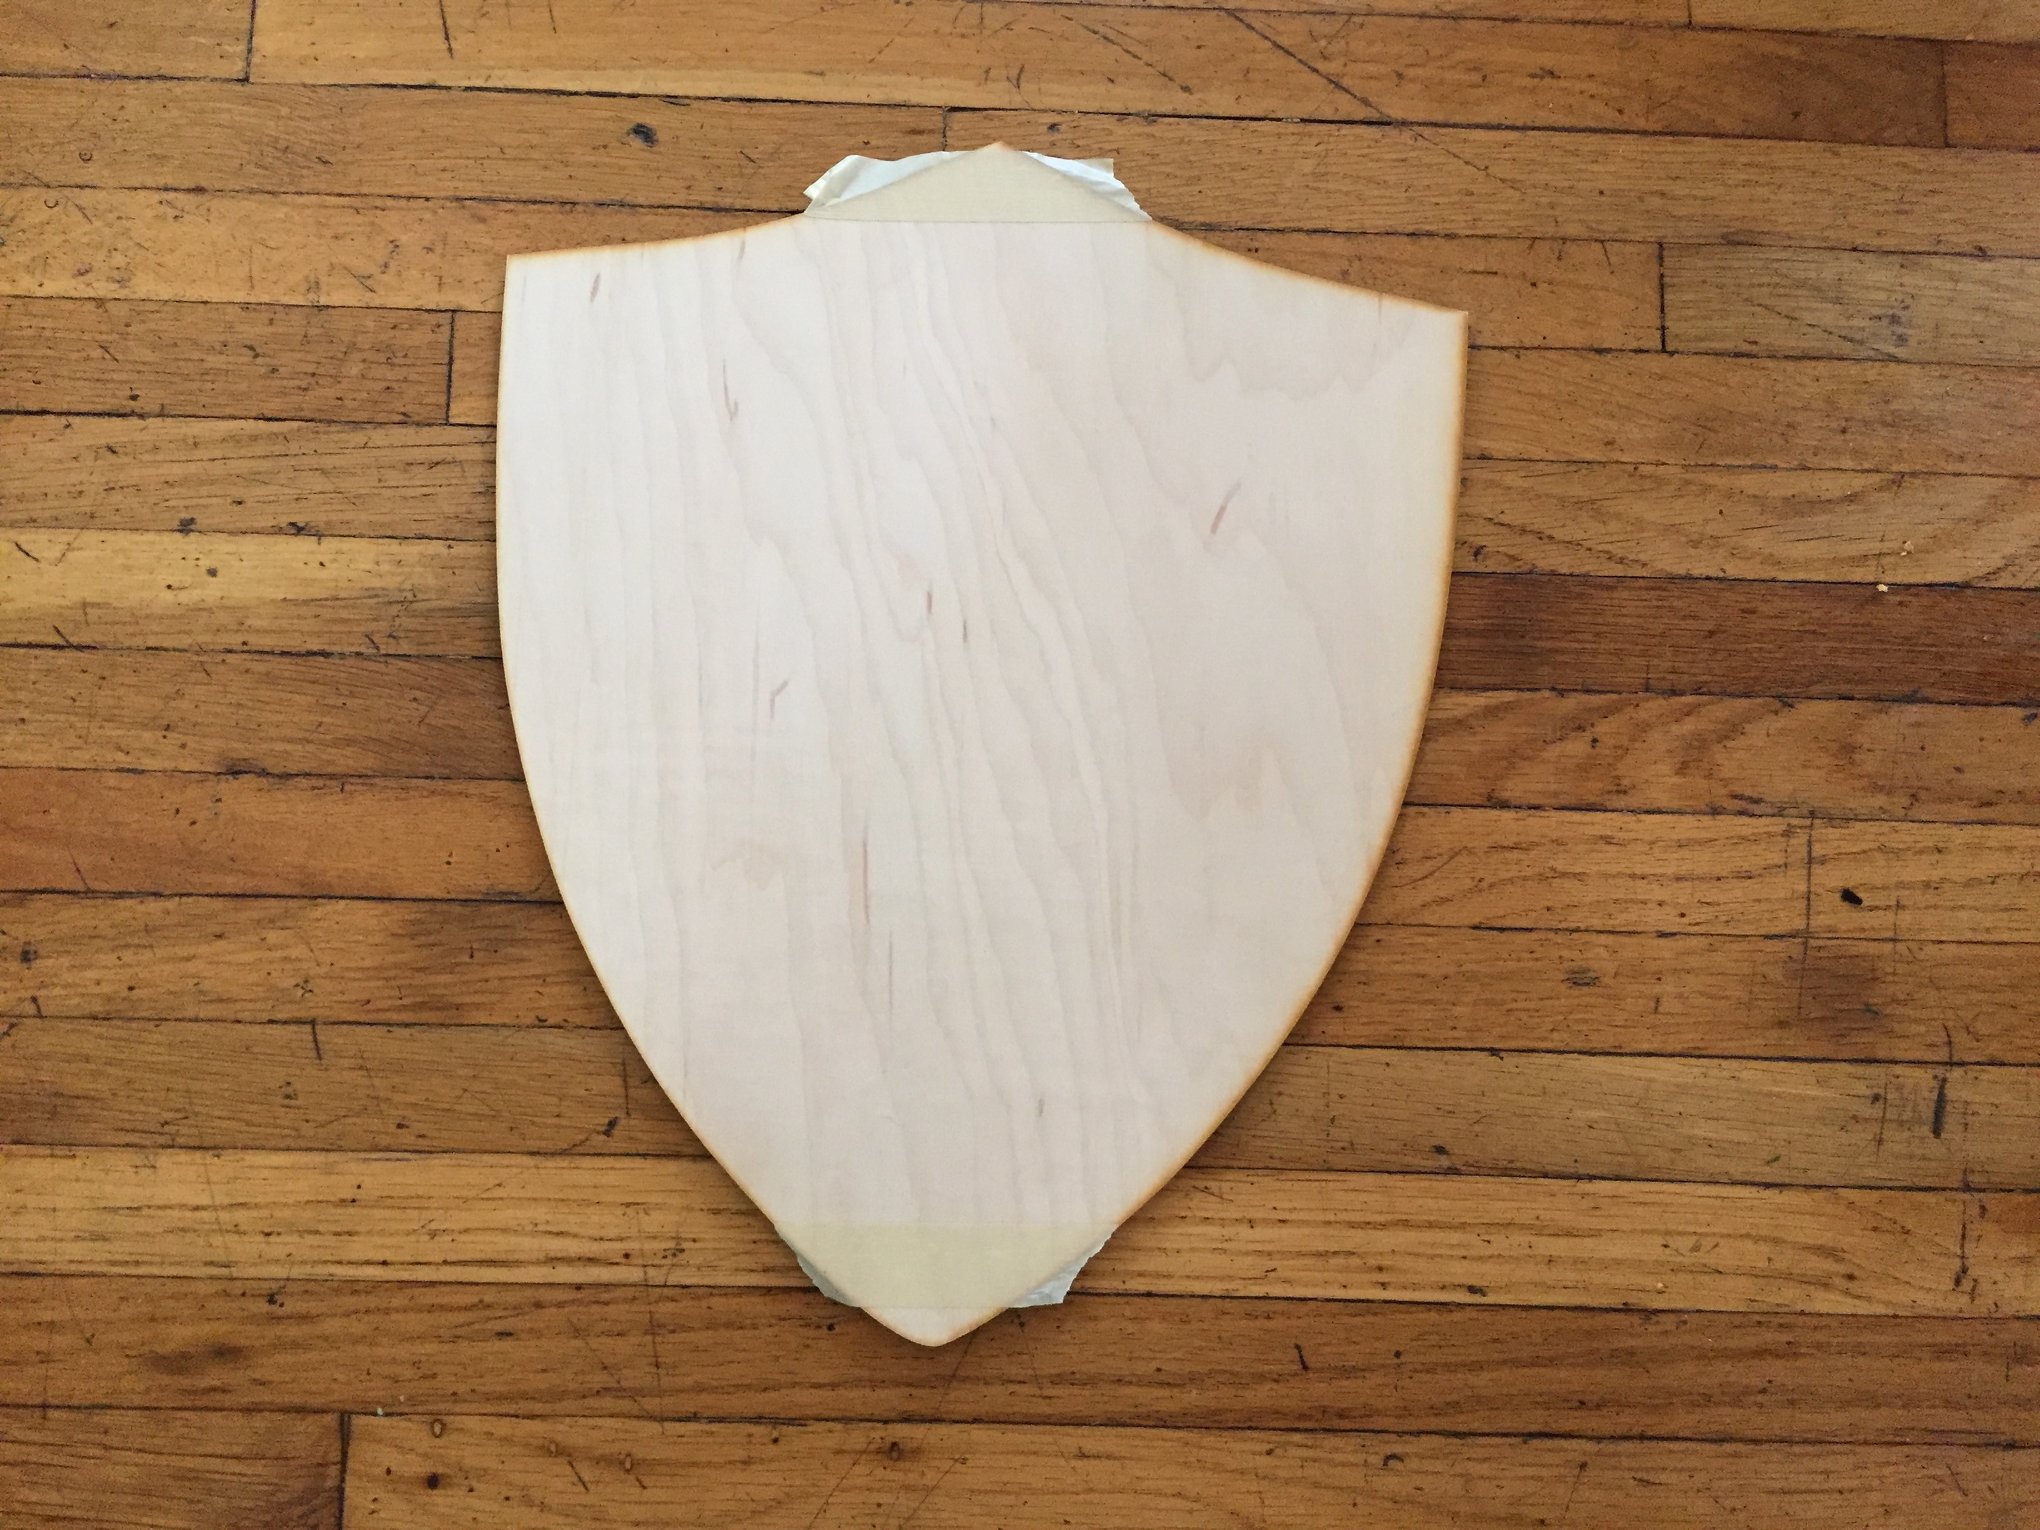
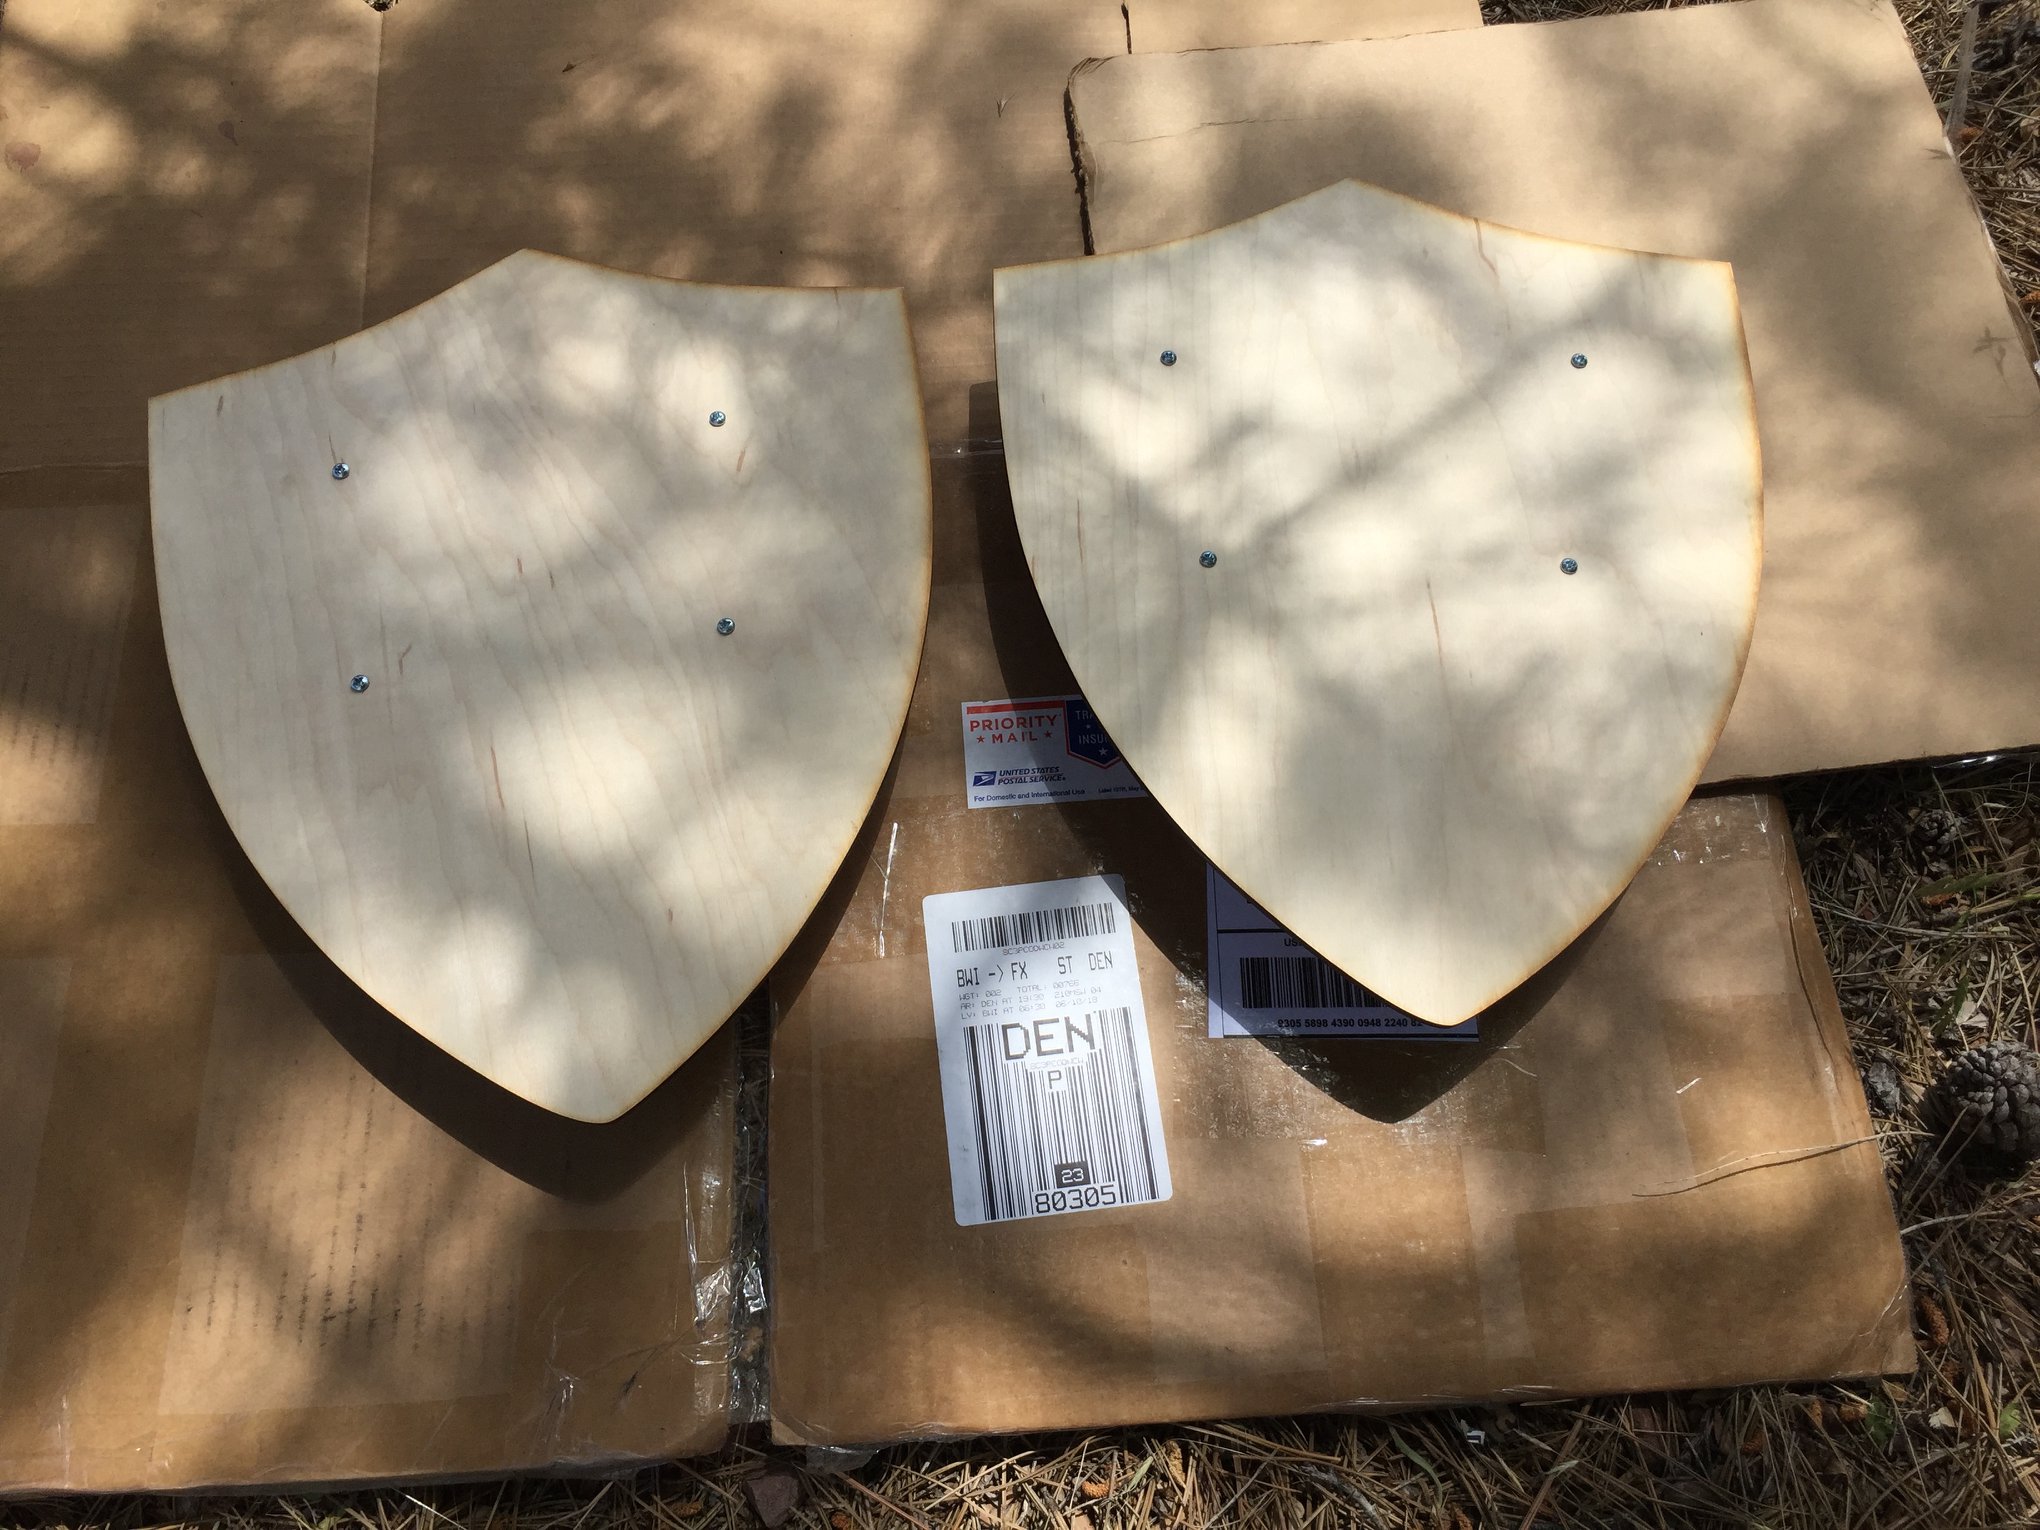
To start the project, I ordered two things online: laser-cut wooden shield shapes and custom lion head stickers. After some internet searching, I found these awesome laser-cut wooden shields on Etsy. Because our kids are still pretty young (2 & 4 yo), I opted for the 15″ shield size. This size has worked out well and was the right choice! I also elected to get 1/4″ thickness so that the shields are plenty strong and can withstand a toddler’s beating.
The other custom element needed was the lion head sticker. I took a picture of the lion knight head and traced it in Adobe Illustrator. Then, I uploaded the traced artwork to an online sticker company and had them print two largish durable die-cut stickers.
Here are the artwork files in case someone else is interested in the Duplo lion or eagle knights:

Source file: eagle-logo.ai

Source file: lion-logo.ai
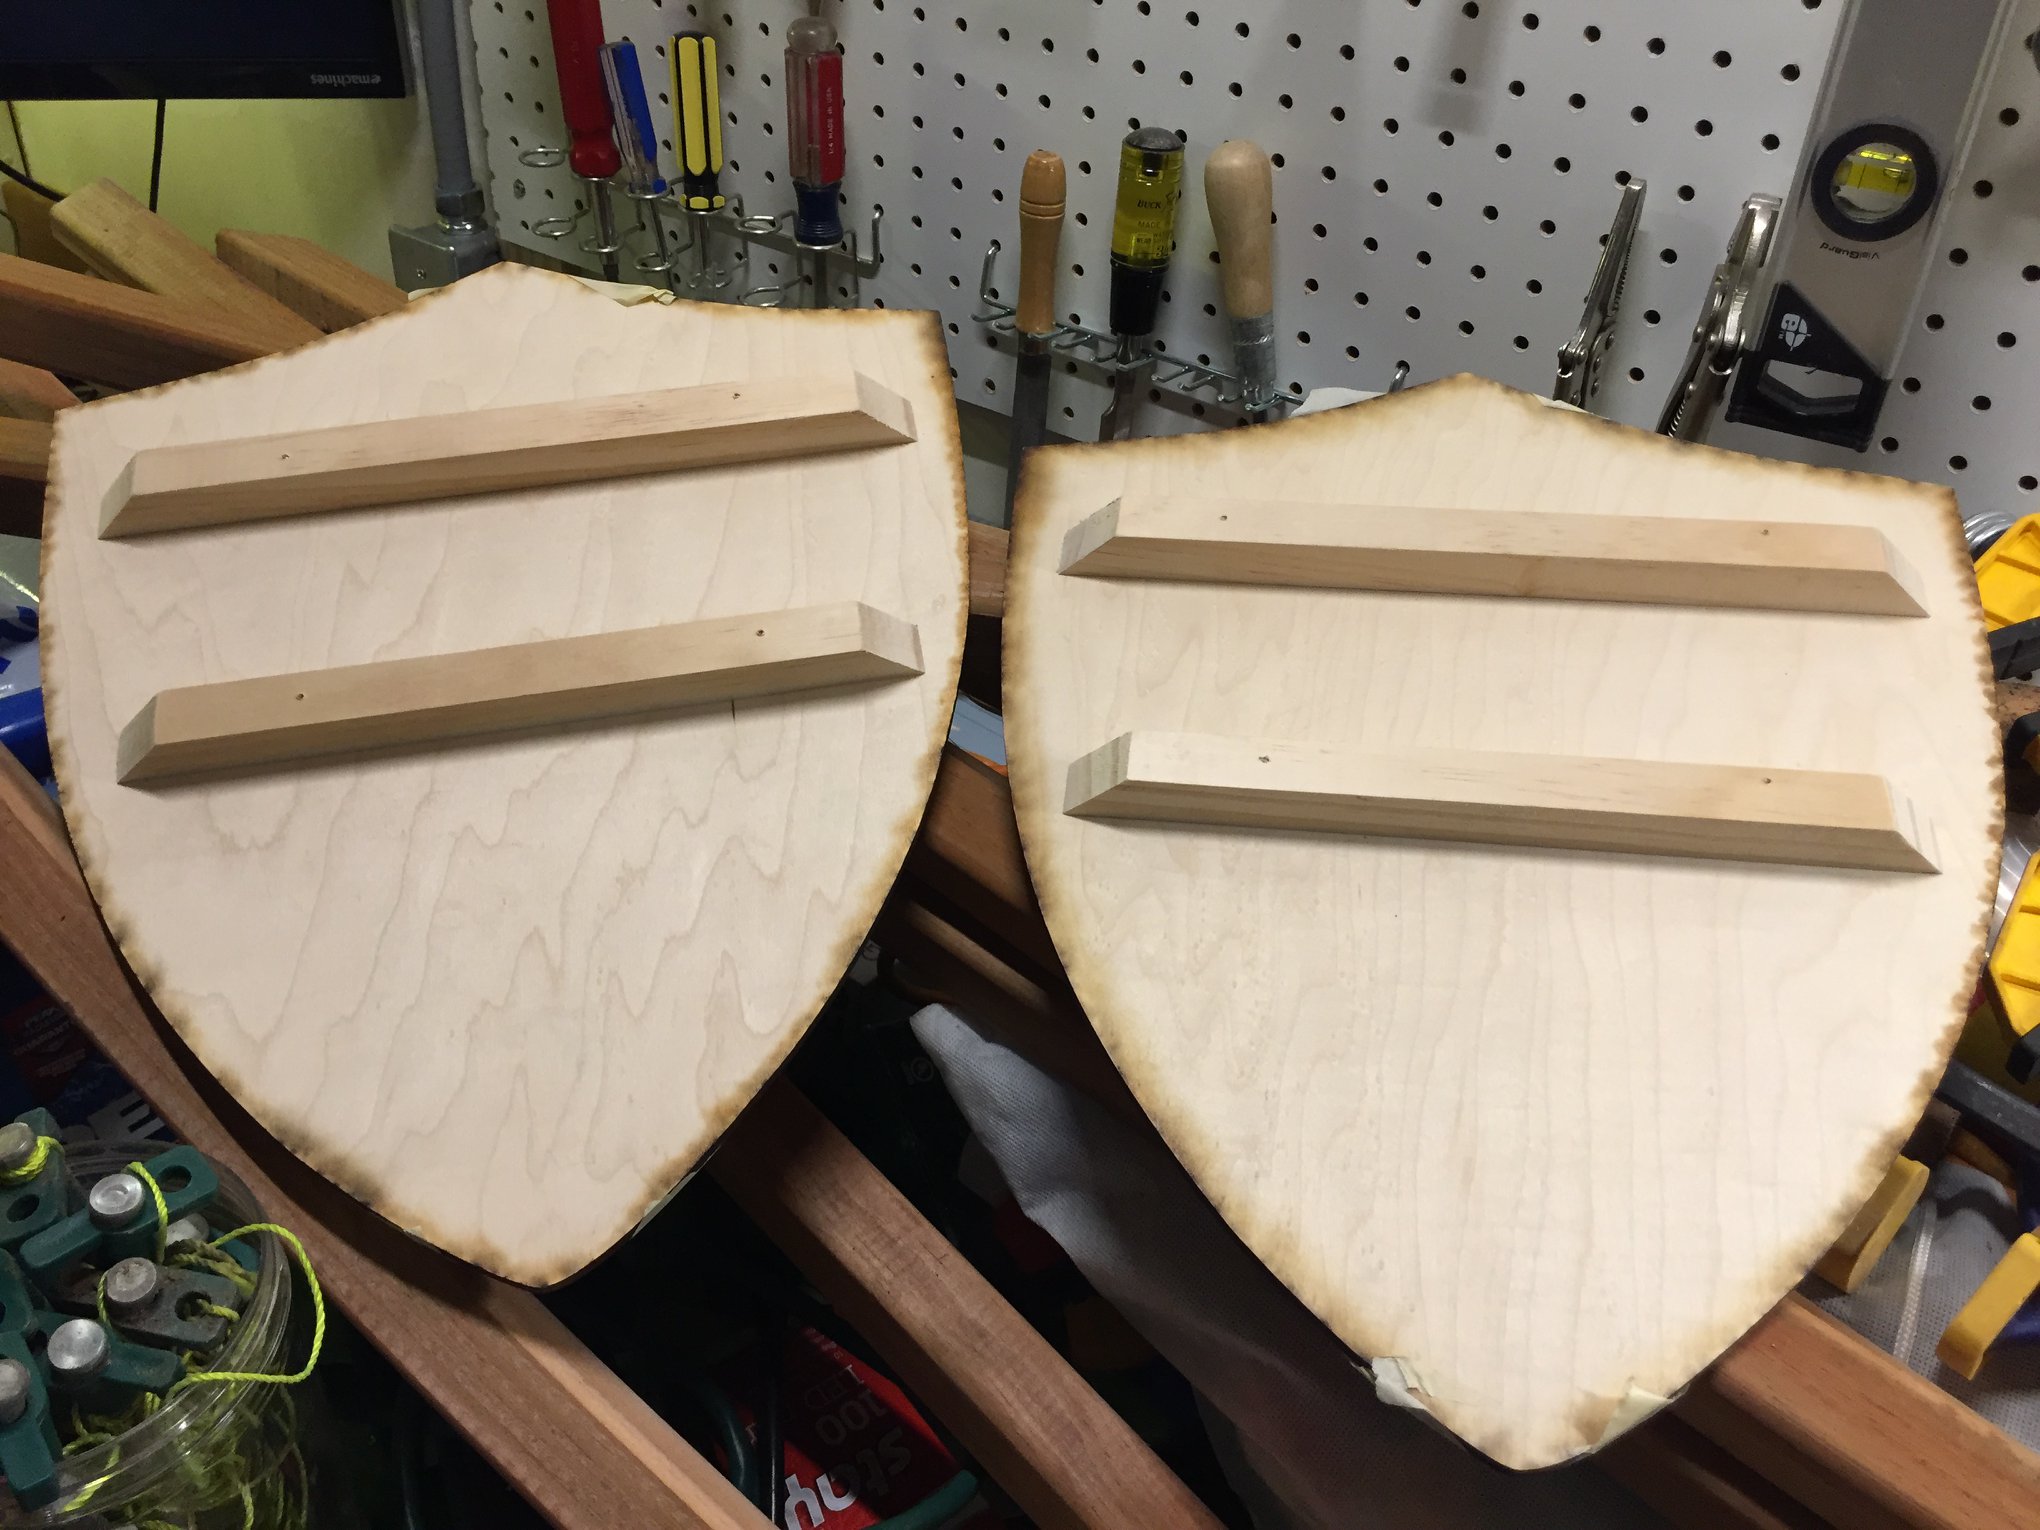
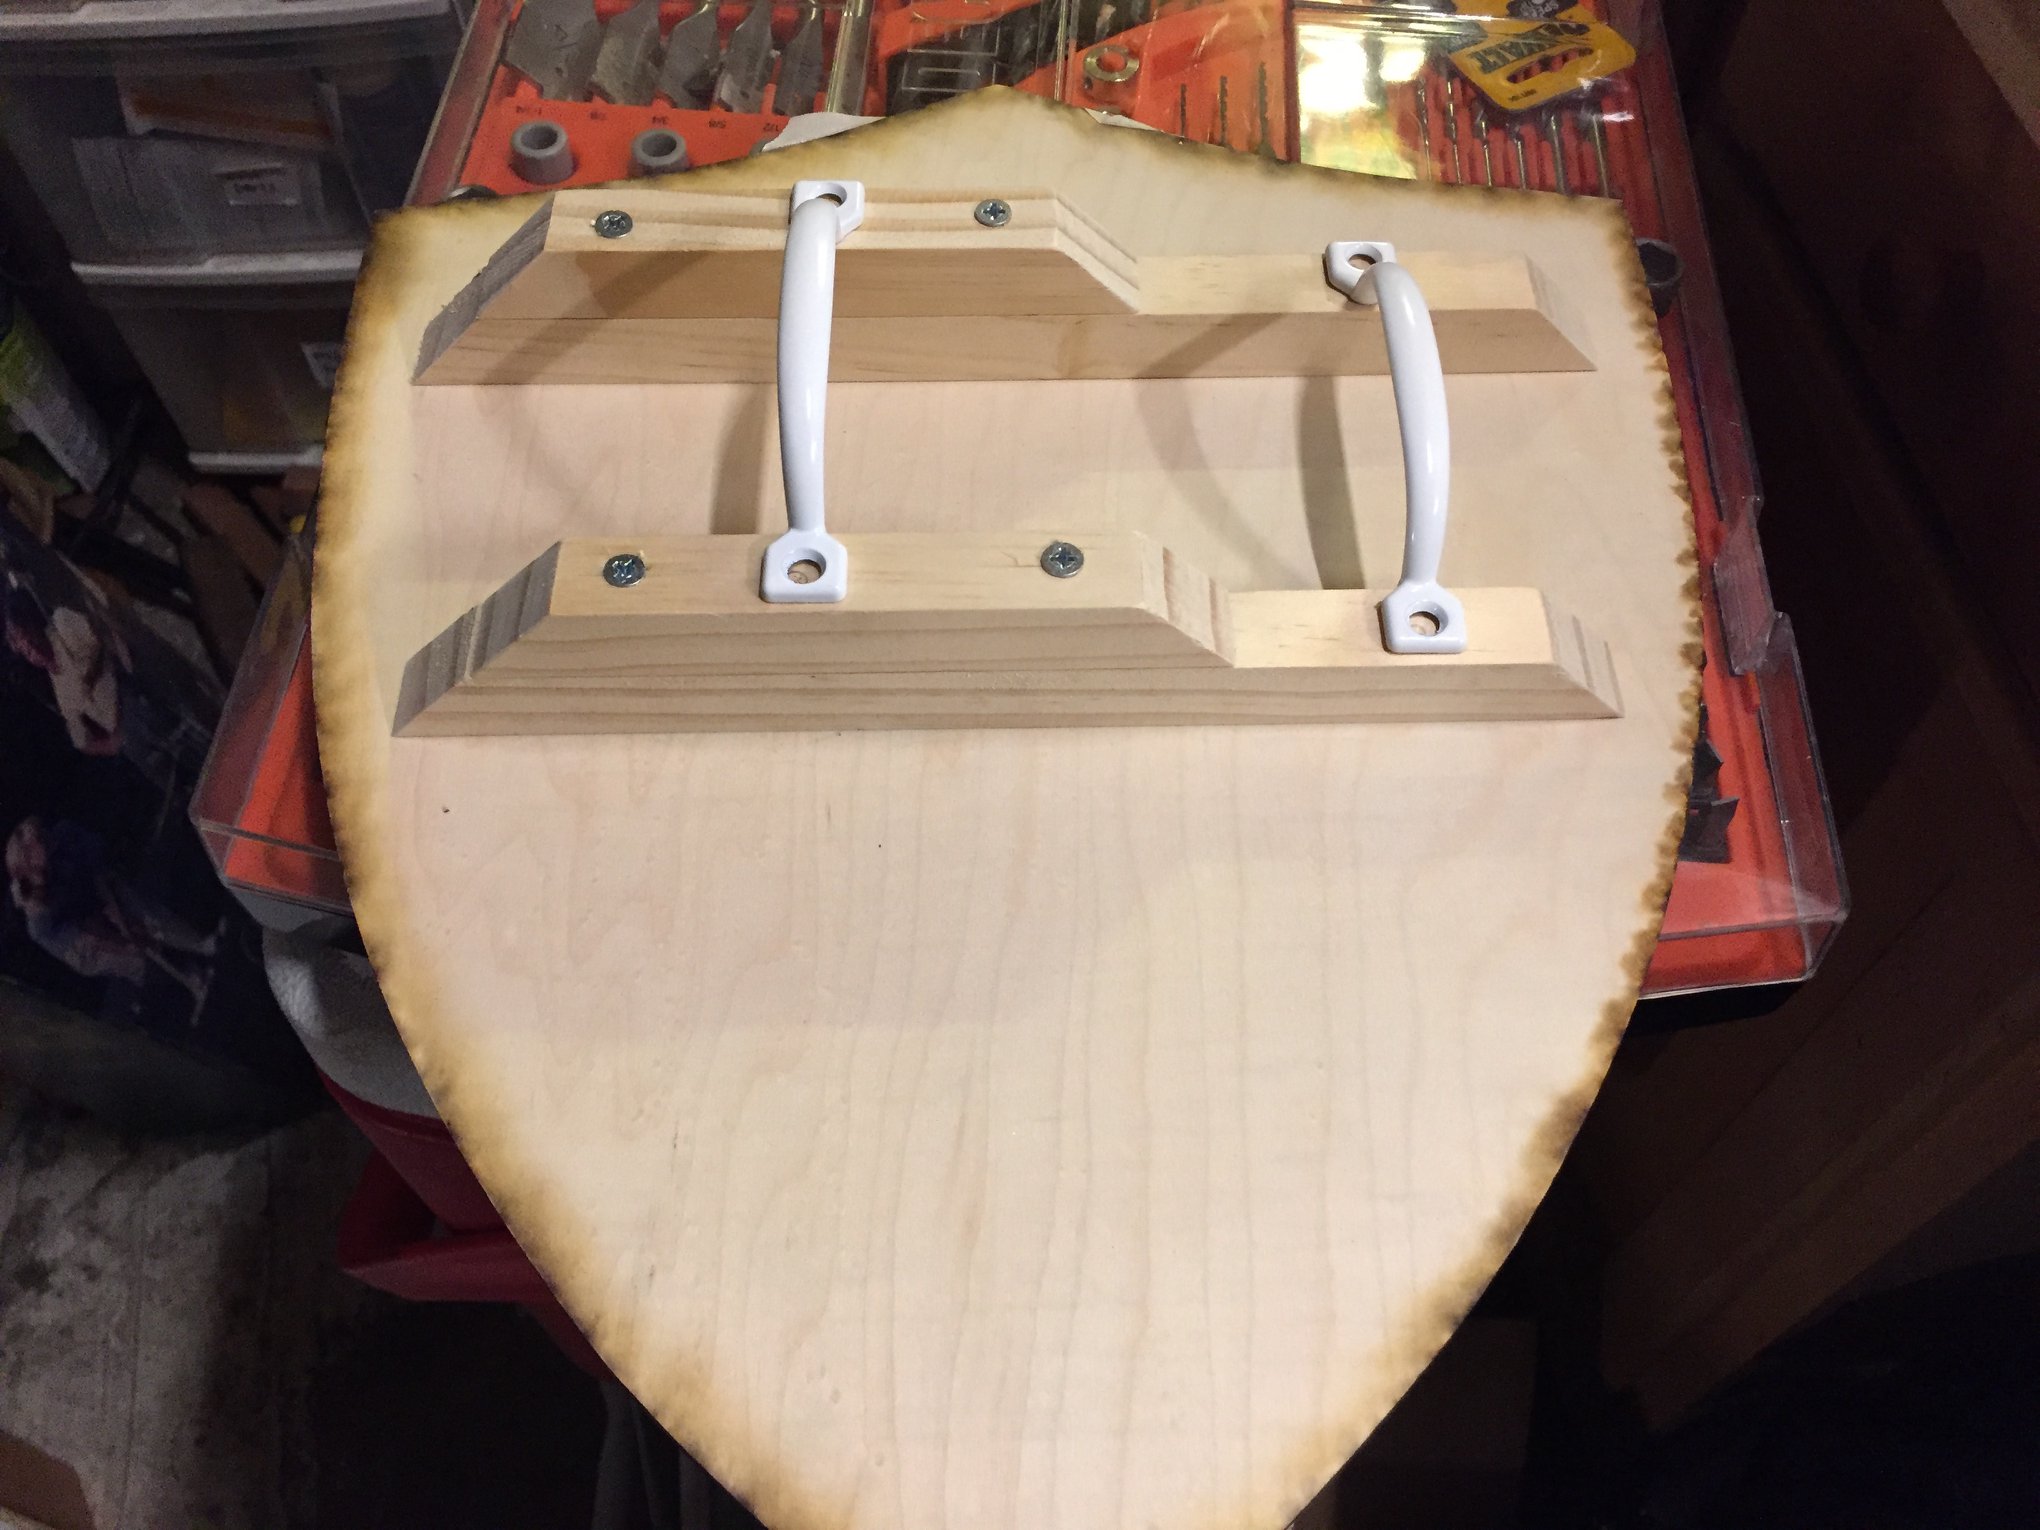
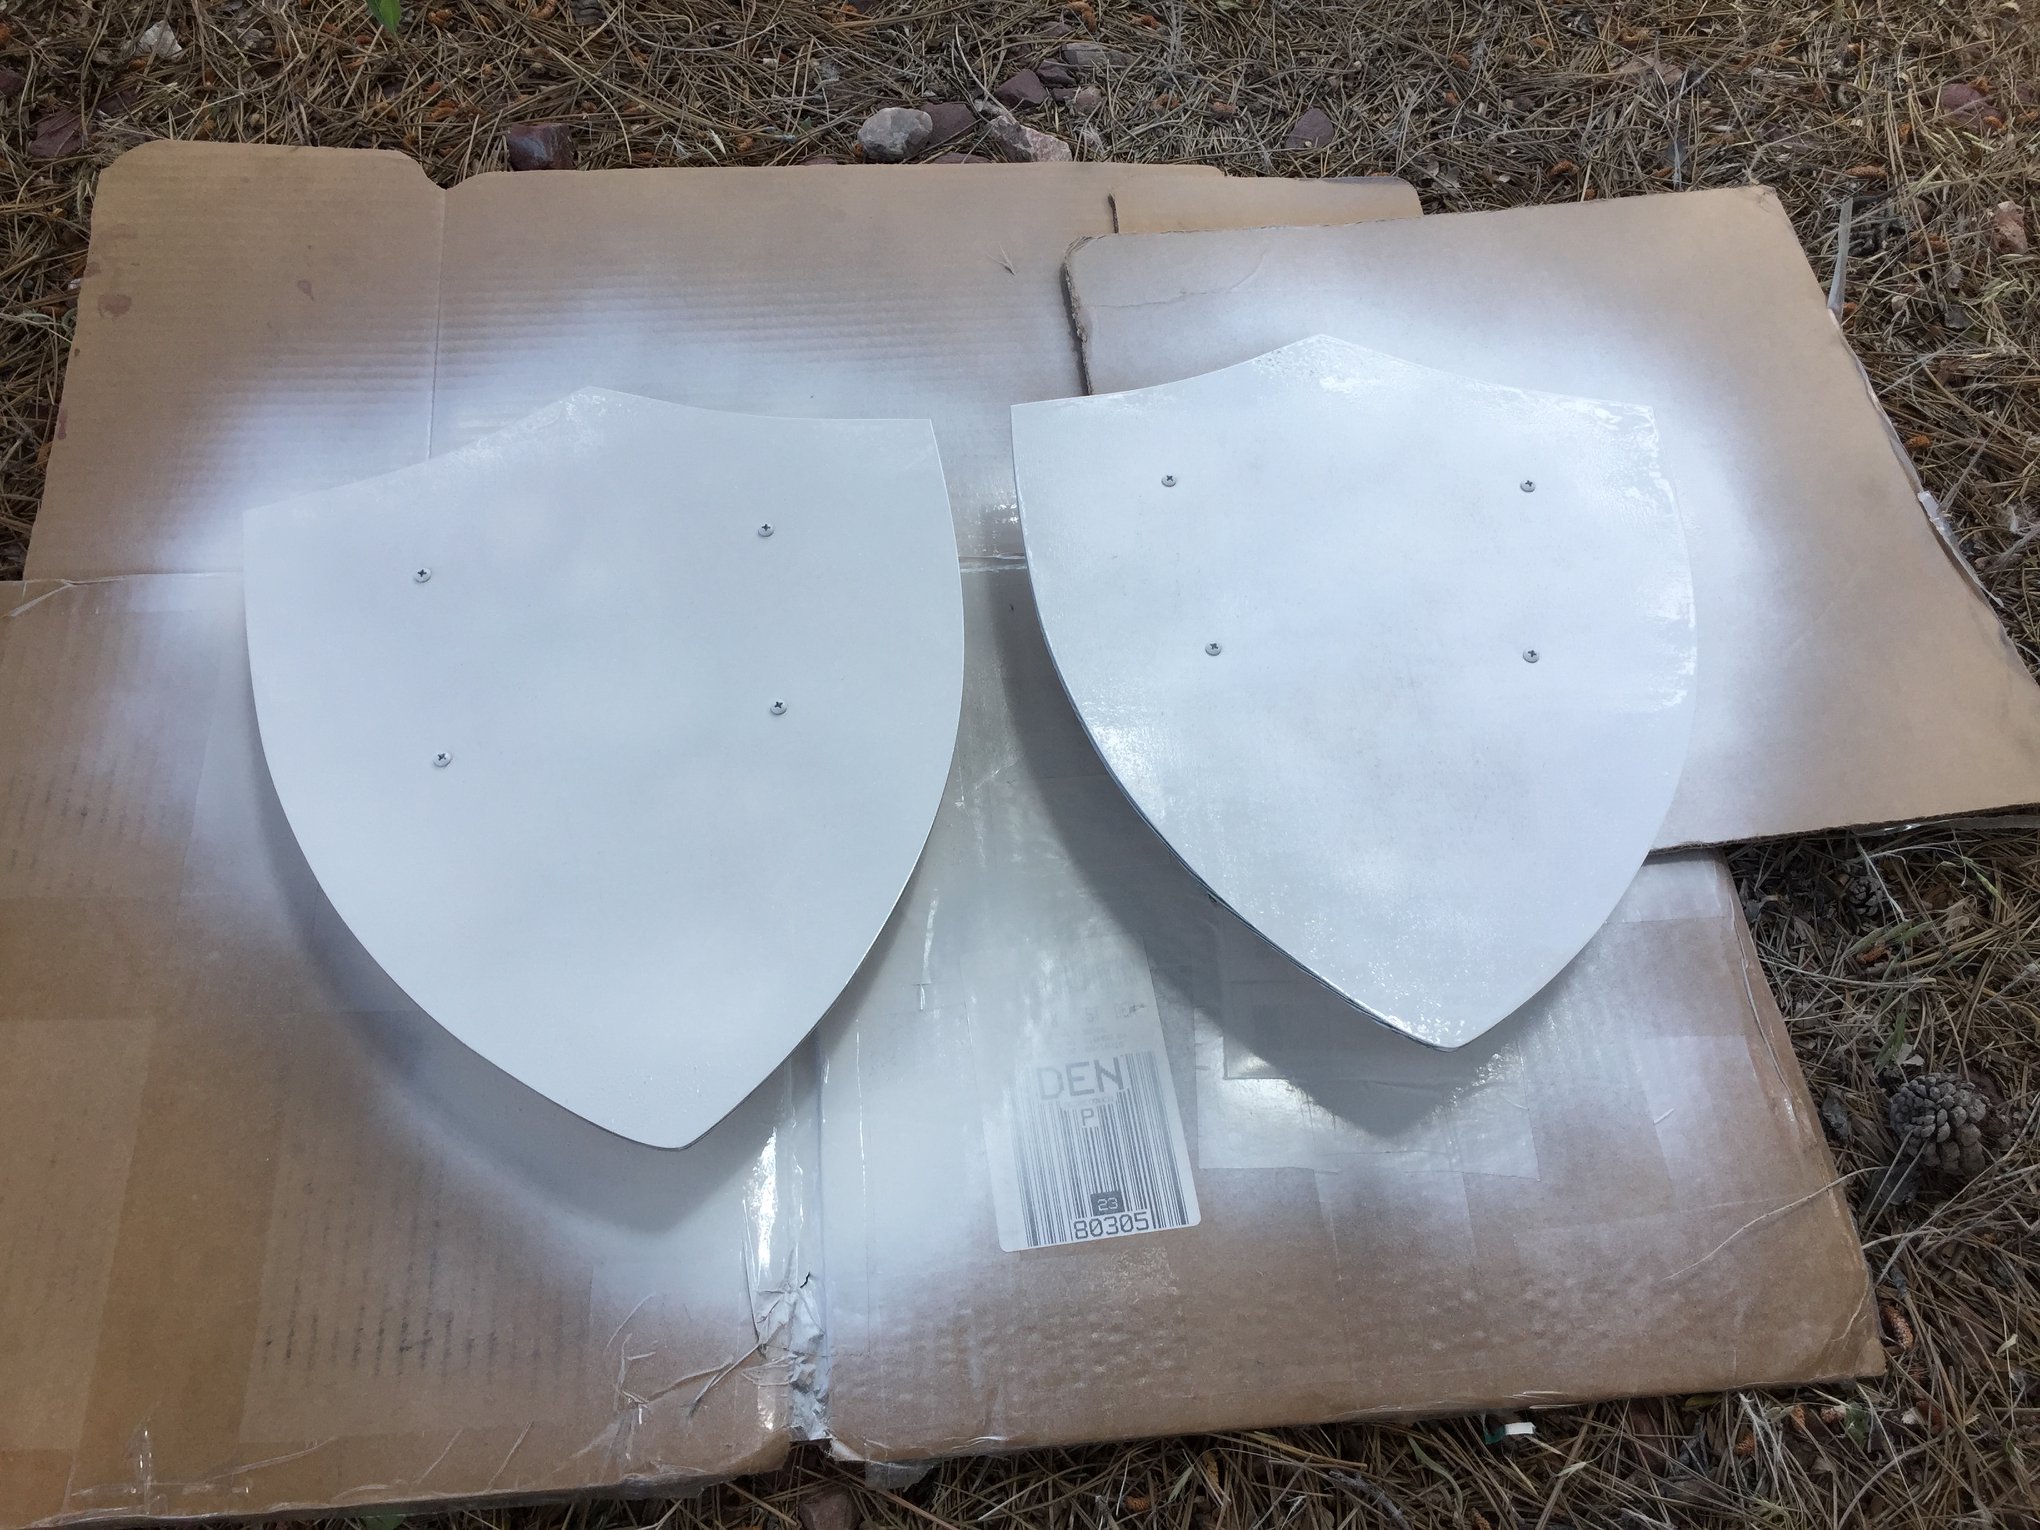
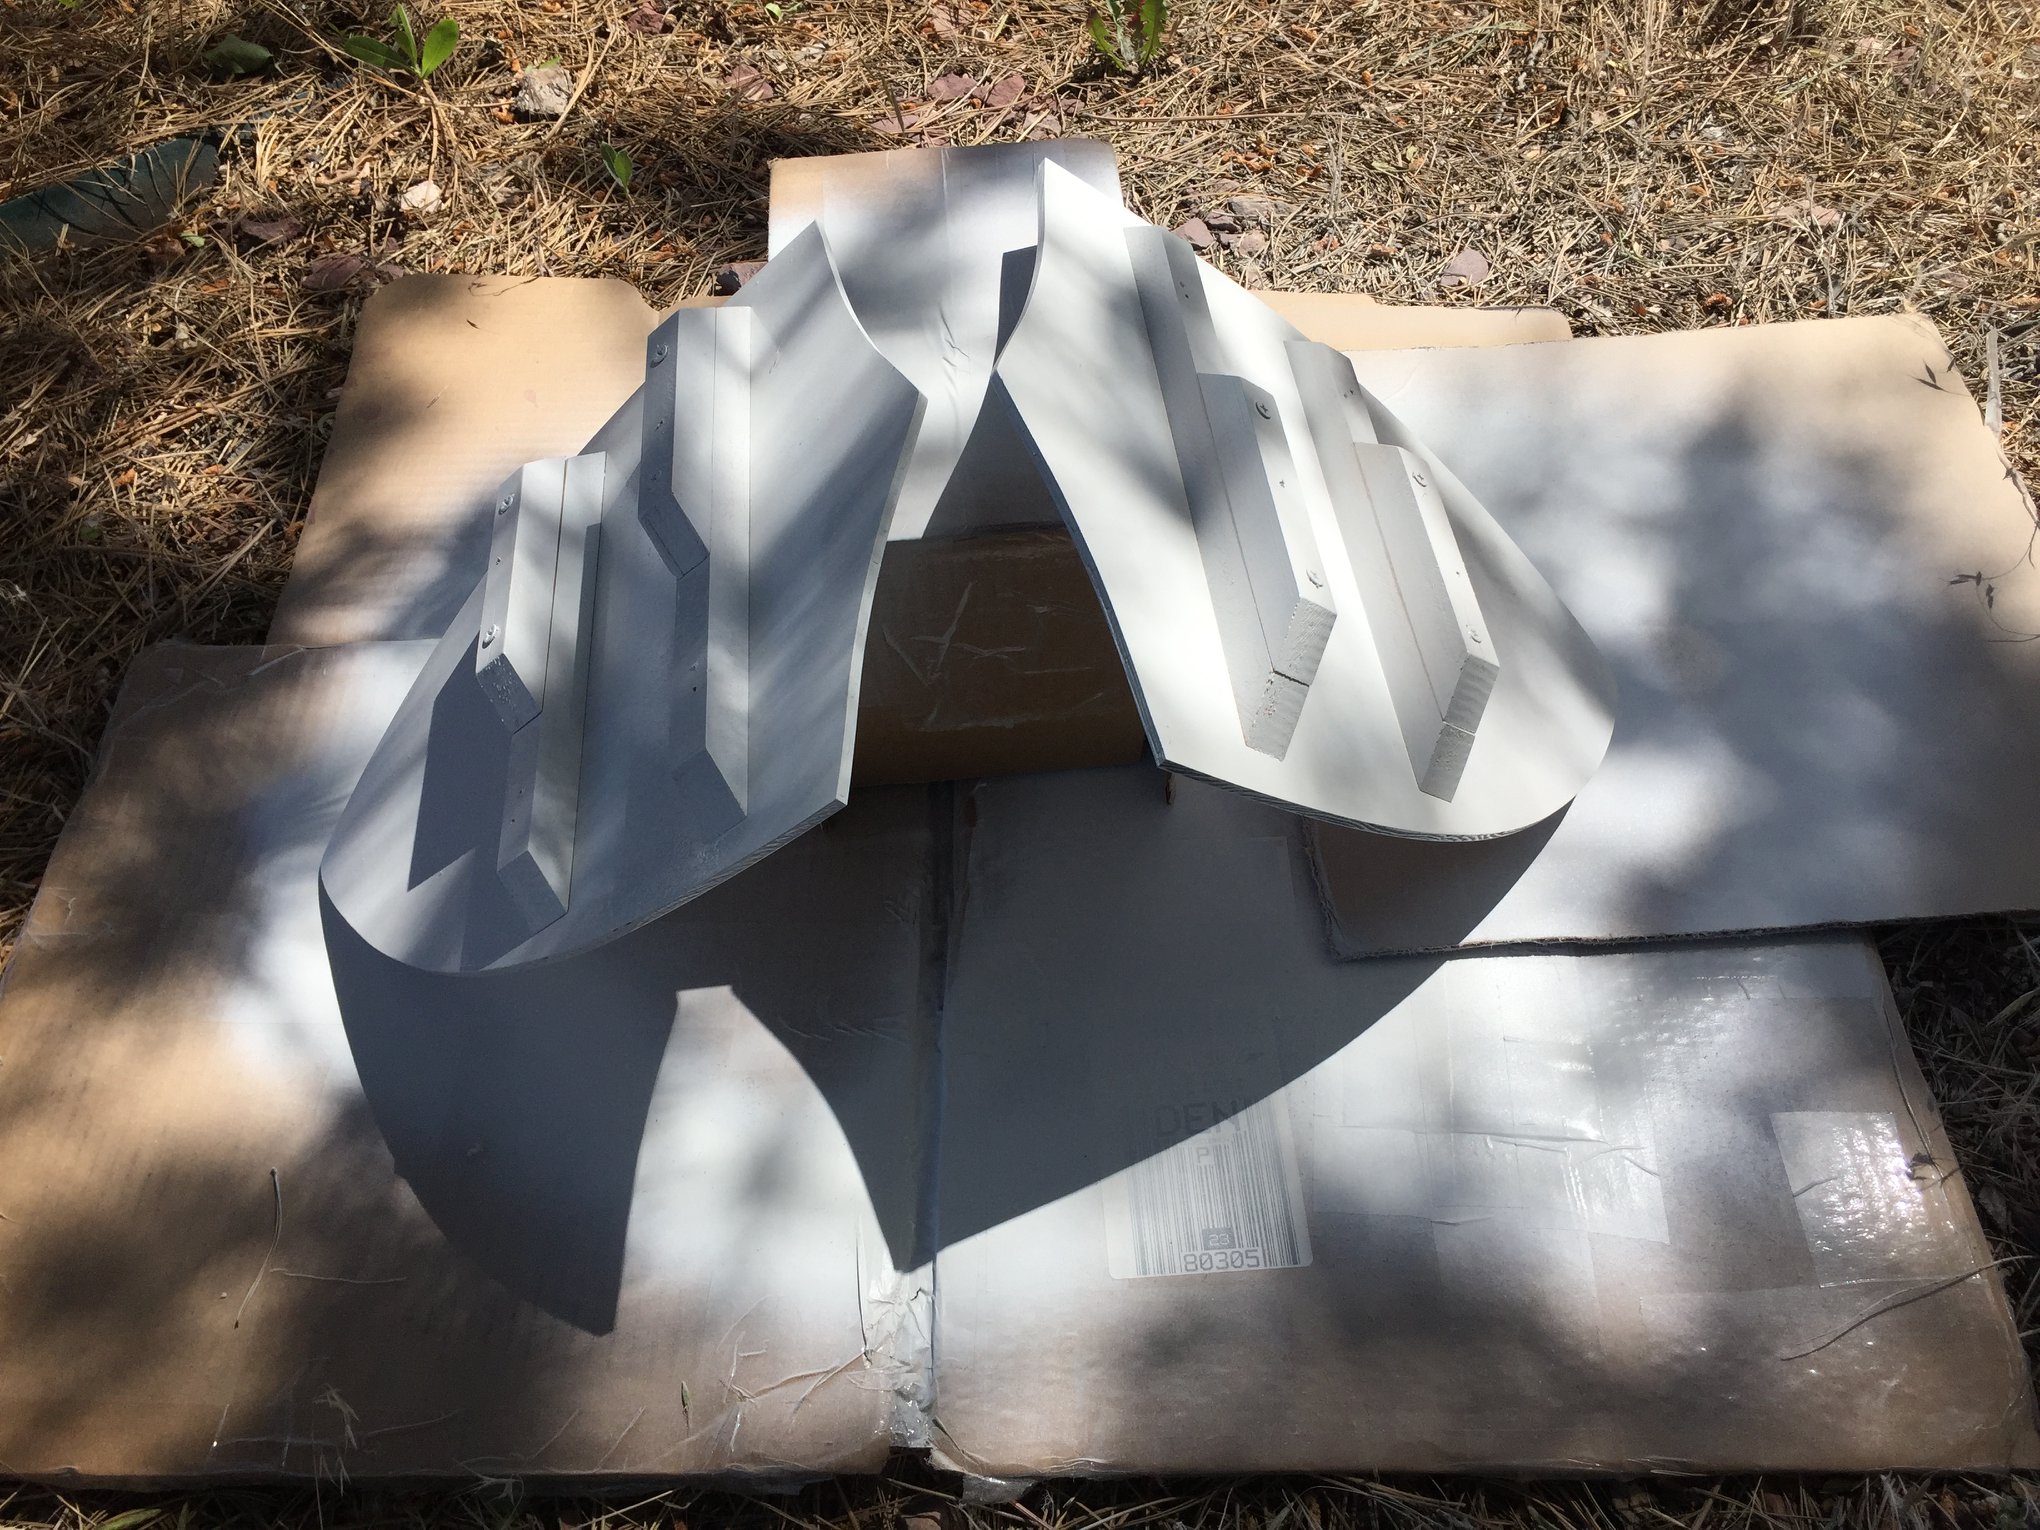
To kick off the project, we first added some wooden crossbars to the back of the shield. They are screwed on from front of the shield. We cut the wood at an angle on the ends to cut down on corners the kids might catch themselves on. The wood should be spaced out a handles width apart (see below!)
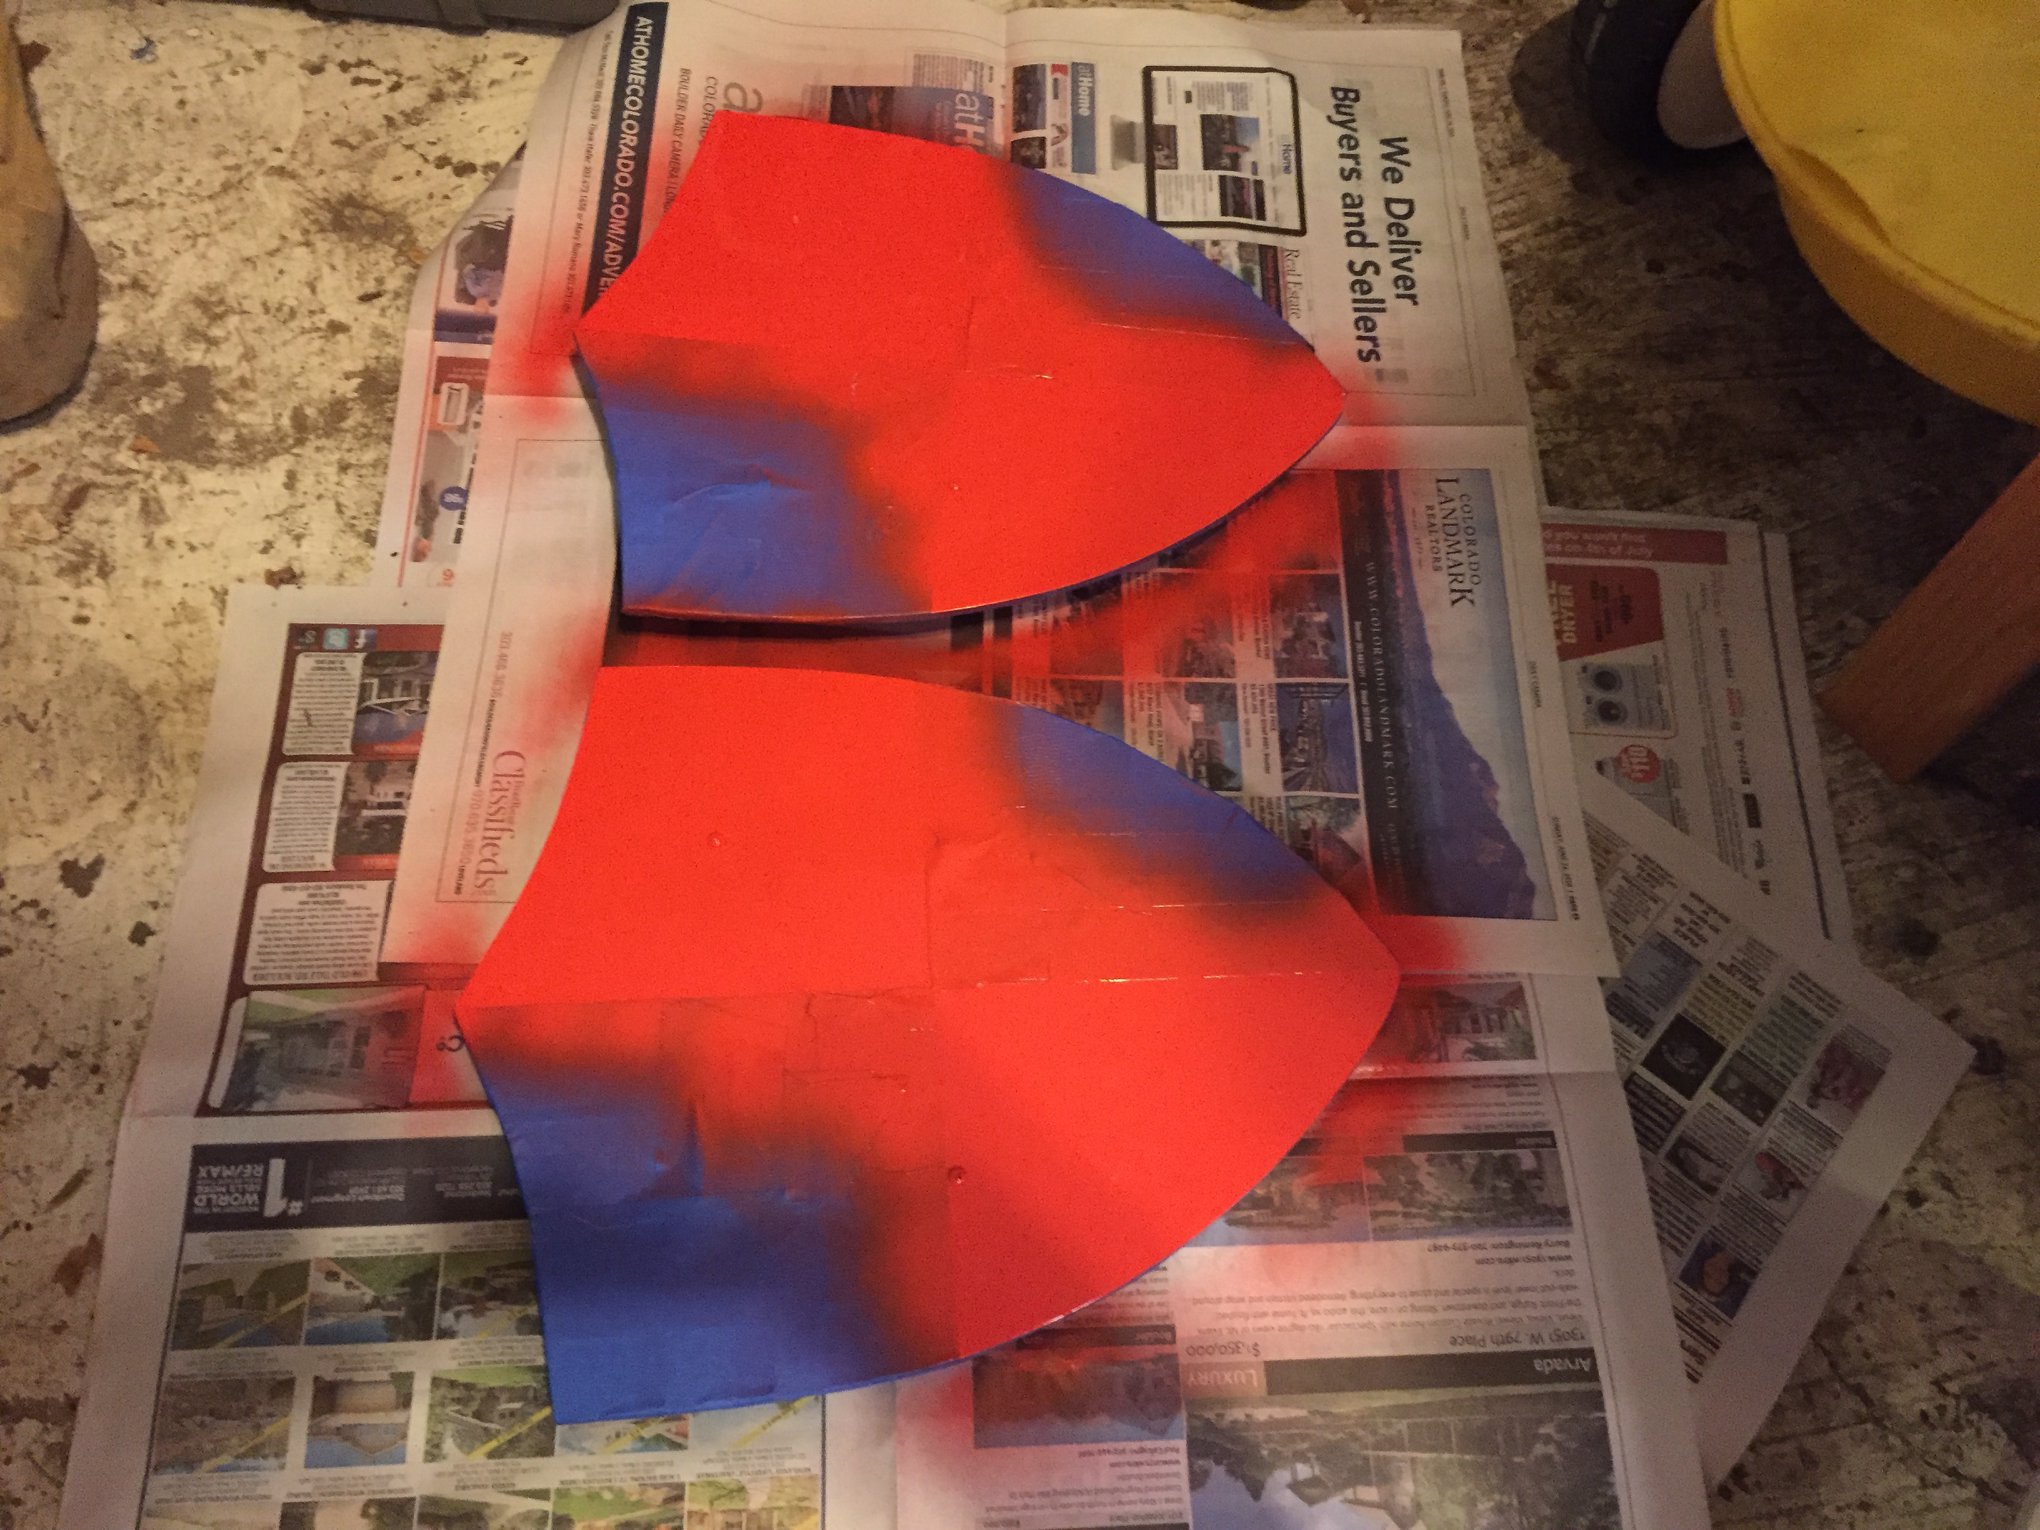
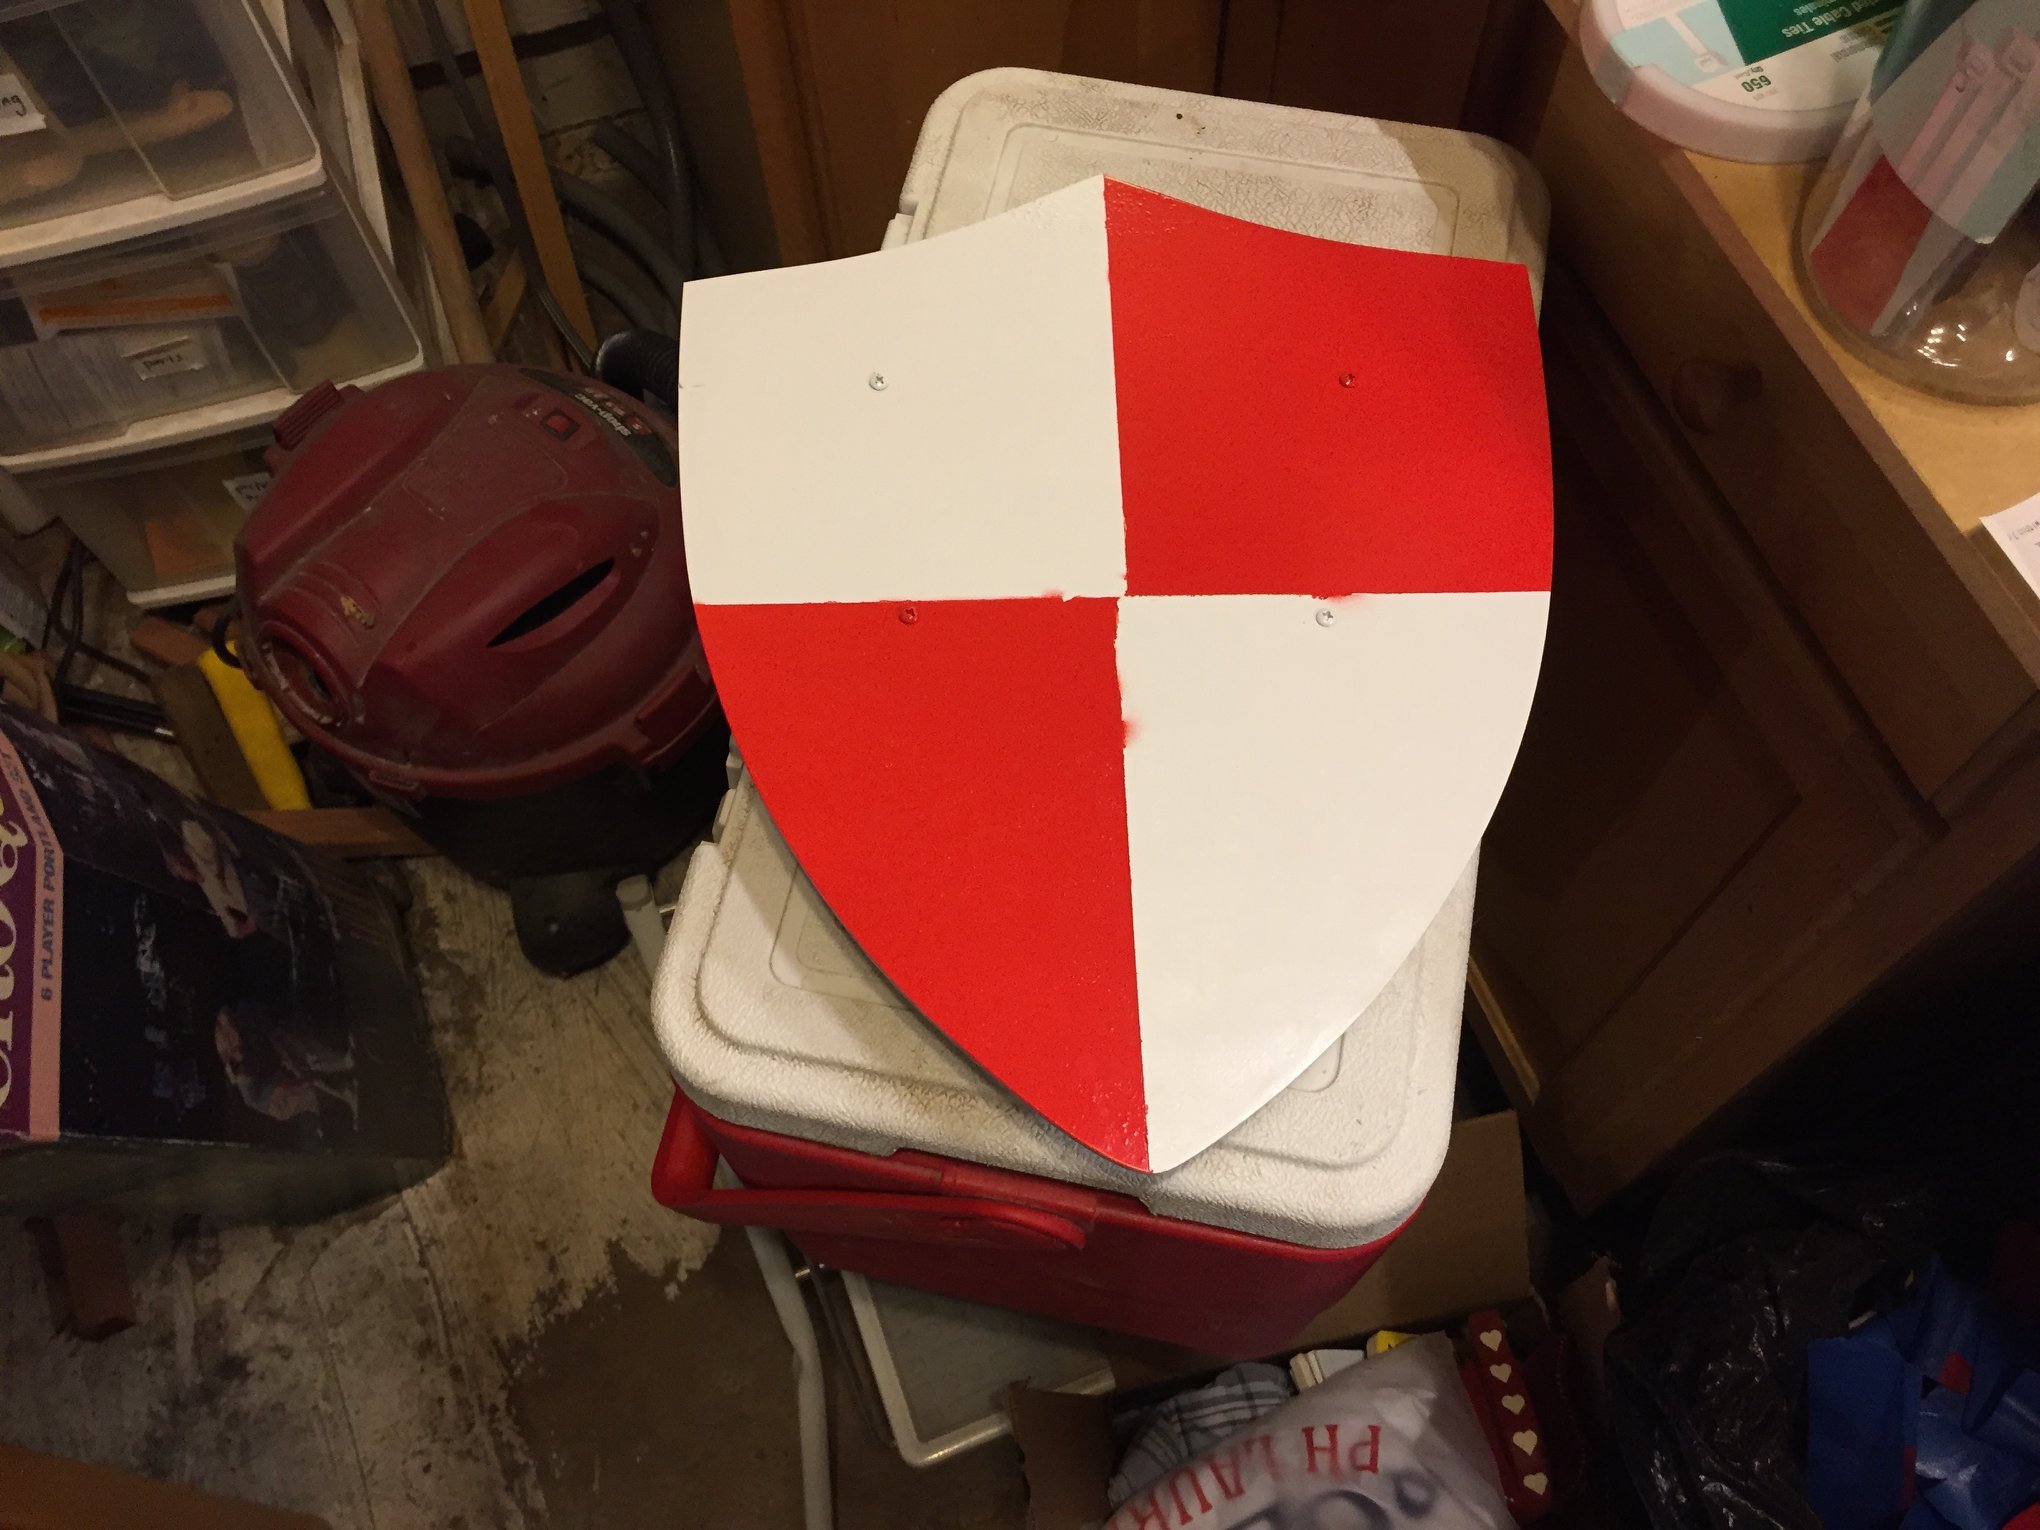
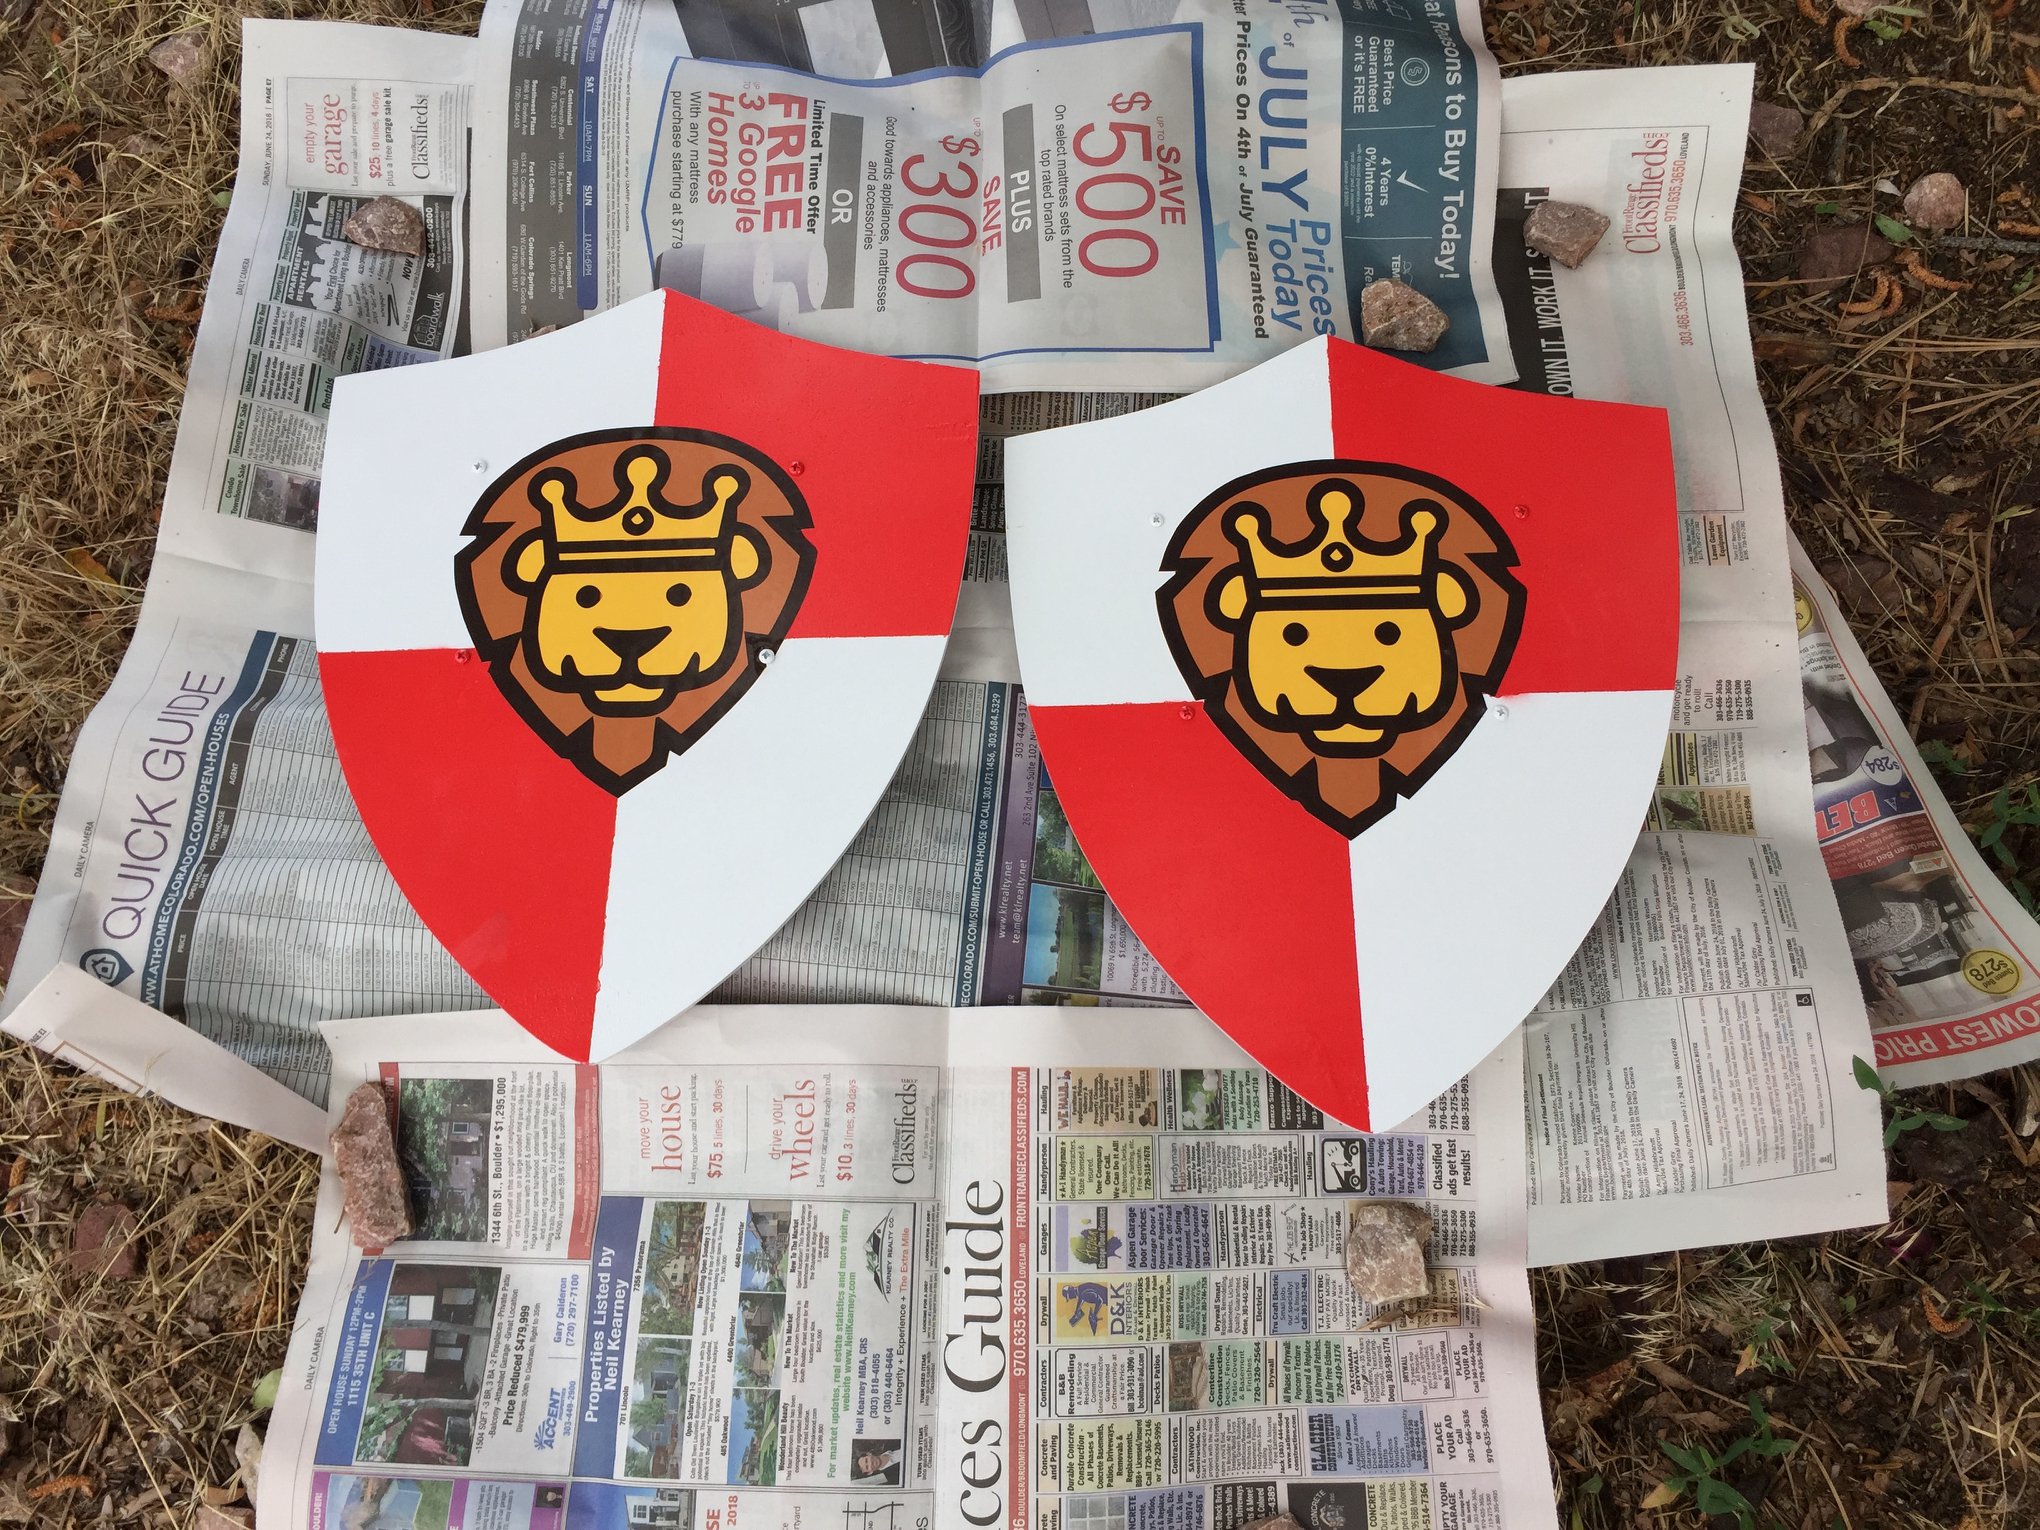
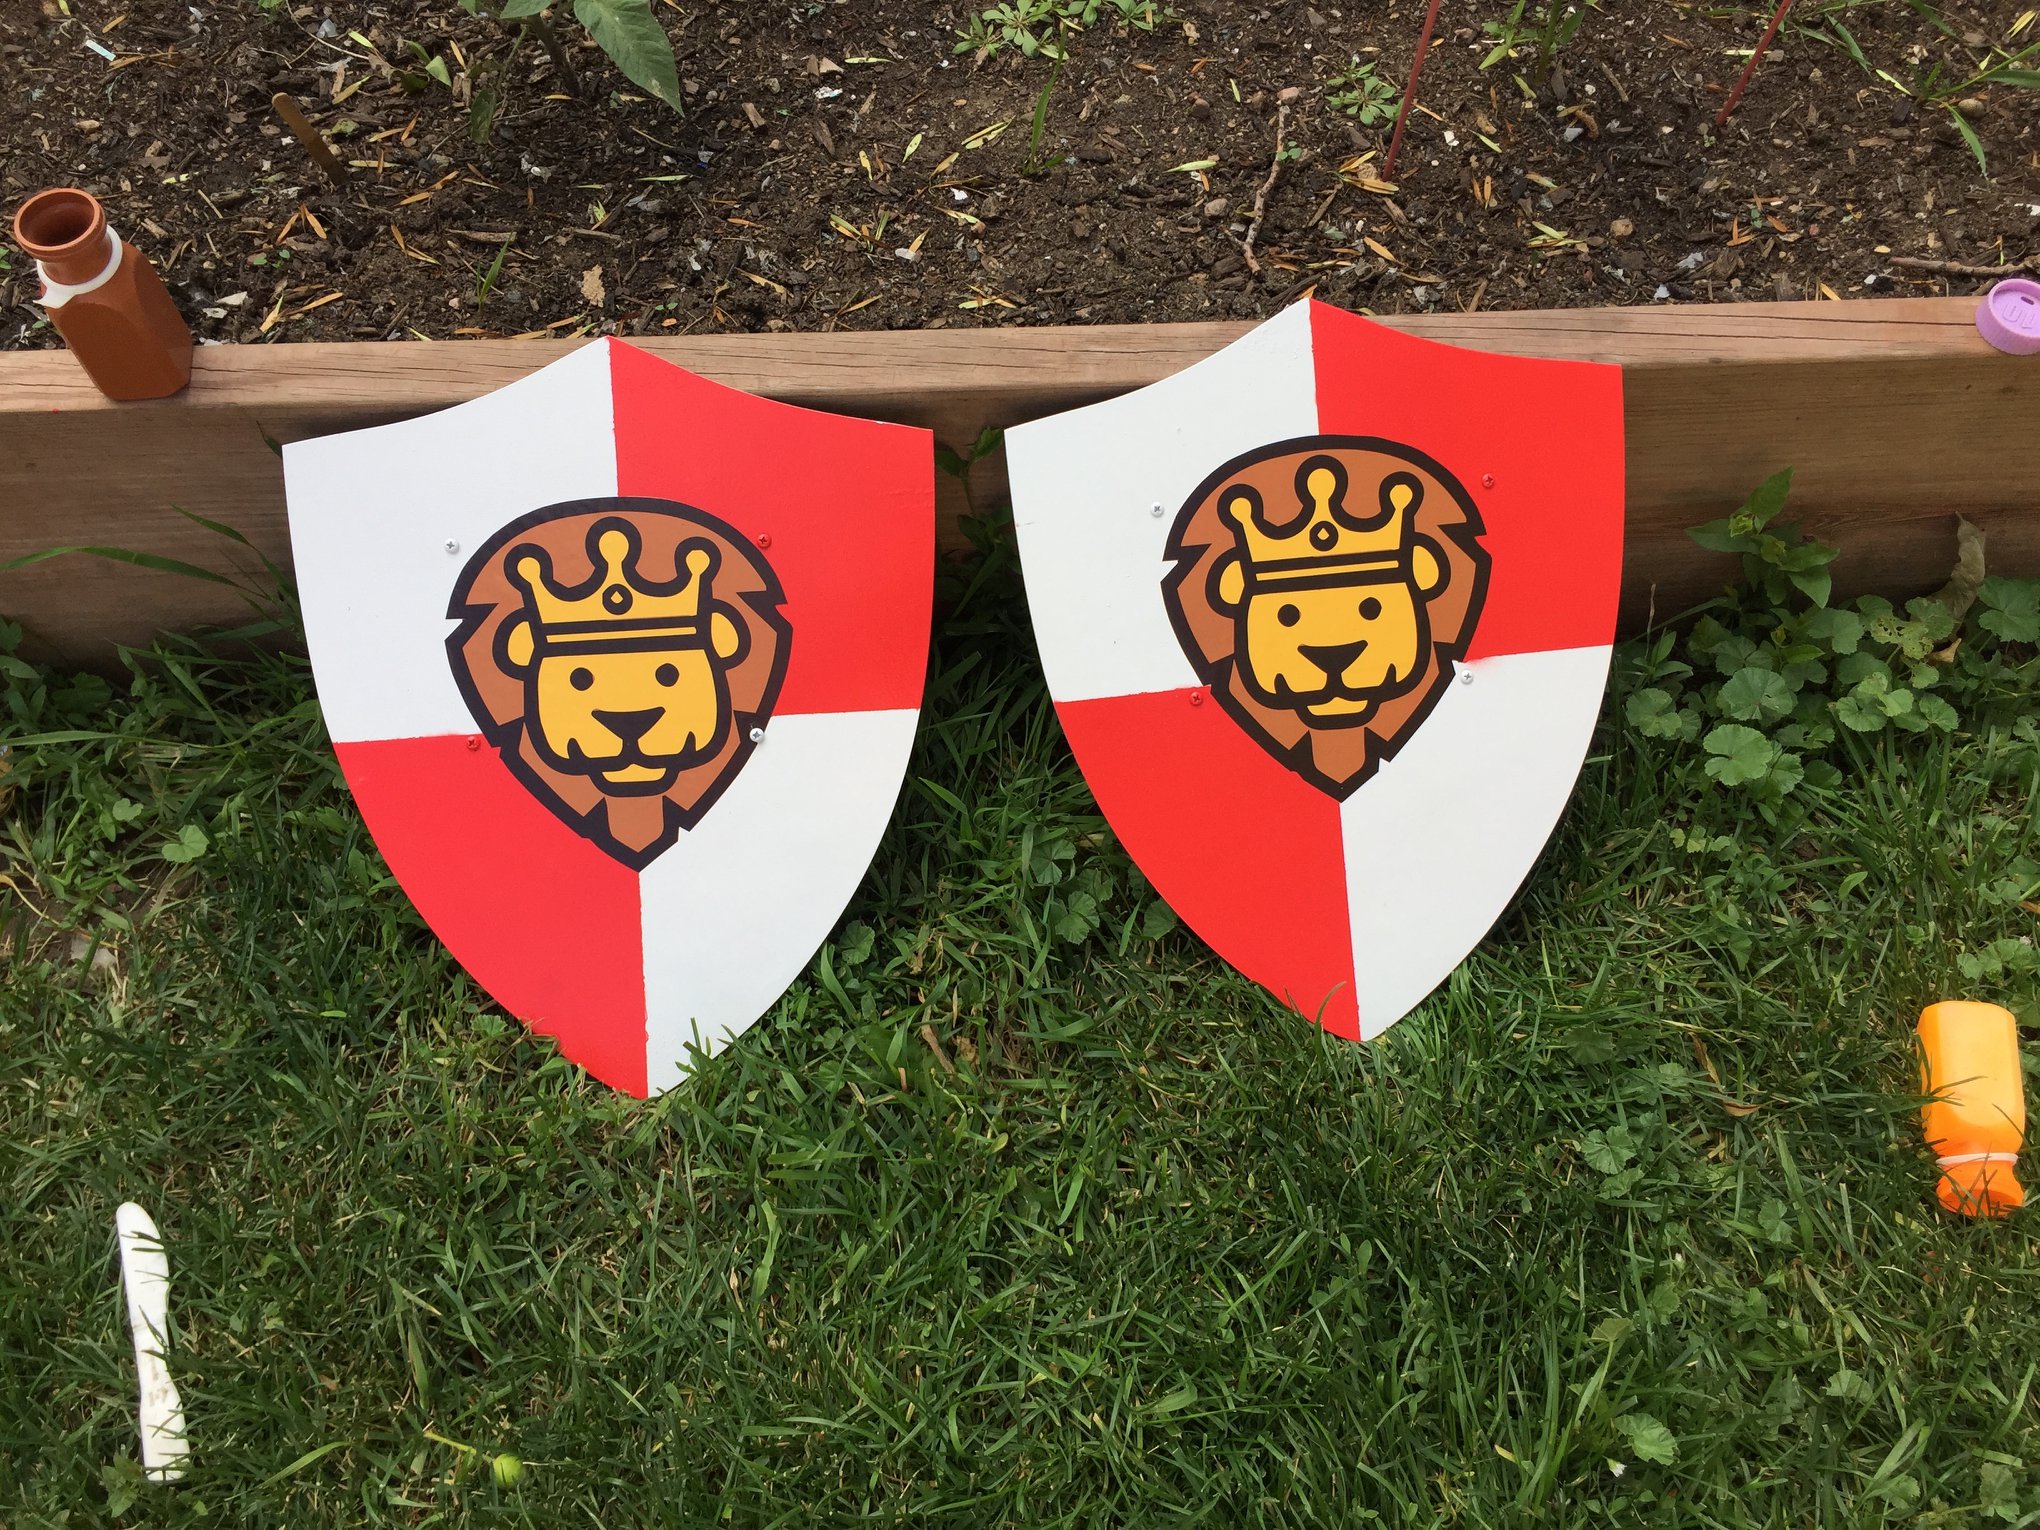
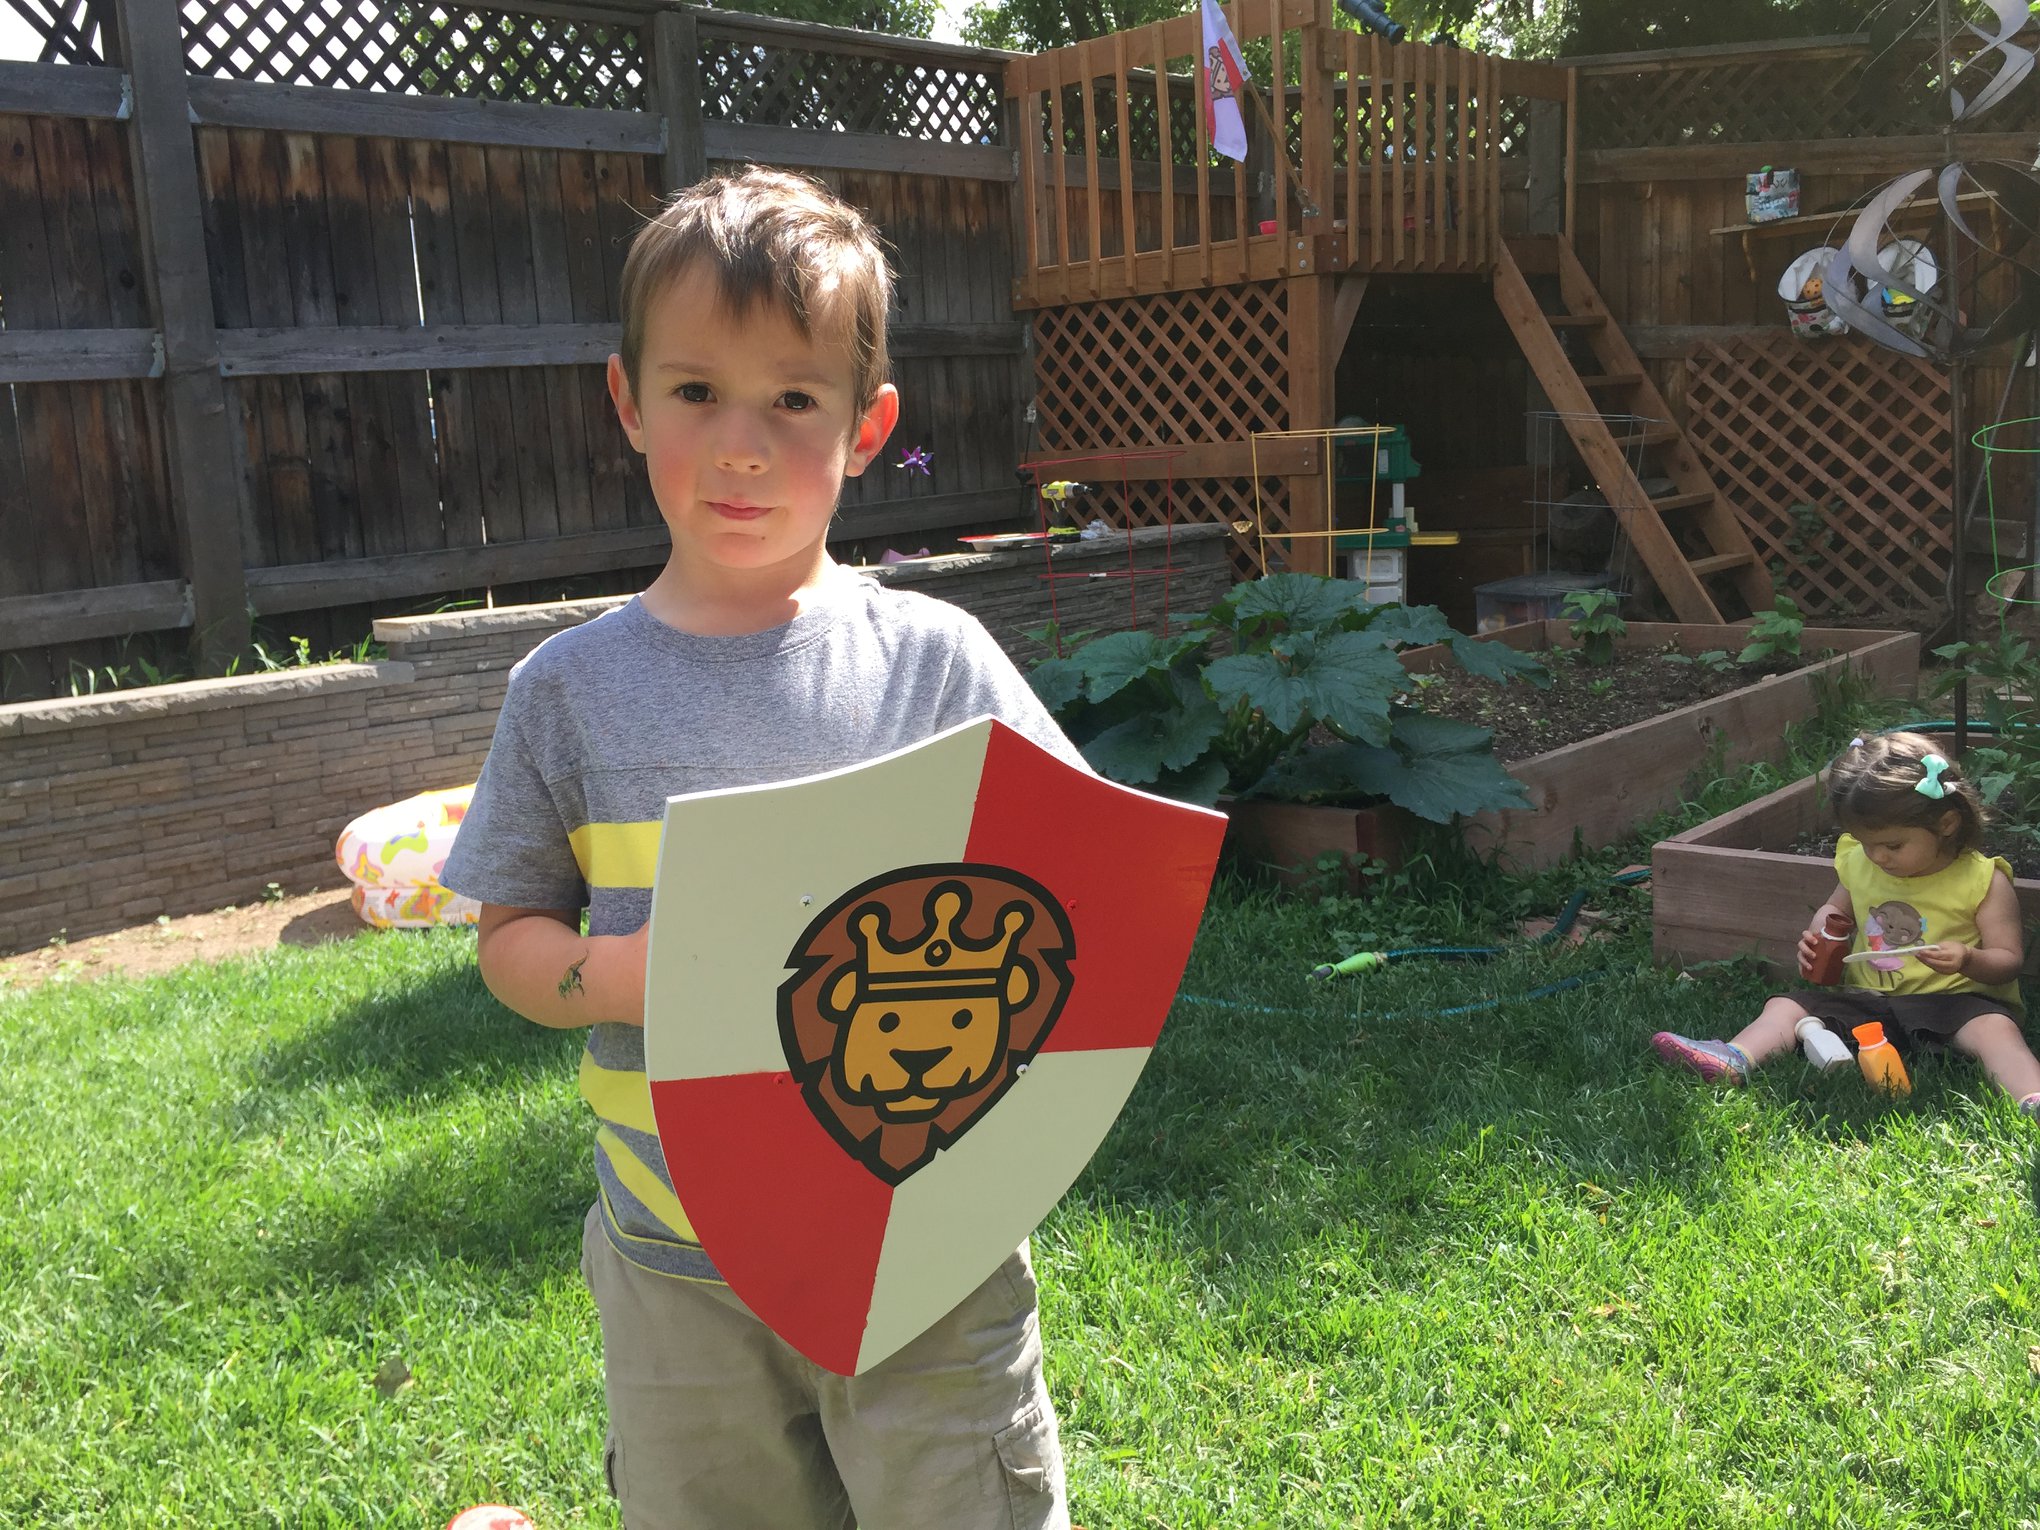
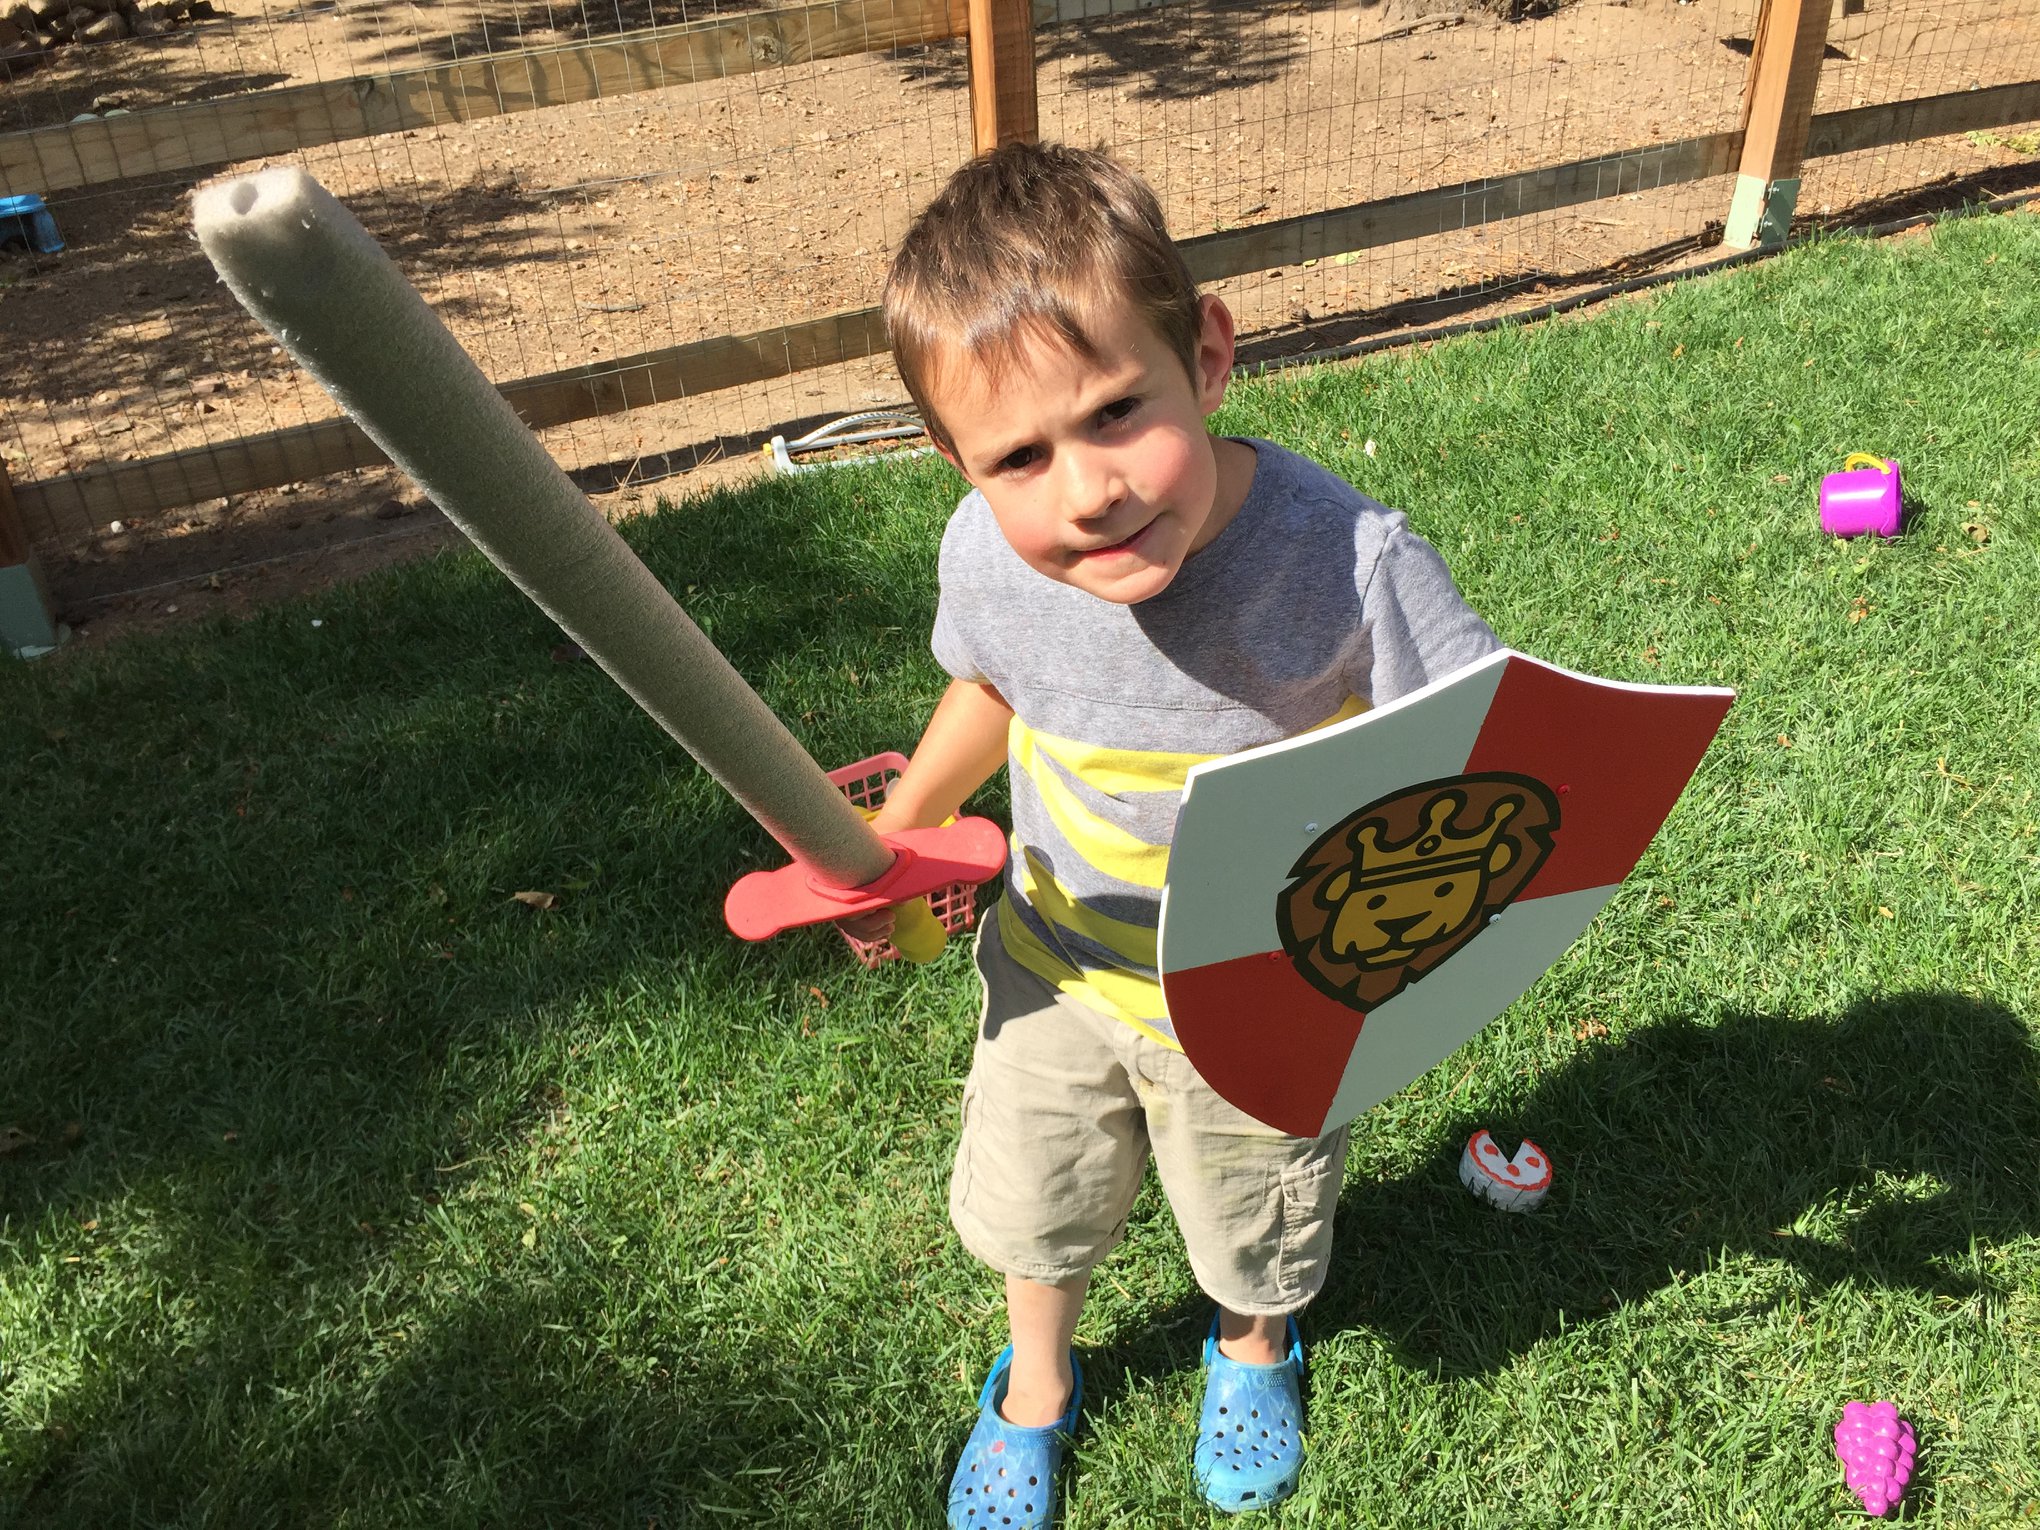
Overall, it was a fun project! The kids enjoyed it and it was pretty easy, having started with pre-made shield cutouts. I’d love to see what other custom wooden shield designs you come up with! Please let us know below in the comments section.
