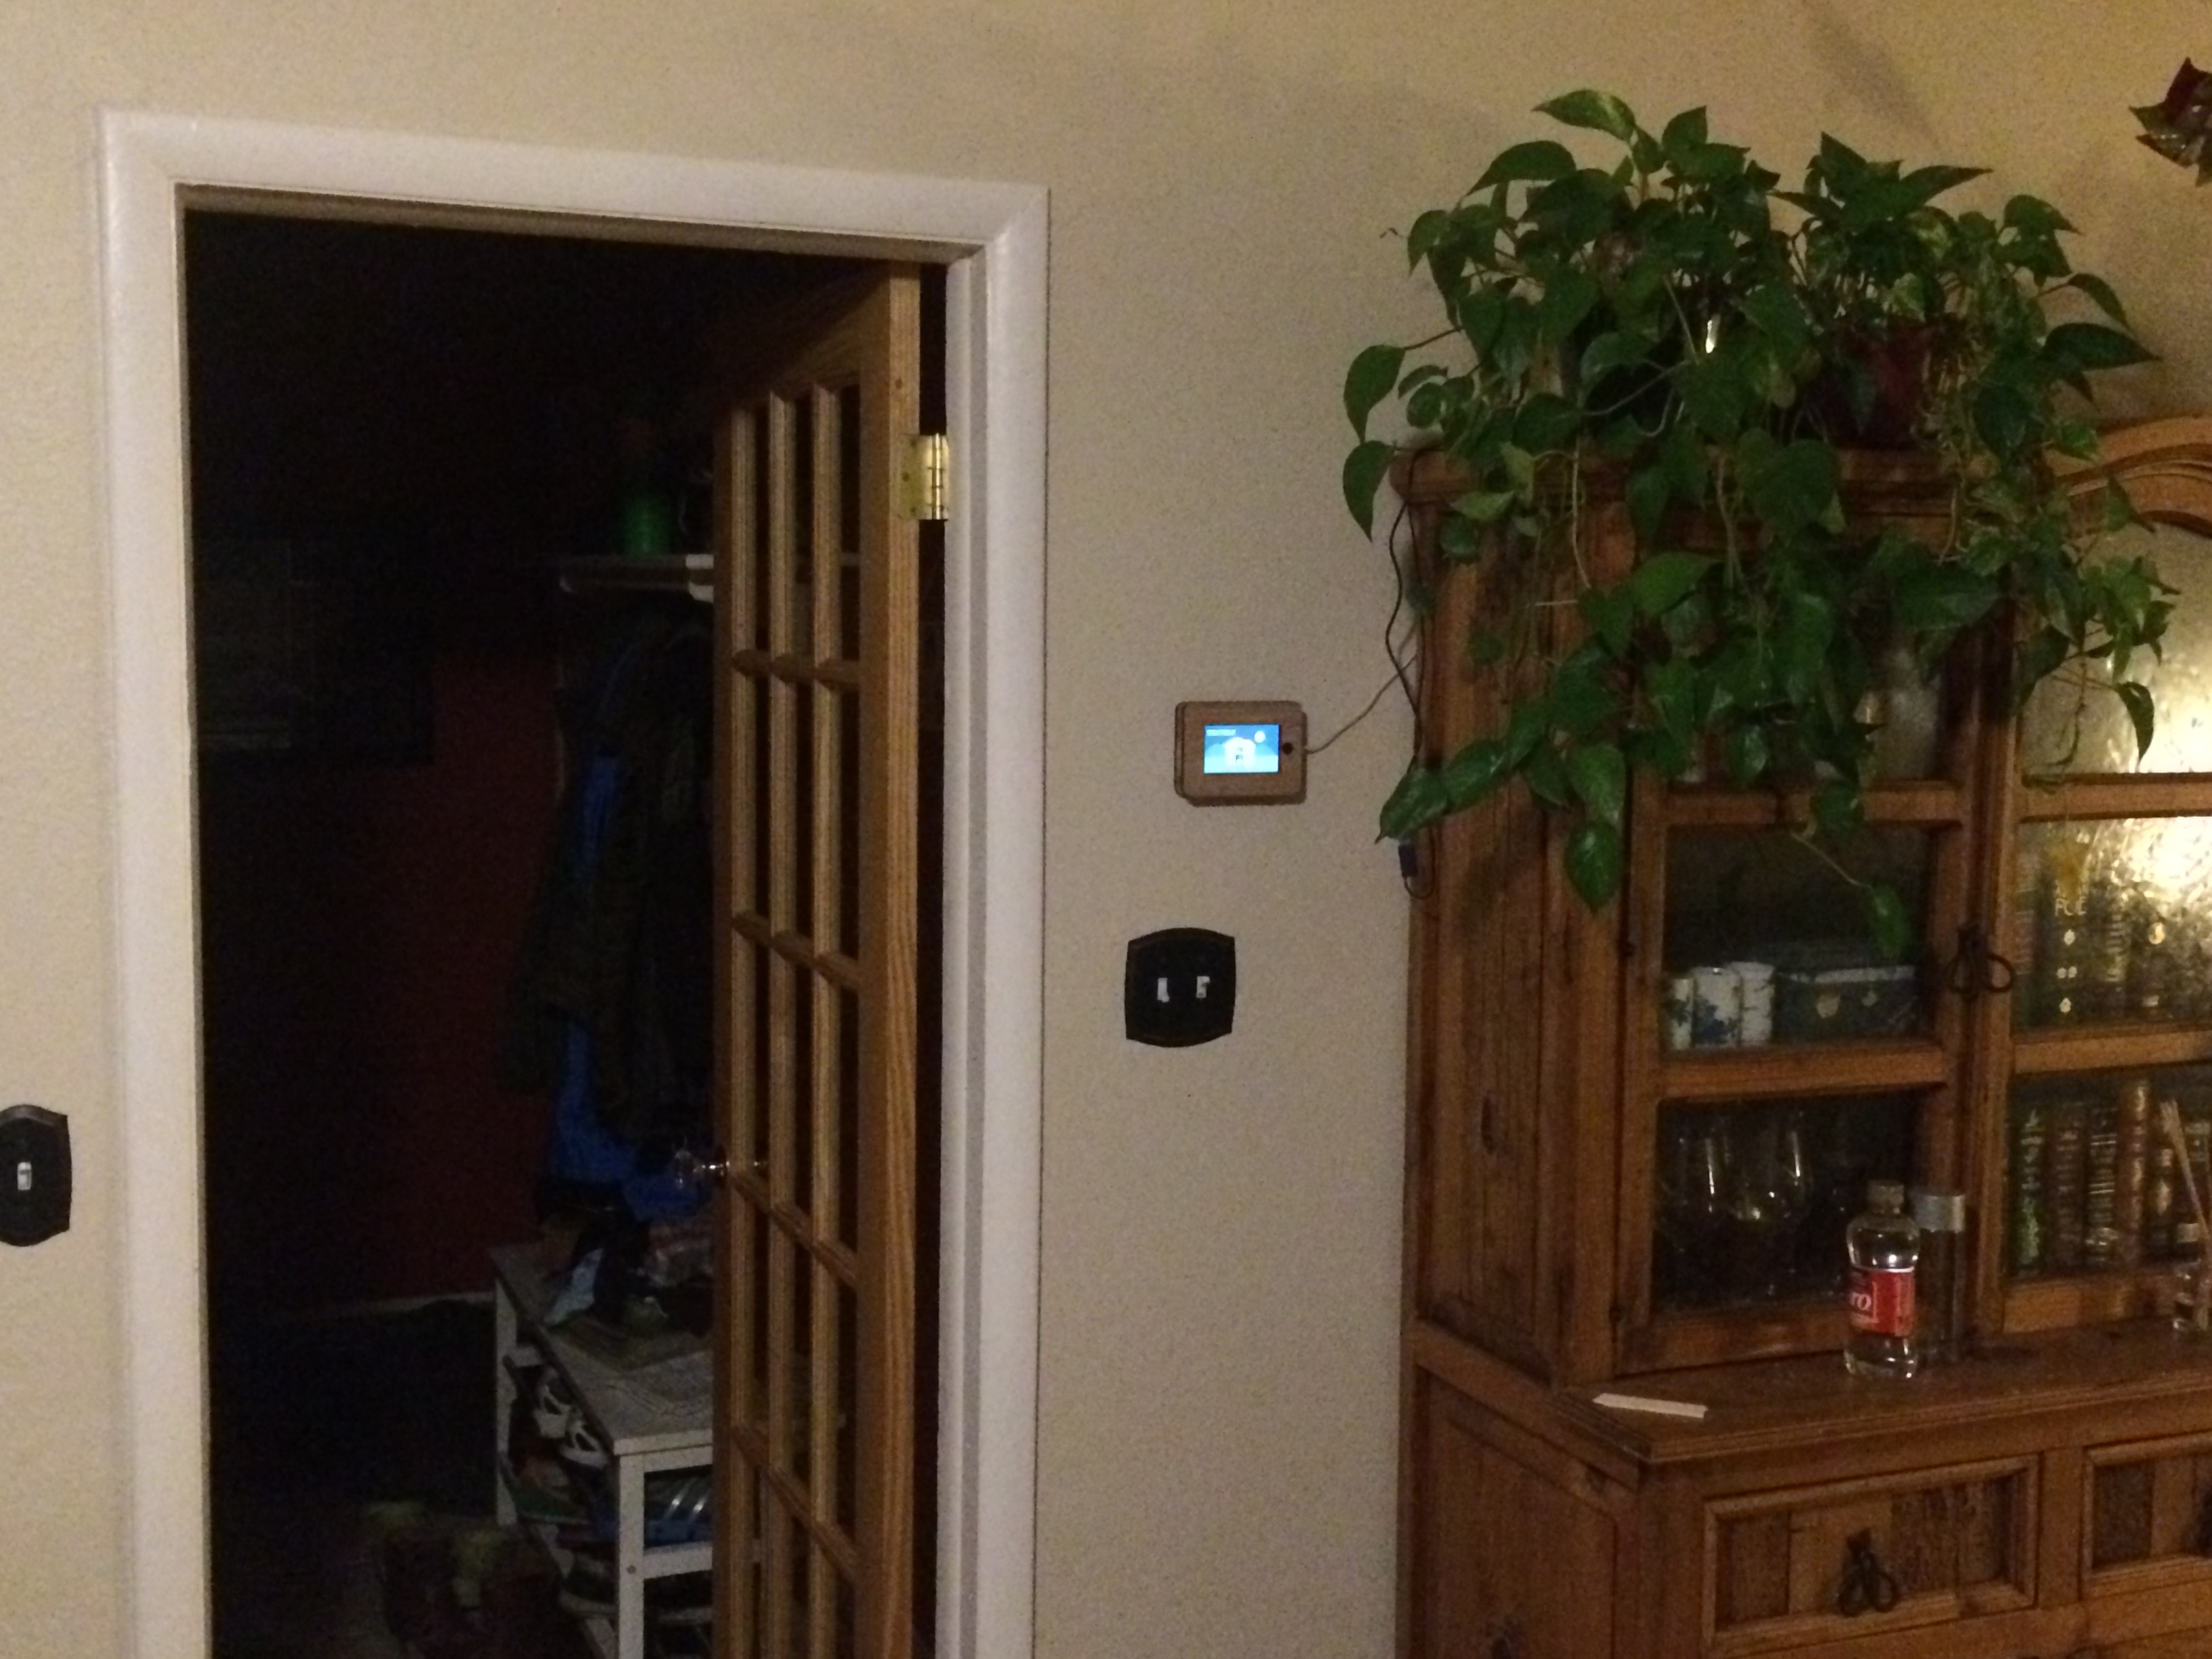
Like many people living in developed countries in 2015, our family had a few older smartphones lying around unused. As part of the CrouchHouse smart home project (see Introduction To CrouchHouse.), this past week I framed two old iPhones, converting them into wall-mounted touchscreen interfaces for home automation. The two phones used were my wife’s old iPhone 4, and my old iPhone 5. Rather than just sitting in a drawer without a use, these older iPhones are now used to report our smart house status to the family 24/7.

I’d tried to find iPhone frames I could just buy on the internet, but the only ones I found were made of pretty ugly acrylic that looked a lot like baseball card holders. So, I decided to make my own out of laser-cut bamboo and document the process for others. I wanted to leave an access hole to the home button, but didn’t care about the camera or microphone.


The iPhone 4 frame mounted in a high traffic area, providing an easy readout of house status.

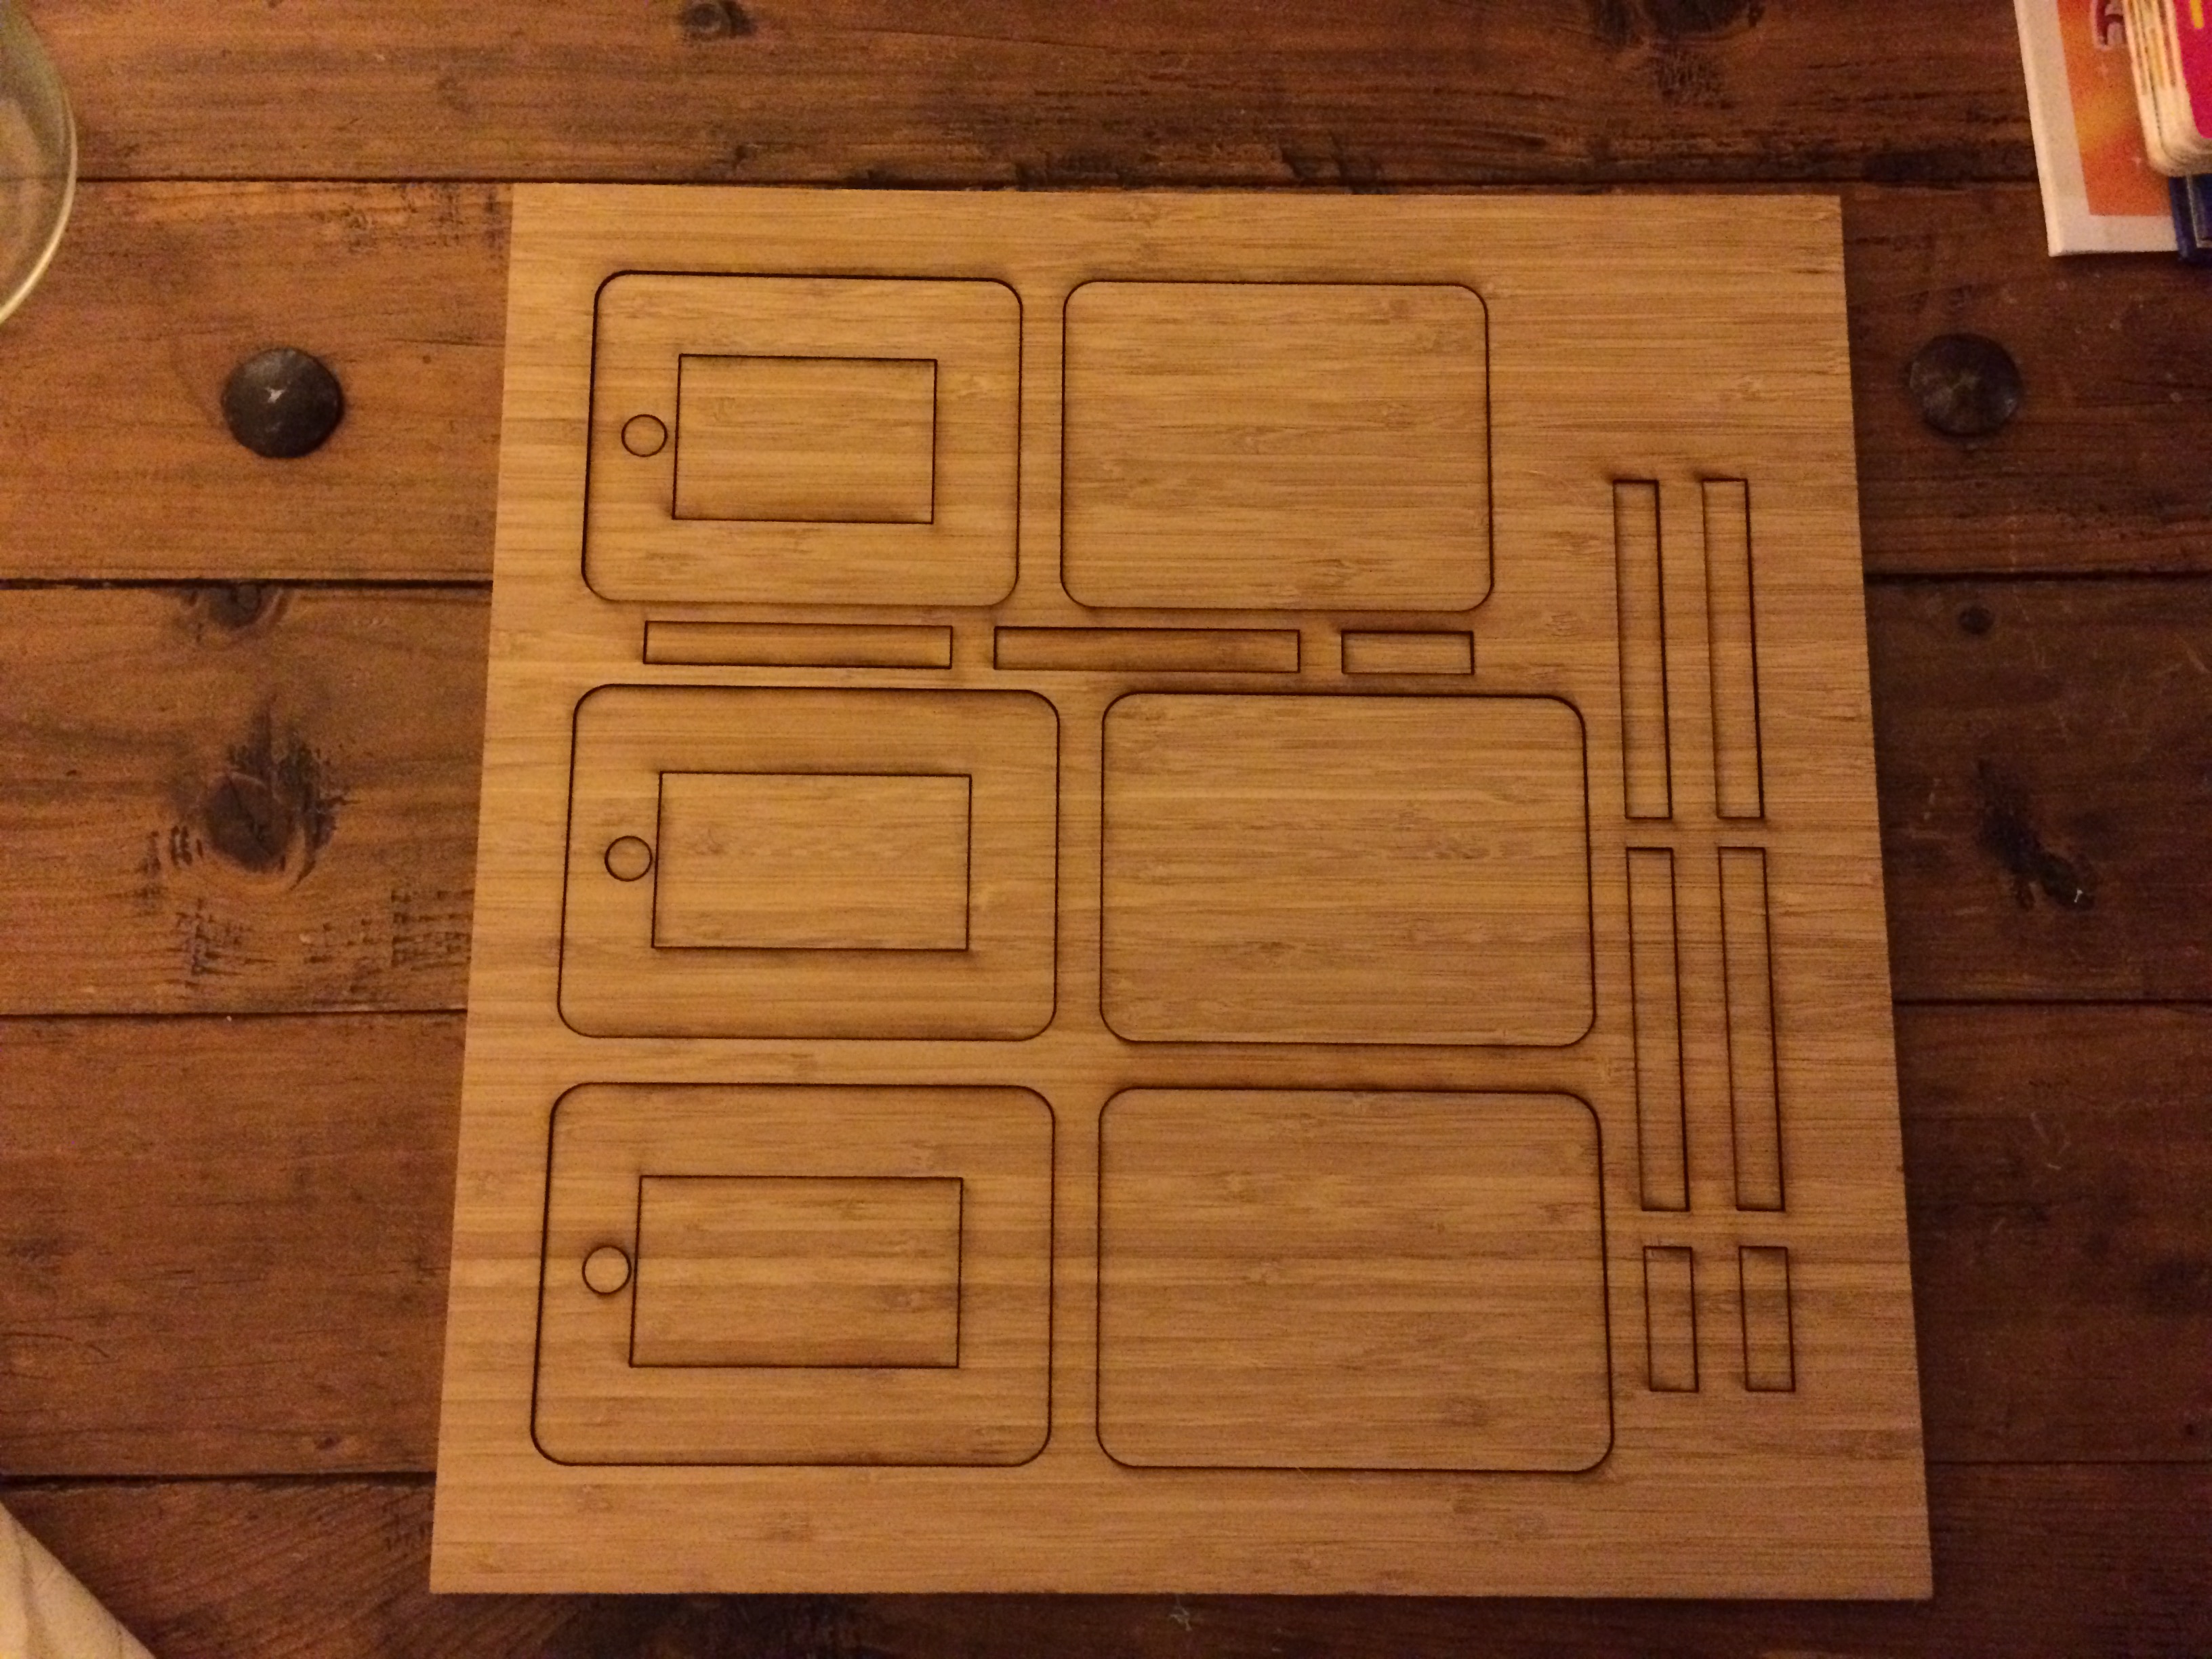
Creating The iPhone Frames

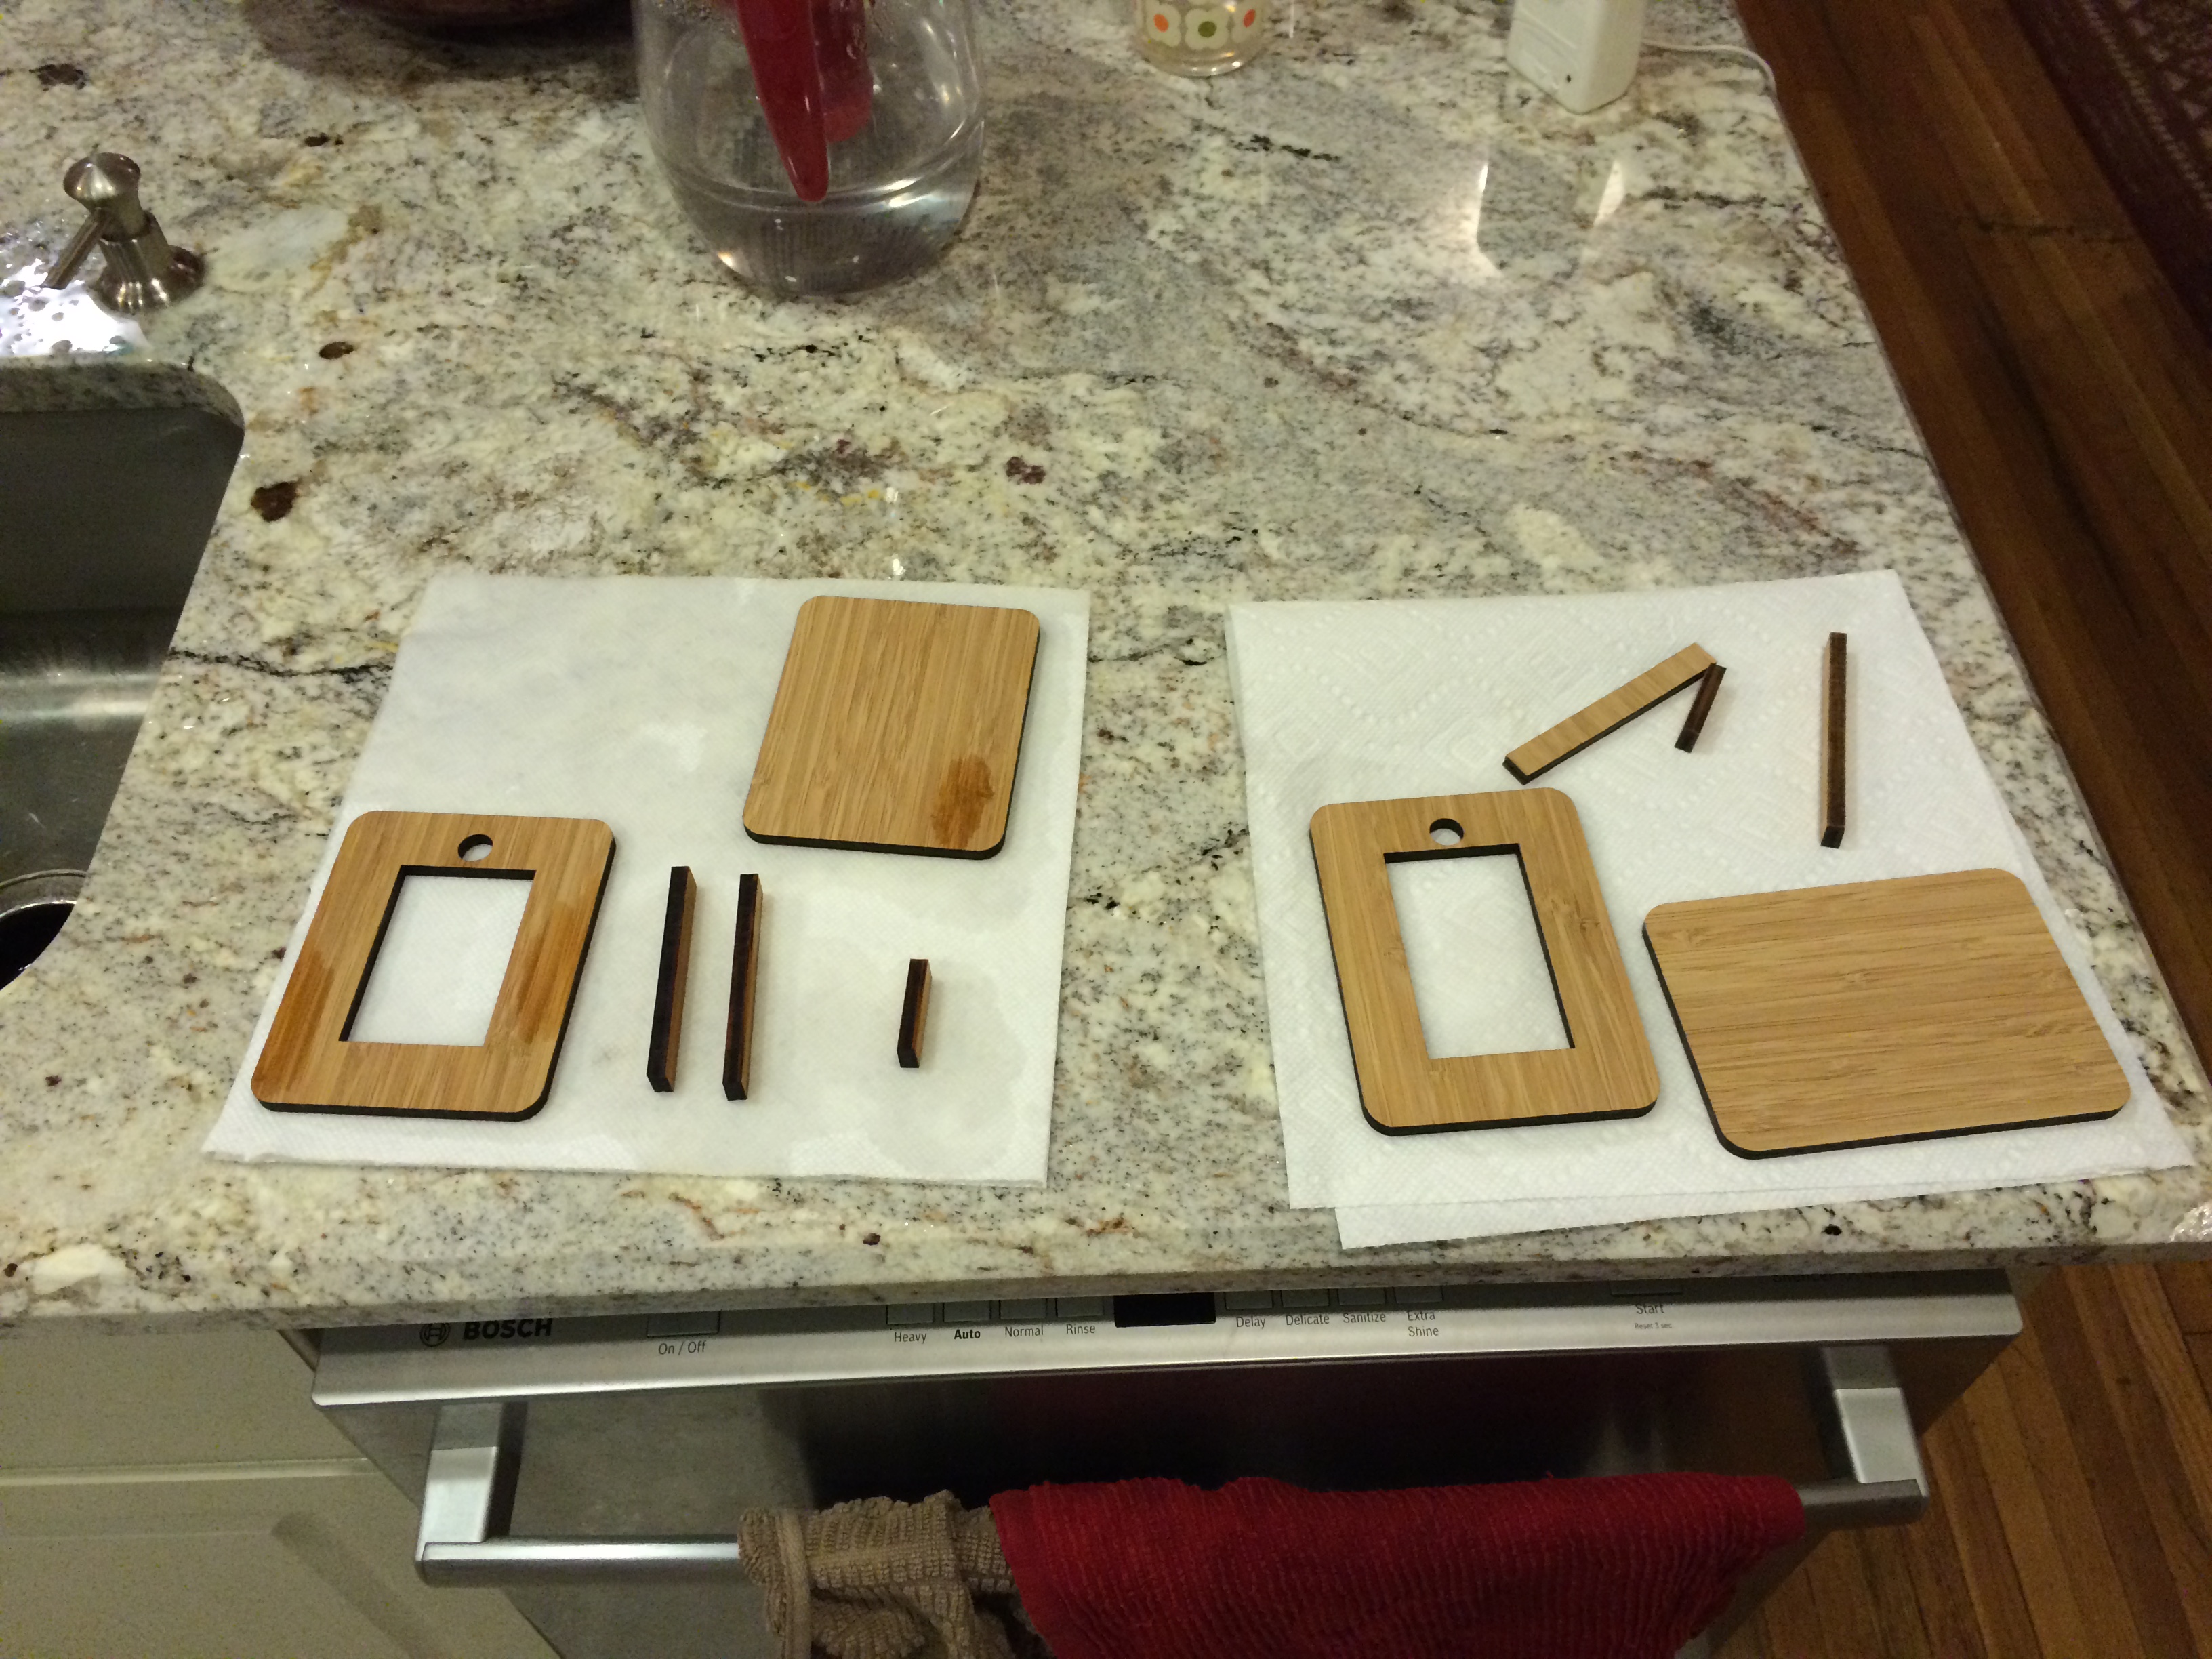
I used the laser-cutting service Ponoko.com to create bamboo frames for the iPhones. Using a ruler, I made some measurements of the iPhone 4 and iPhone 5, adding a one inch frame around the touchscreen. I was able to fit materials for one iPhone 4 frame and two iPhone 5/5s frames onto one sheet of bamboo. You can download my plans file here to create the cut bamboo materials for yourself.


When I received the bamboo sheet with the cut frame materials, everything was still in place. I had to pop out the internal cuts.
The front of one of the iPhone 5 frames.
The bamboo had a paper backing on it, which could be easily peeled off.
All of the laser-cut edges of the bamboo material were scorched black. This is a side effect of using lasers.
To clean off the black ash from the edges of the cut bamboo, I washed all of the pieces in the sink with soapy water.


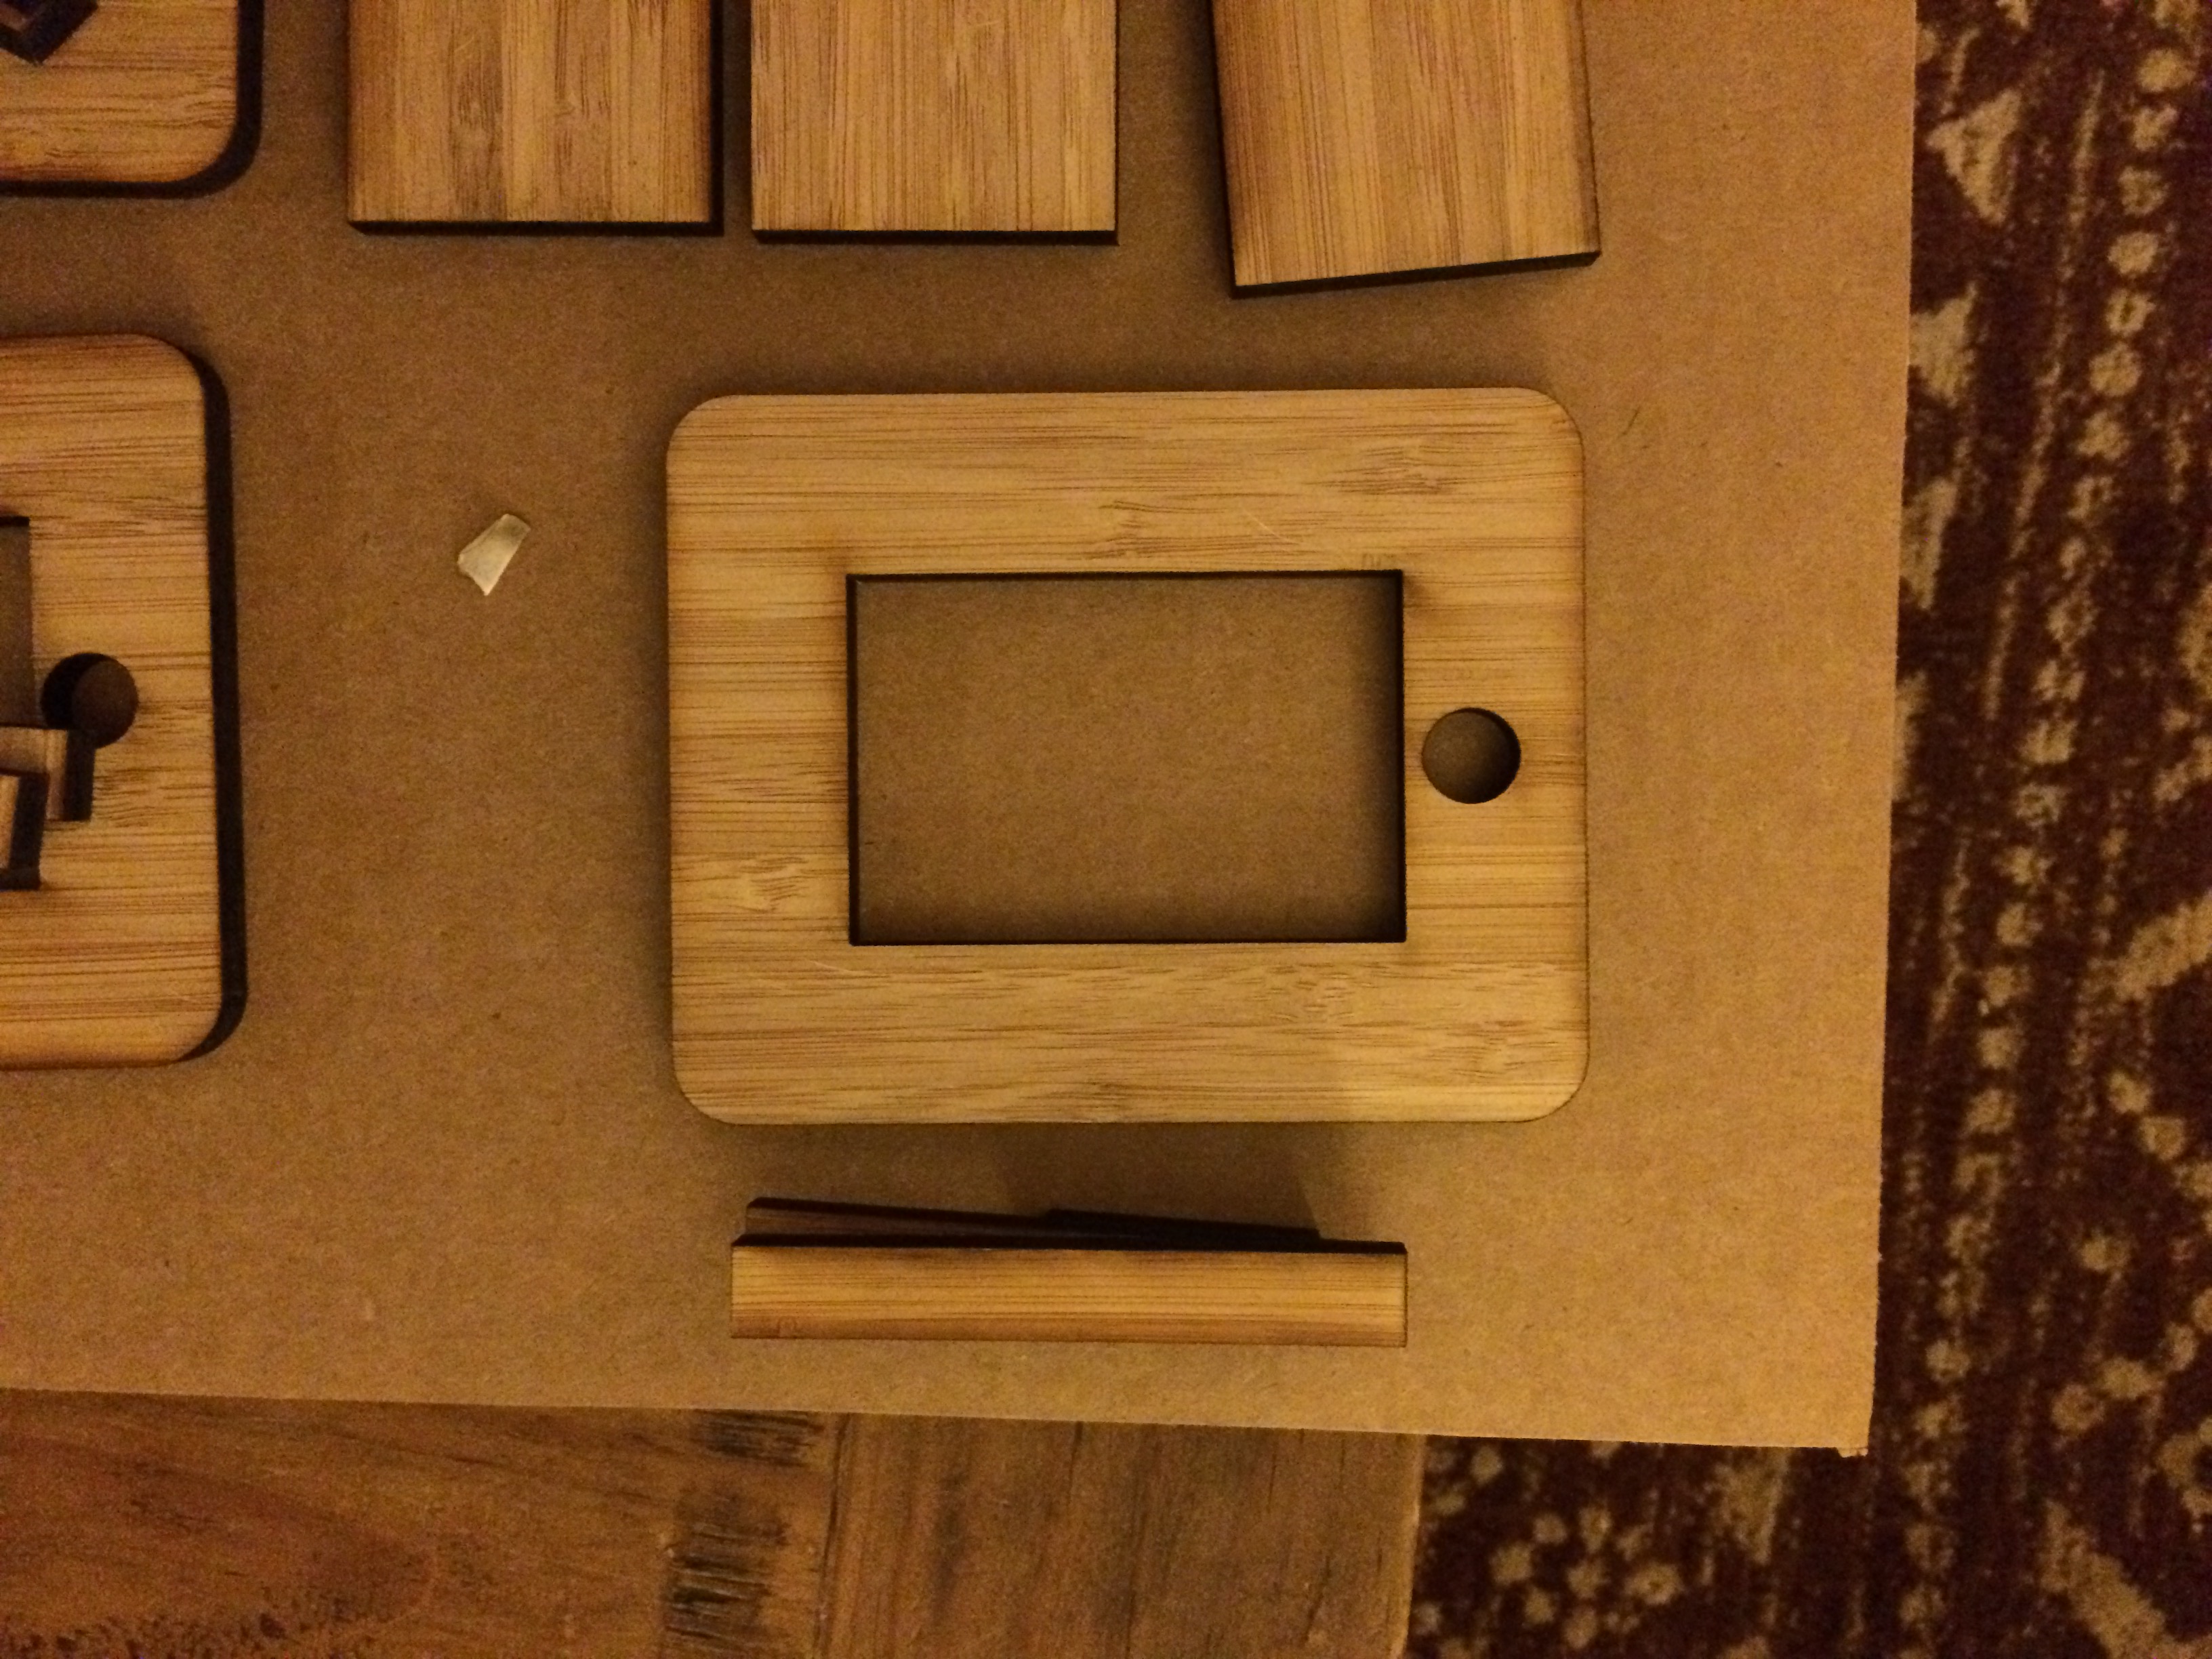
Putting The Frames Together

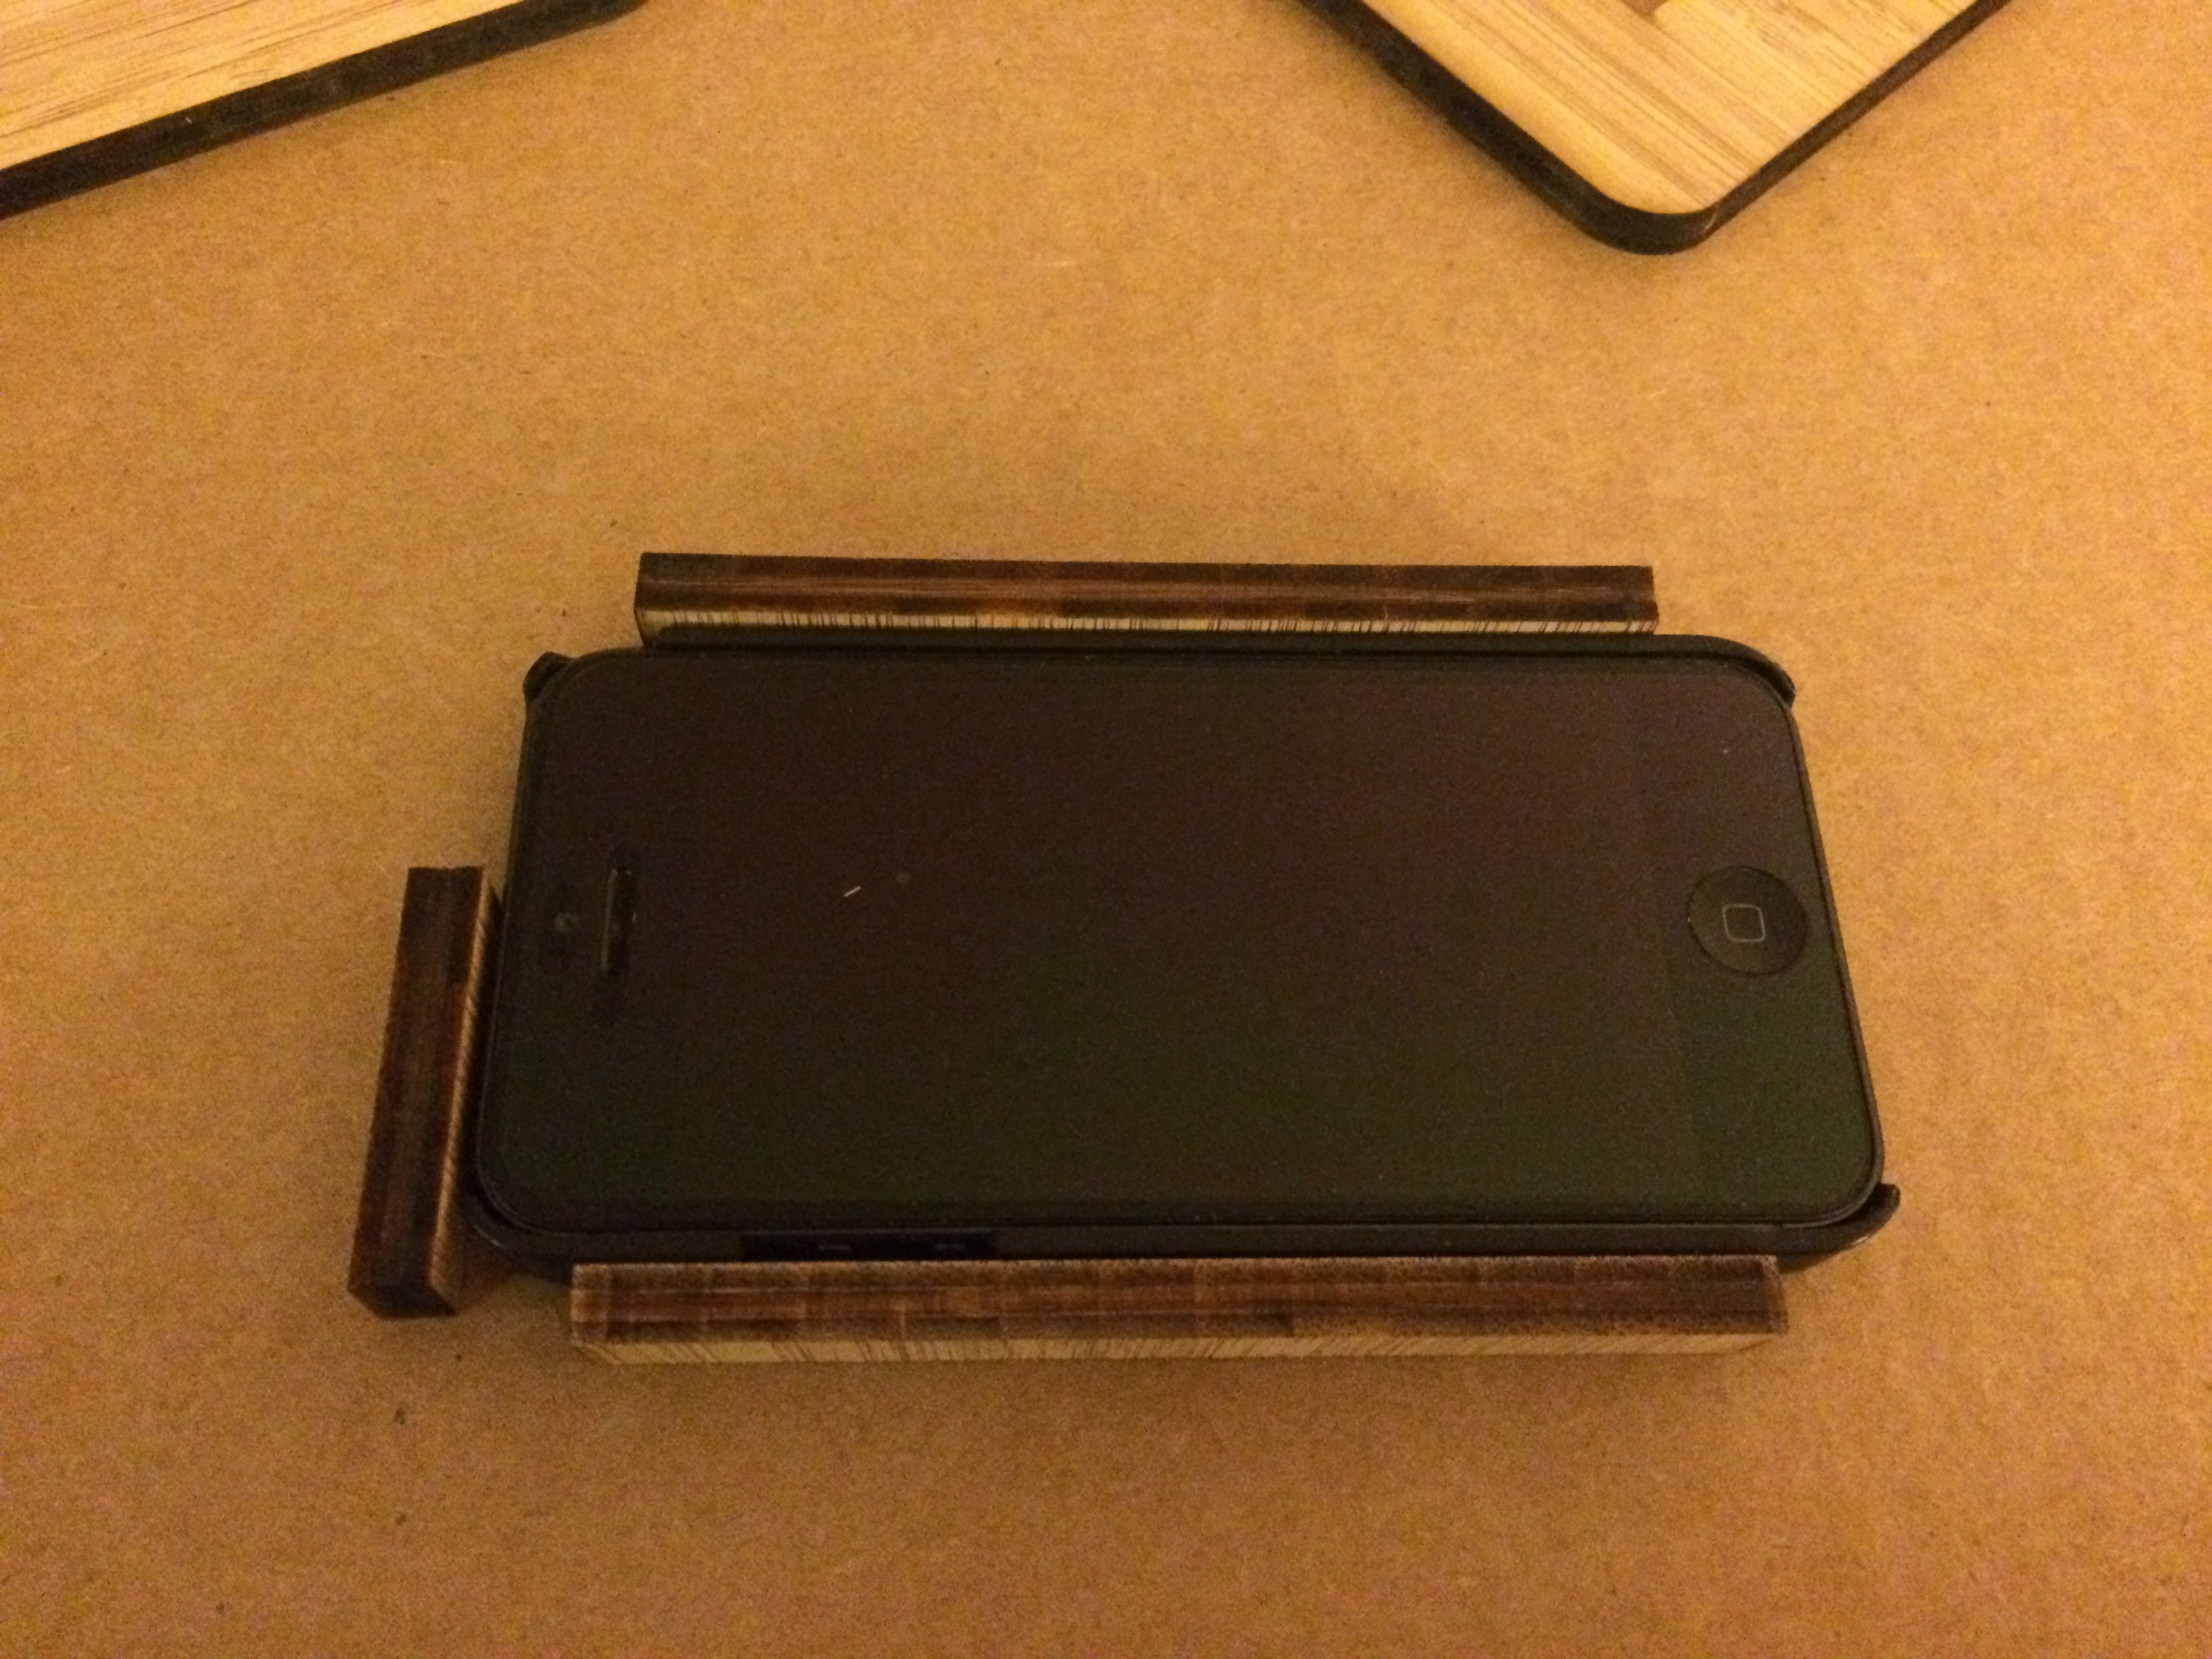
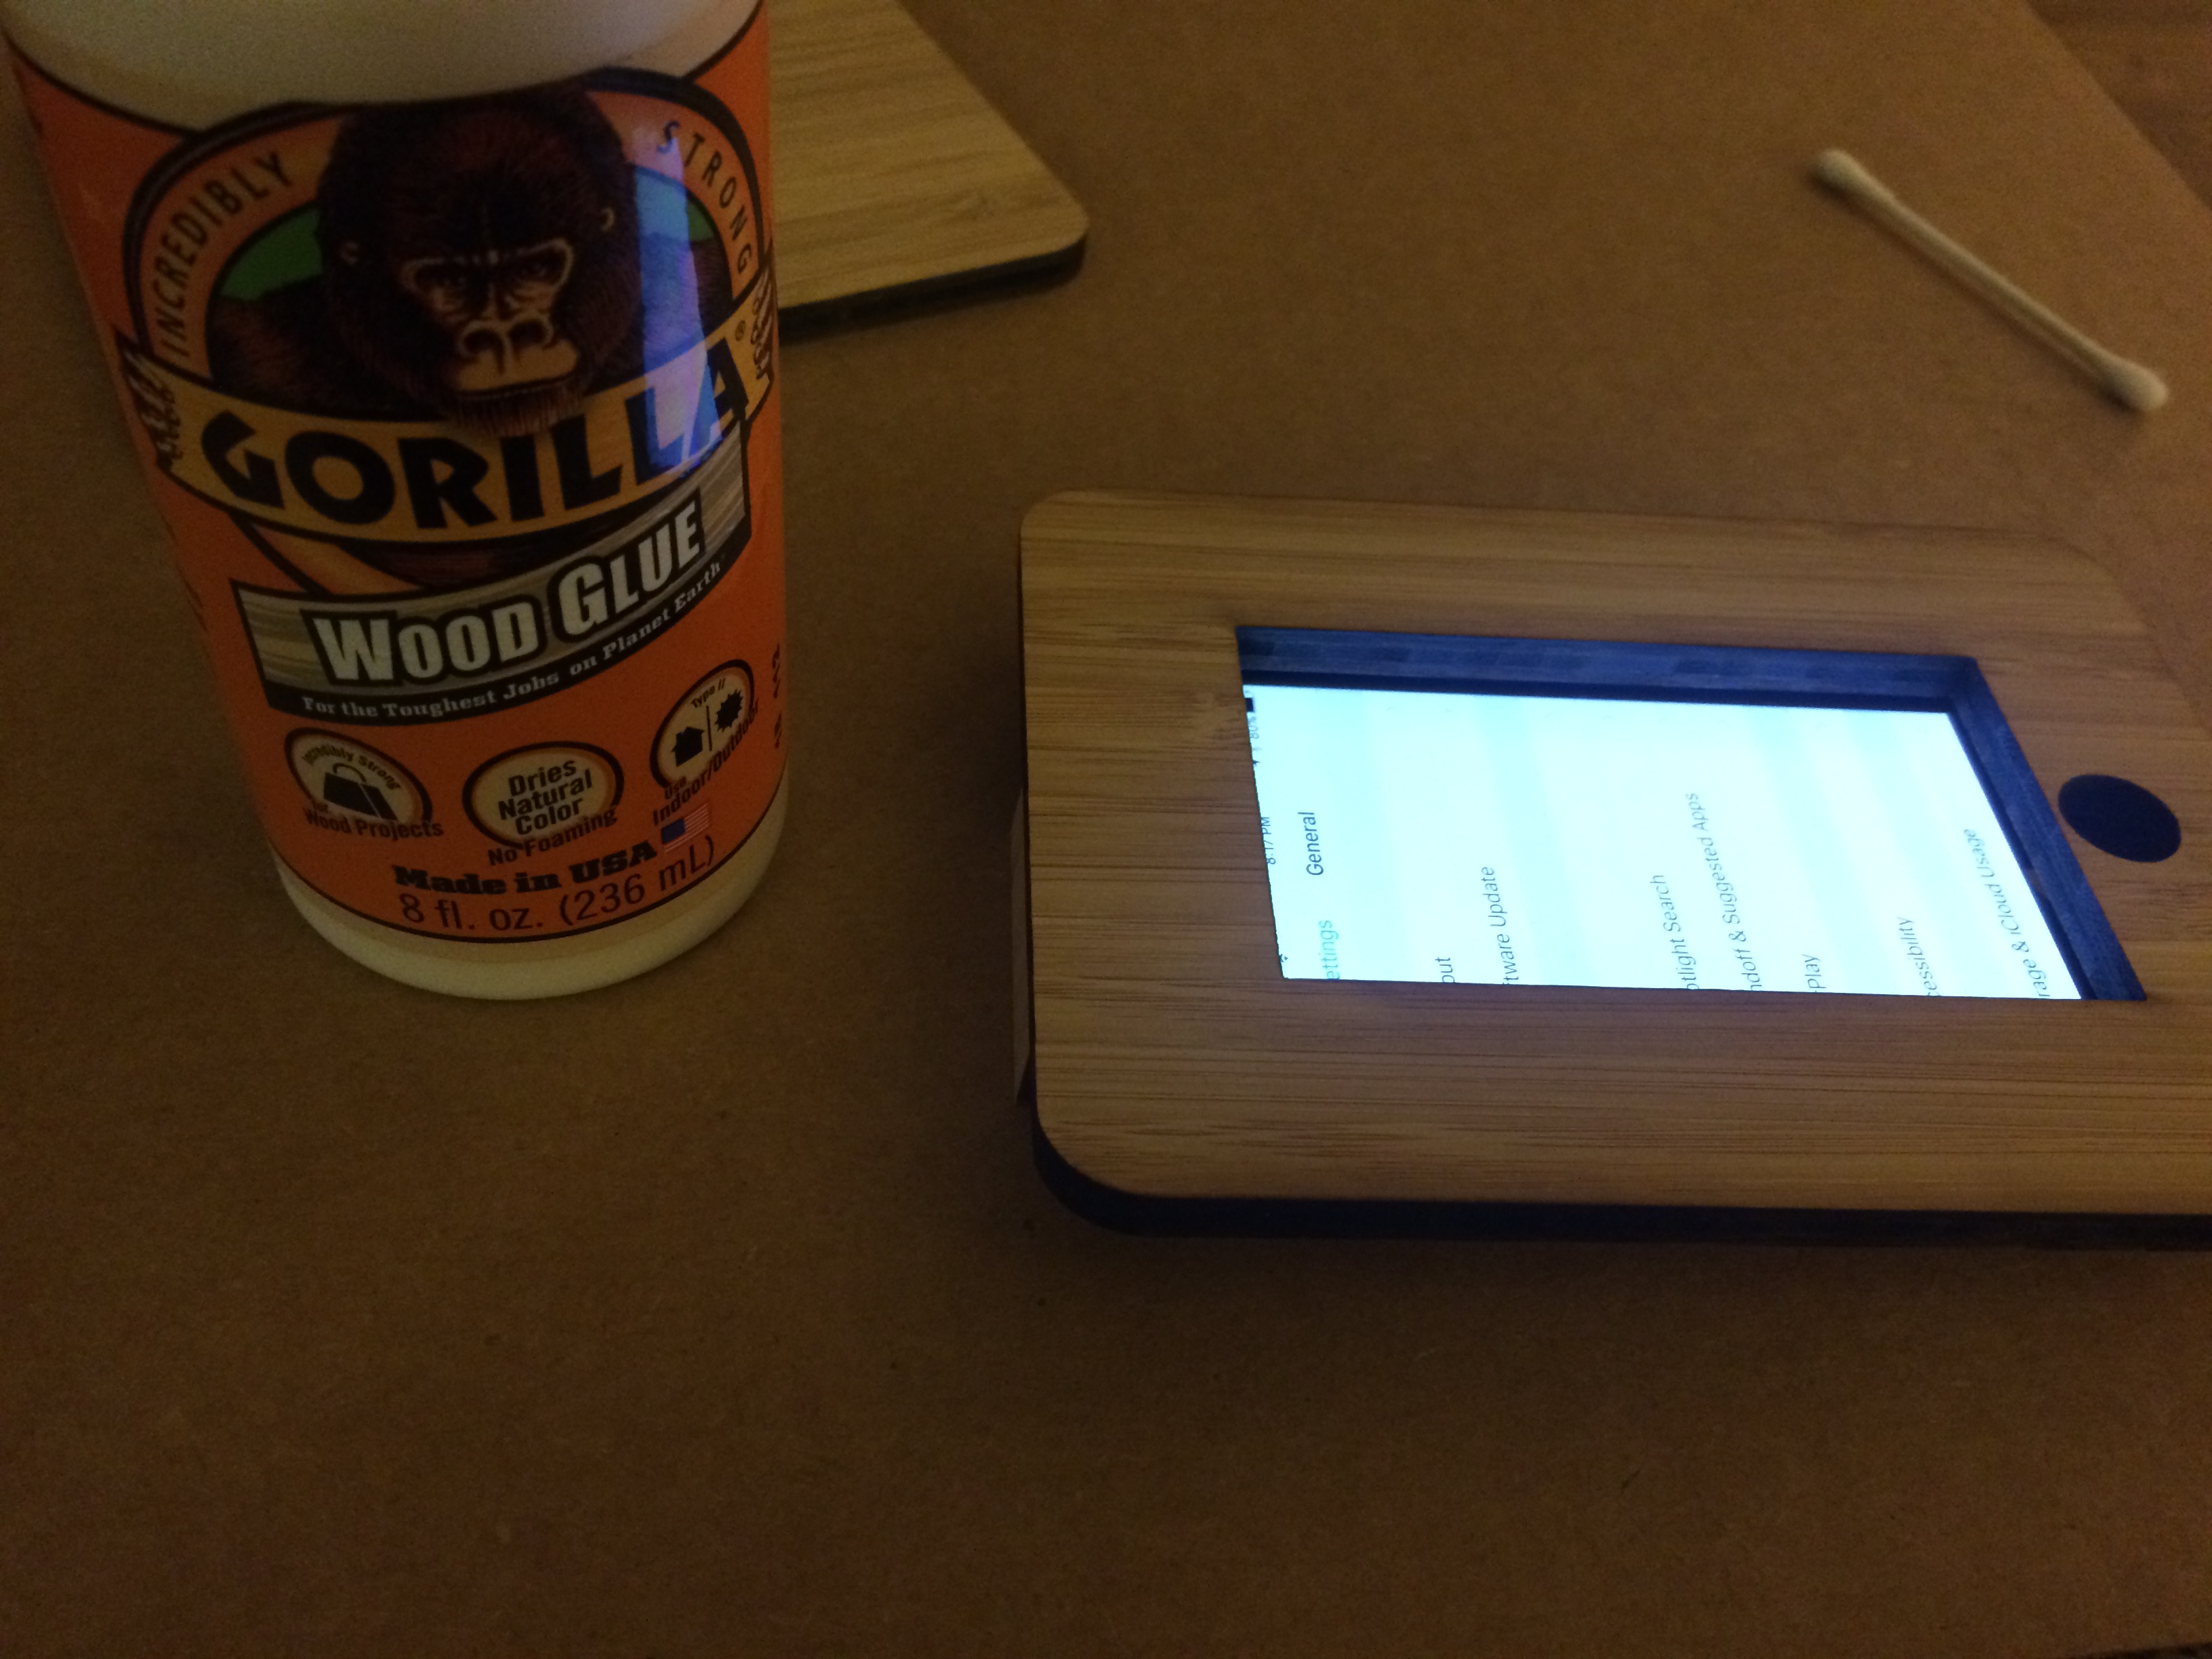
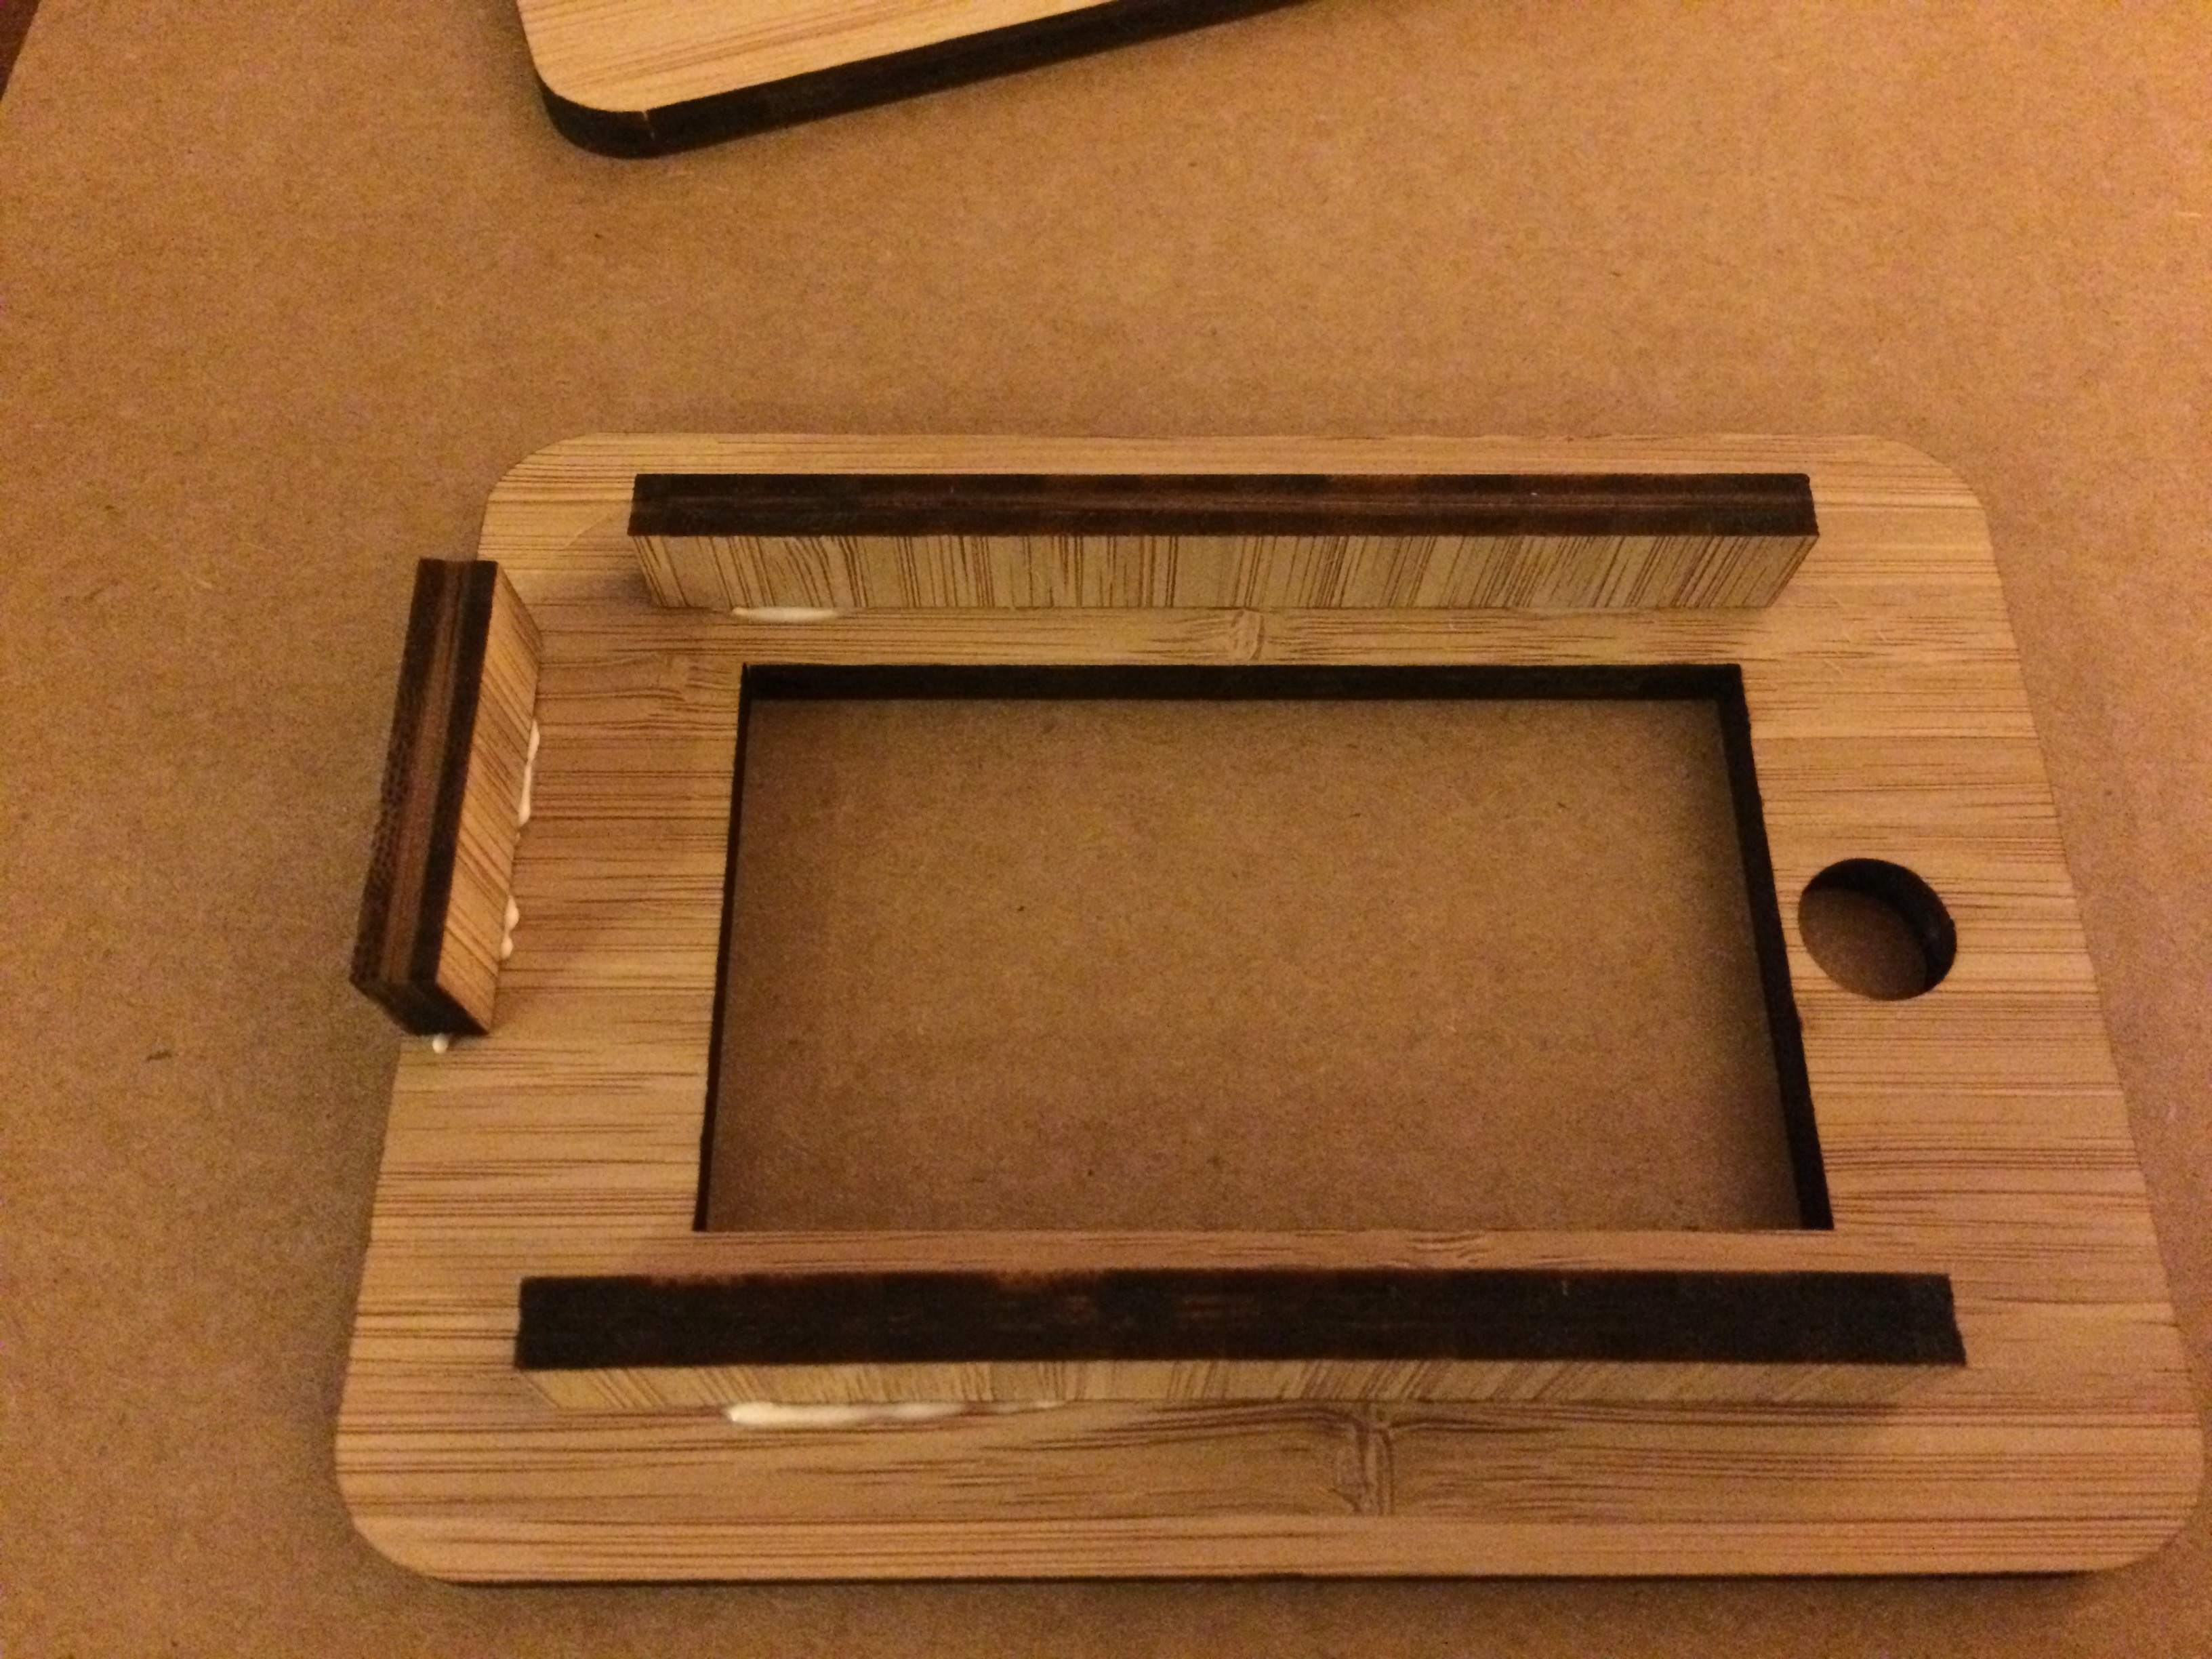
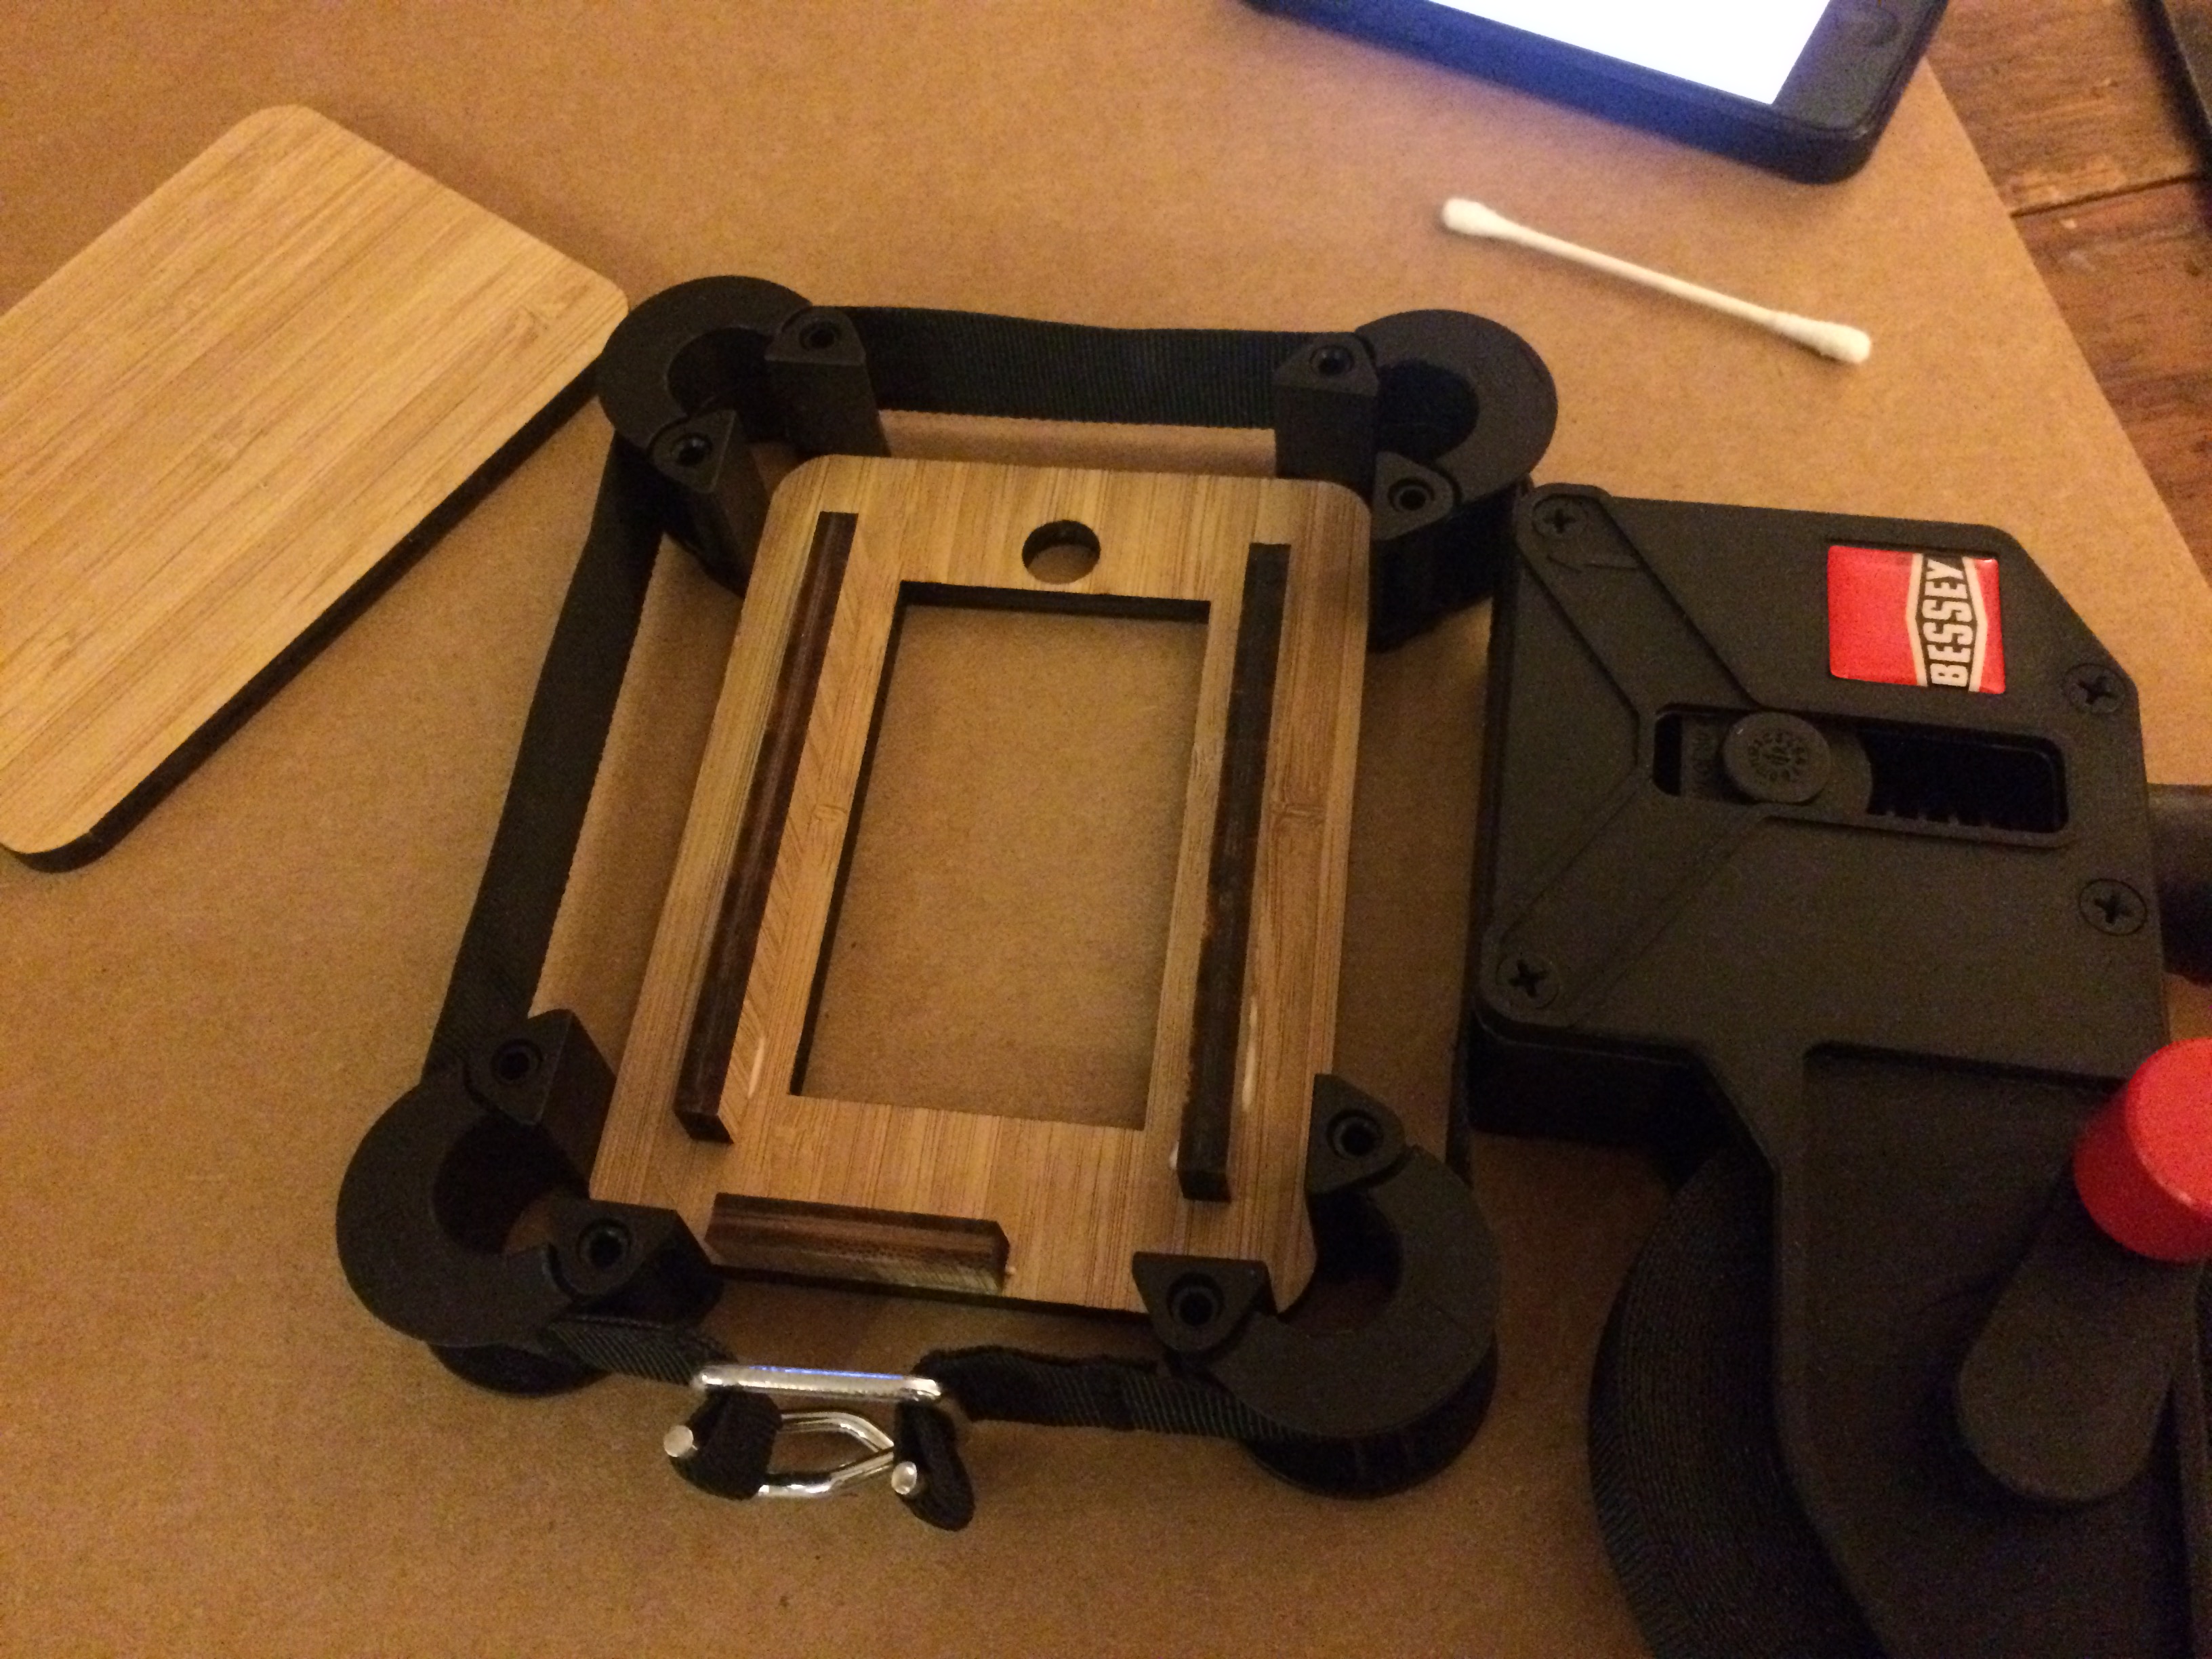
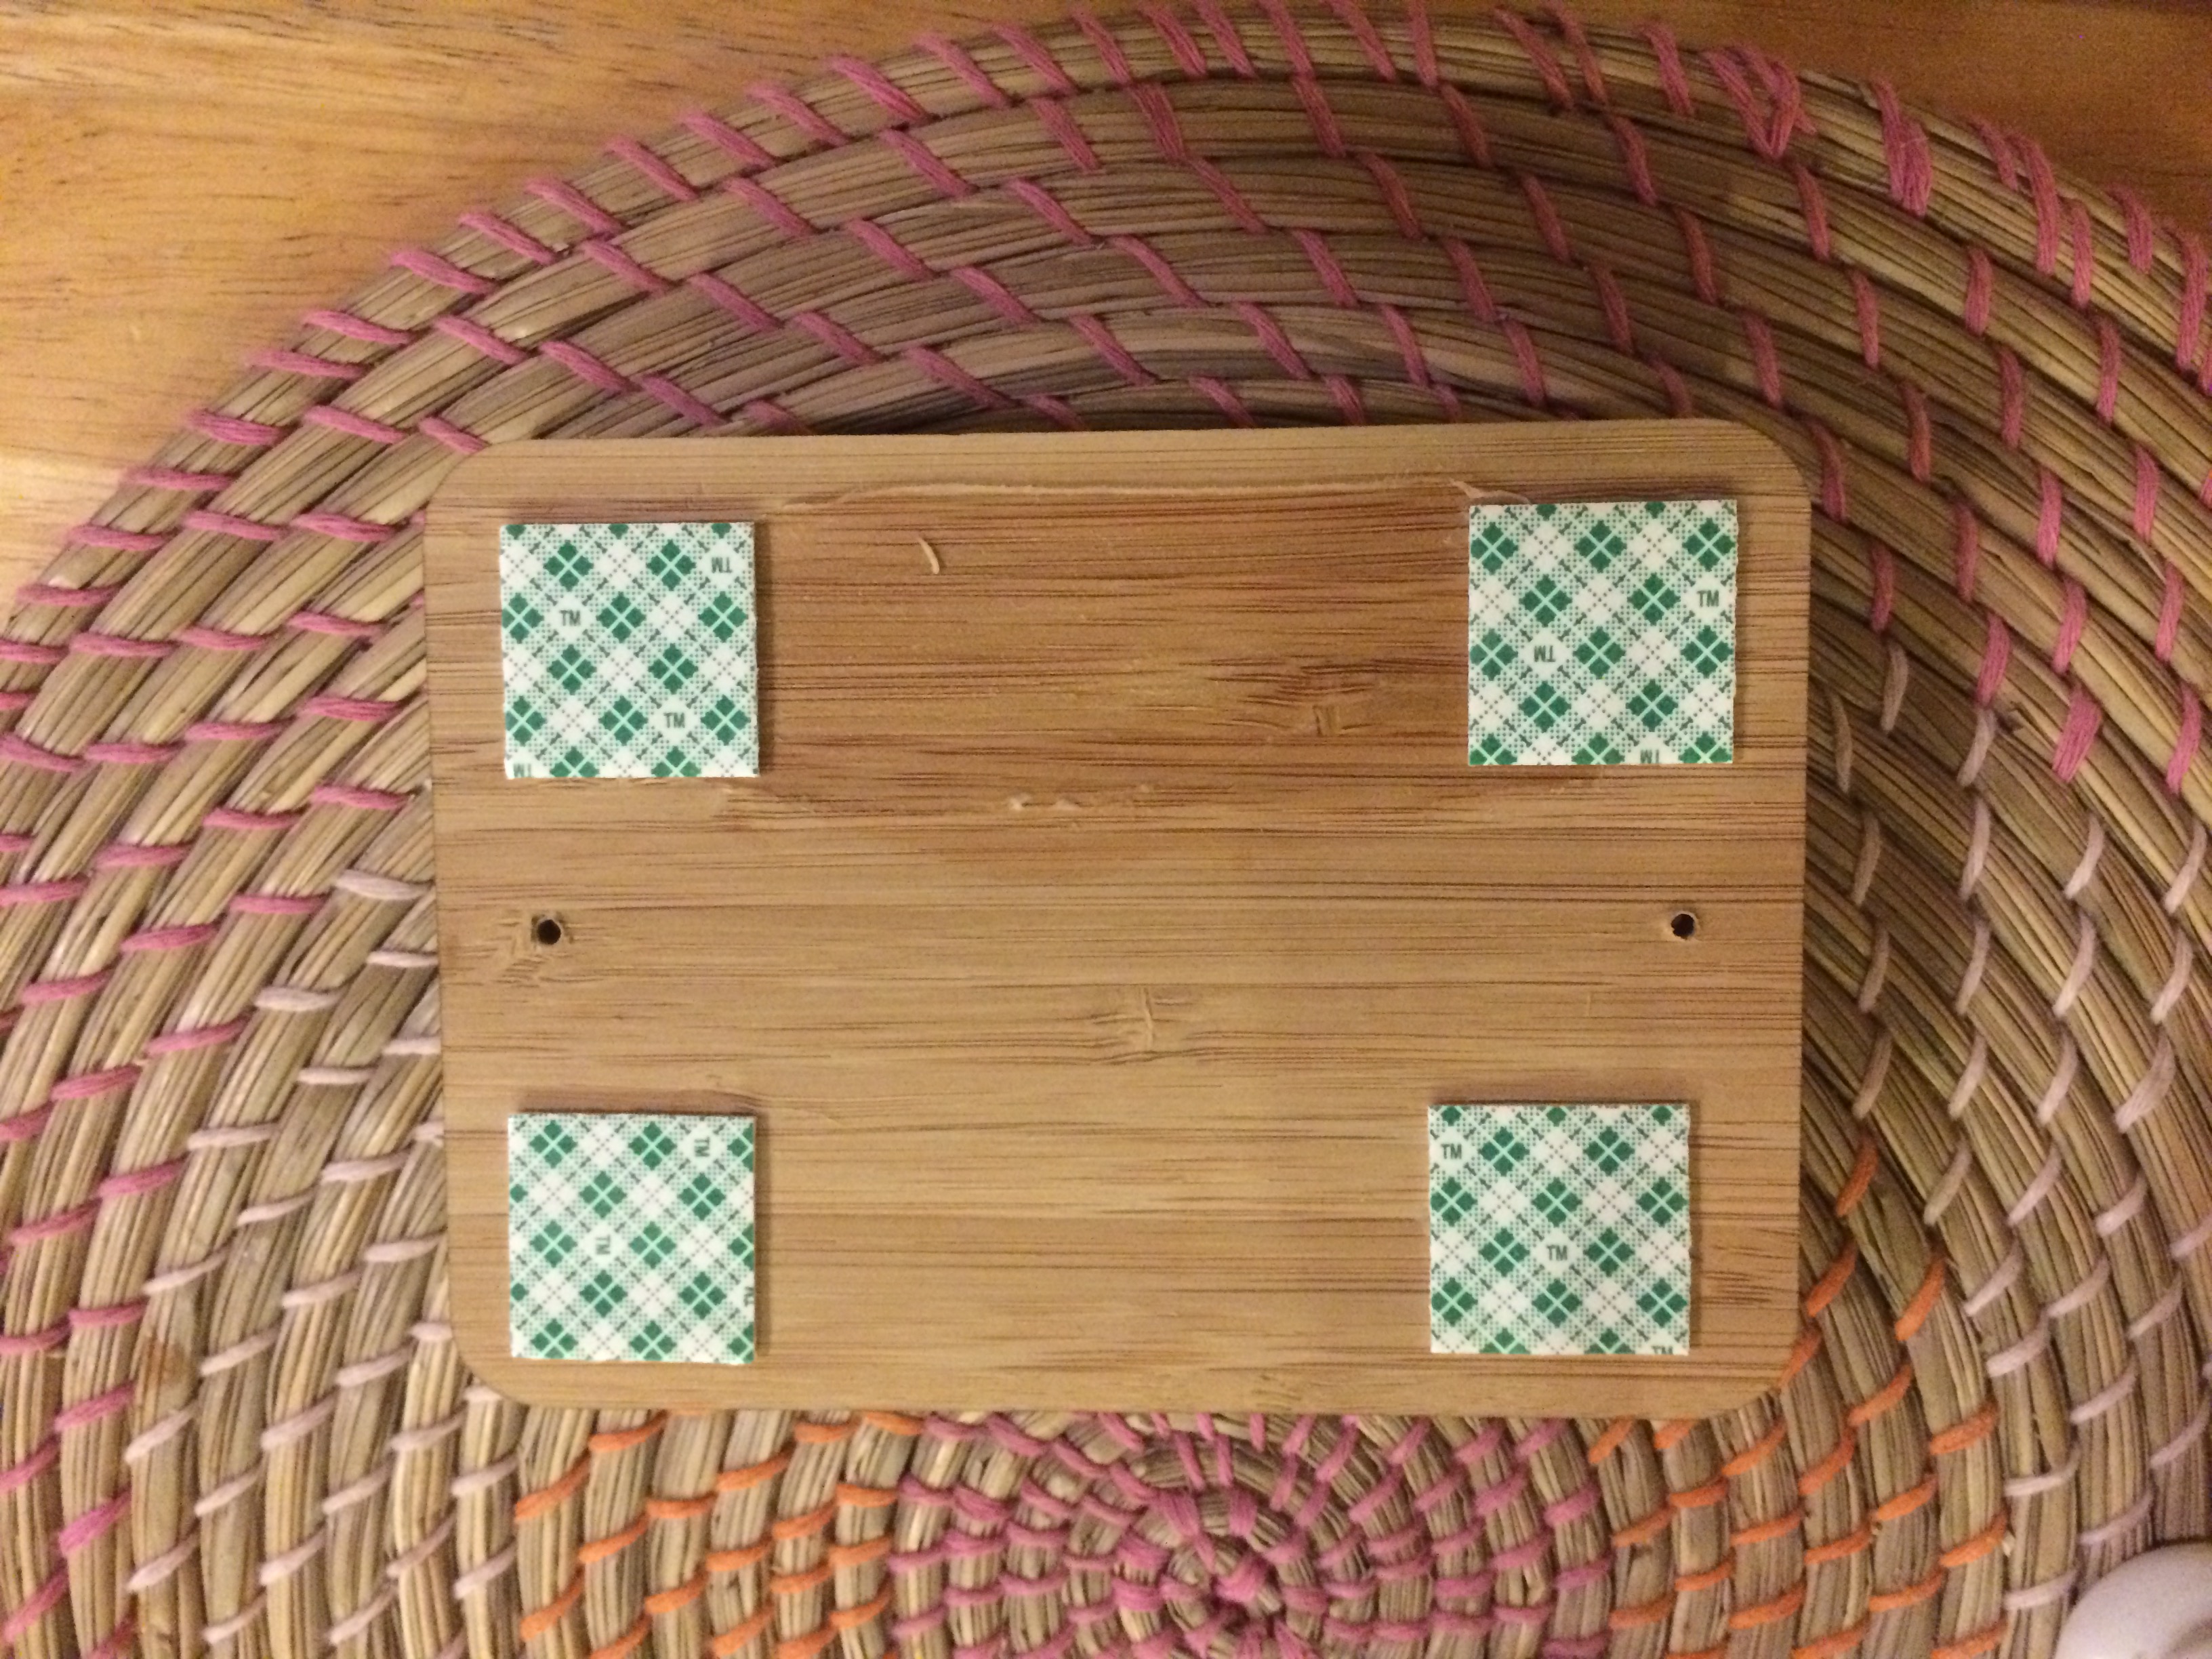
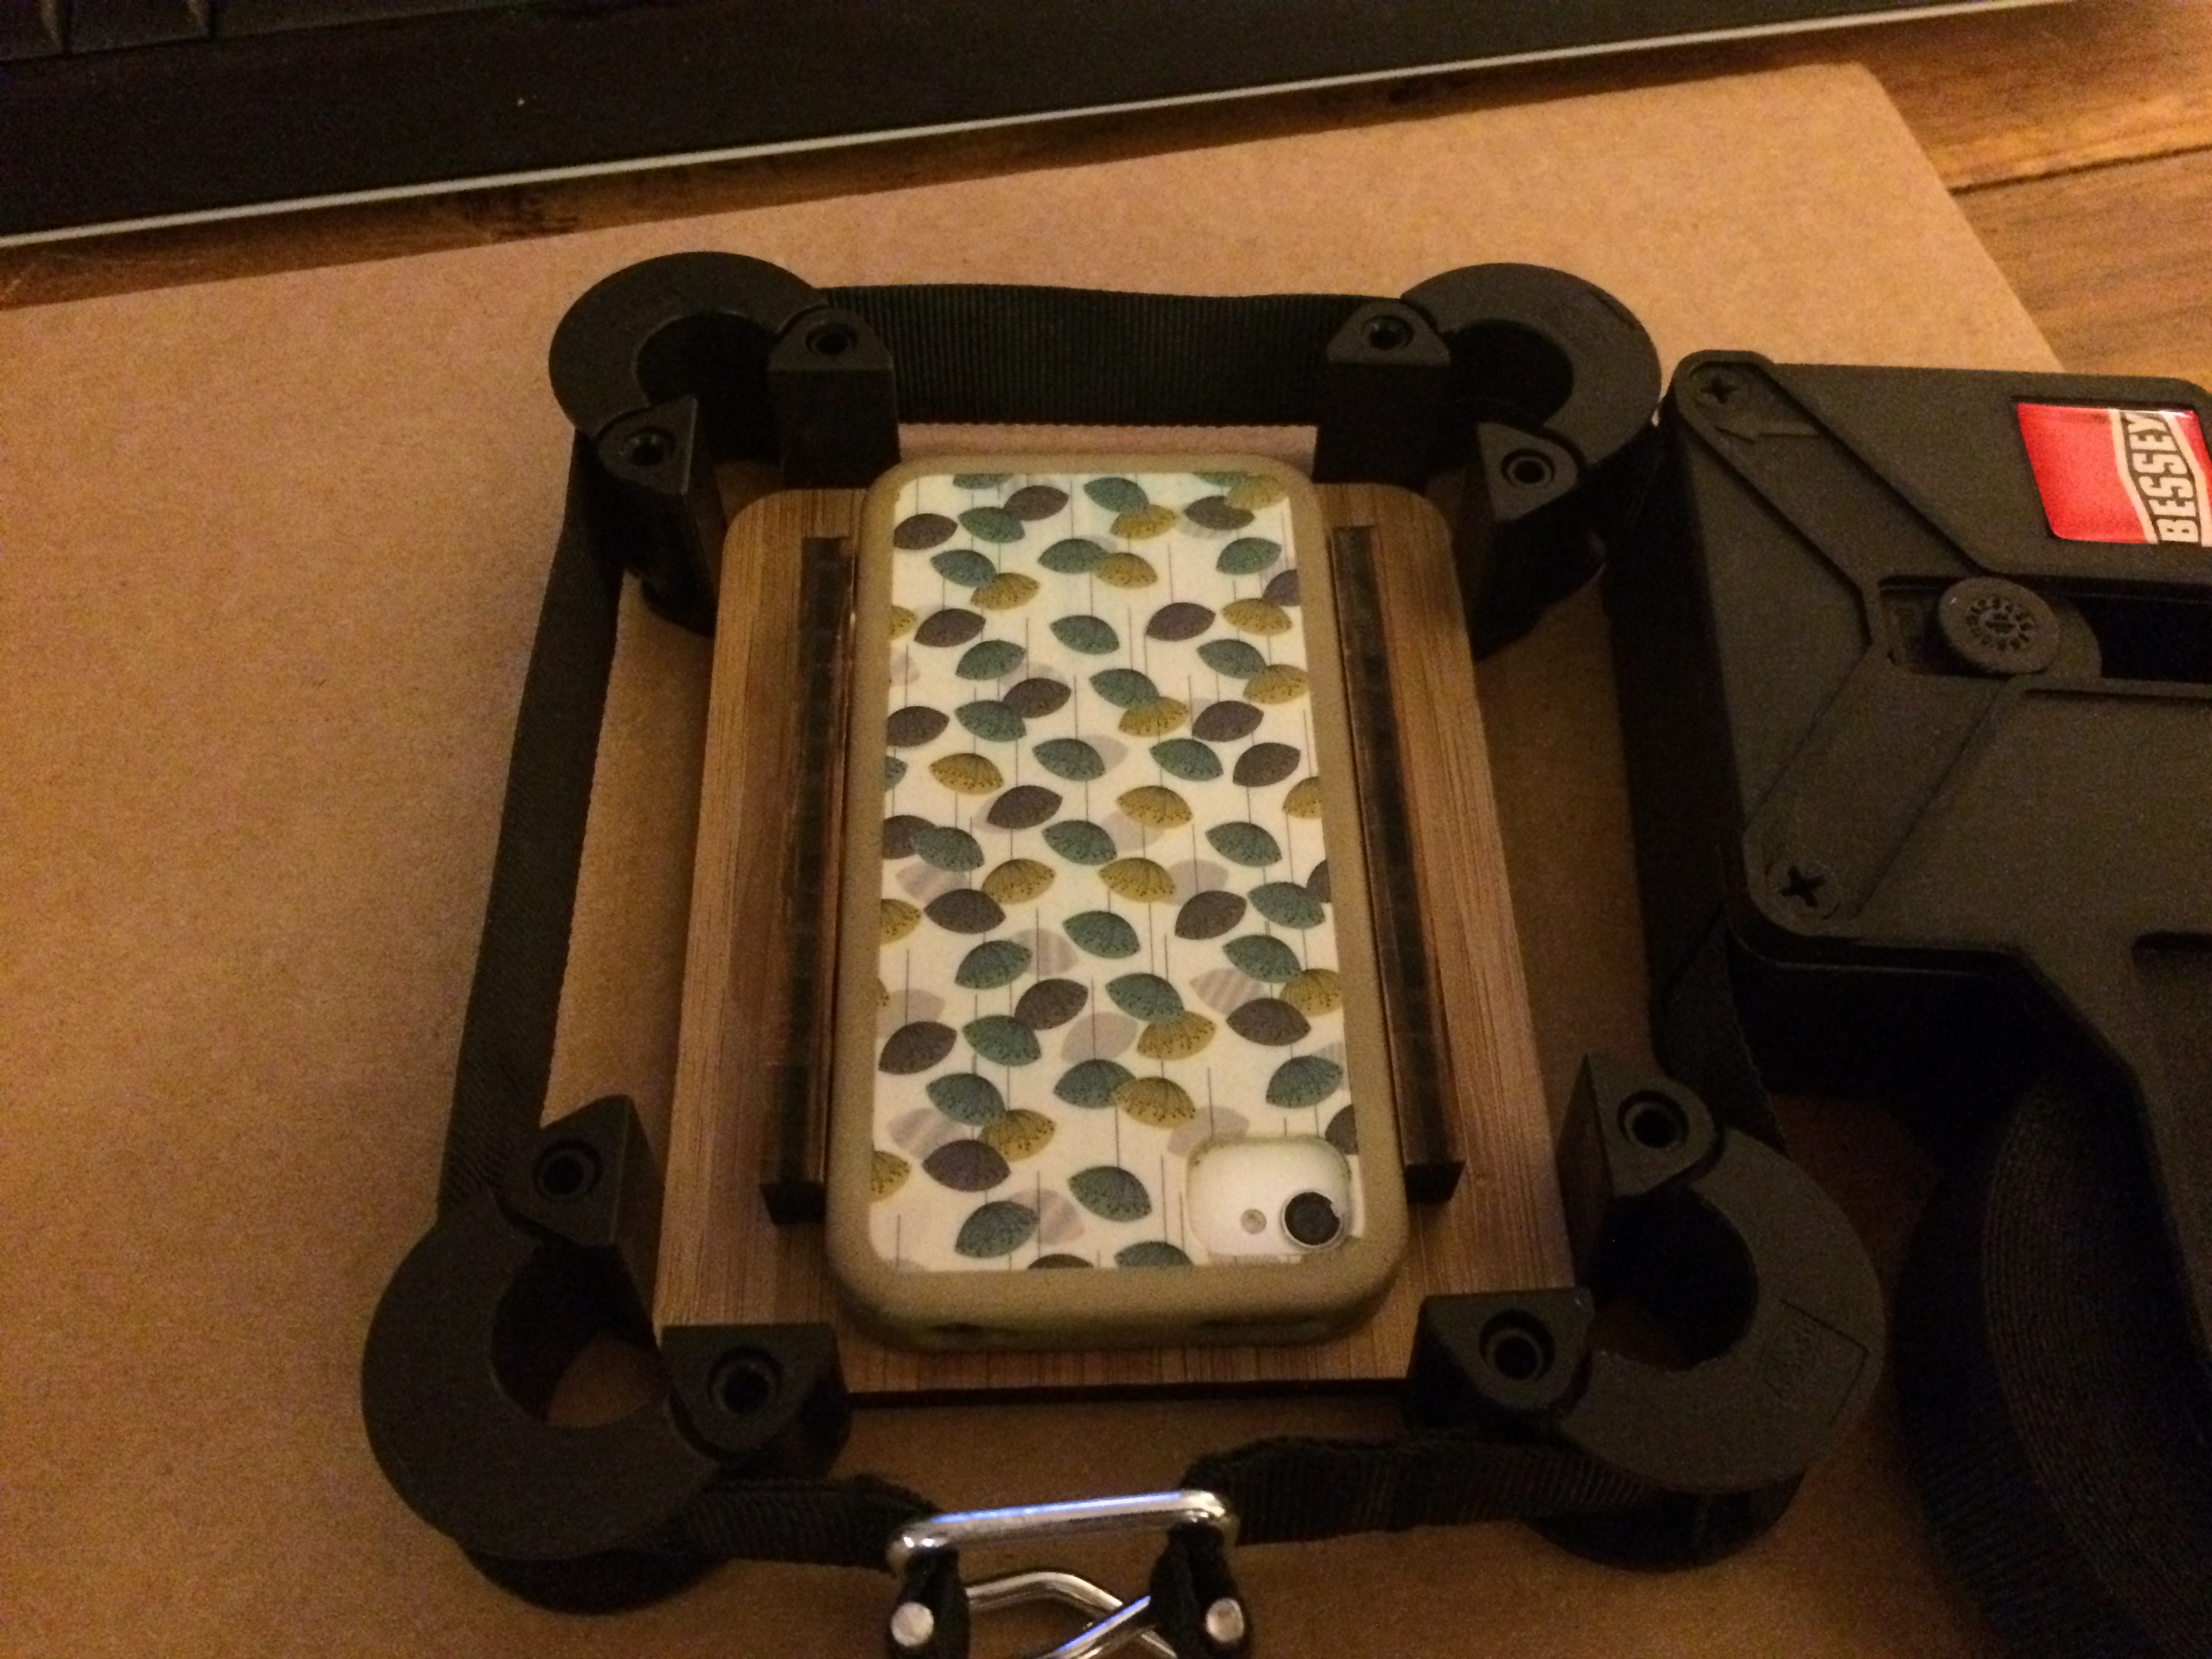
With the bamboo frame pieces cleaned of ash, next I began building the frame with wood glue. I built the iPhone 4 and iPhone 5 frames slightly differently. I wanted the iPhone 5 frame to allow the iPhone 5 to be removed if desired; I didn’t really care if the iPhone 4 was removal so I just glued it (in its case) into the frame.
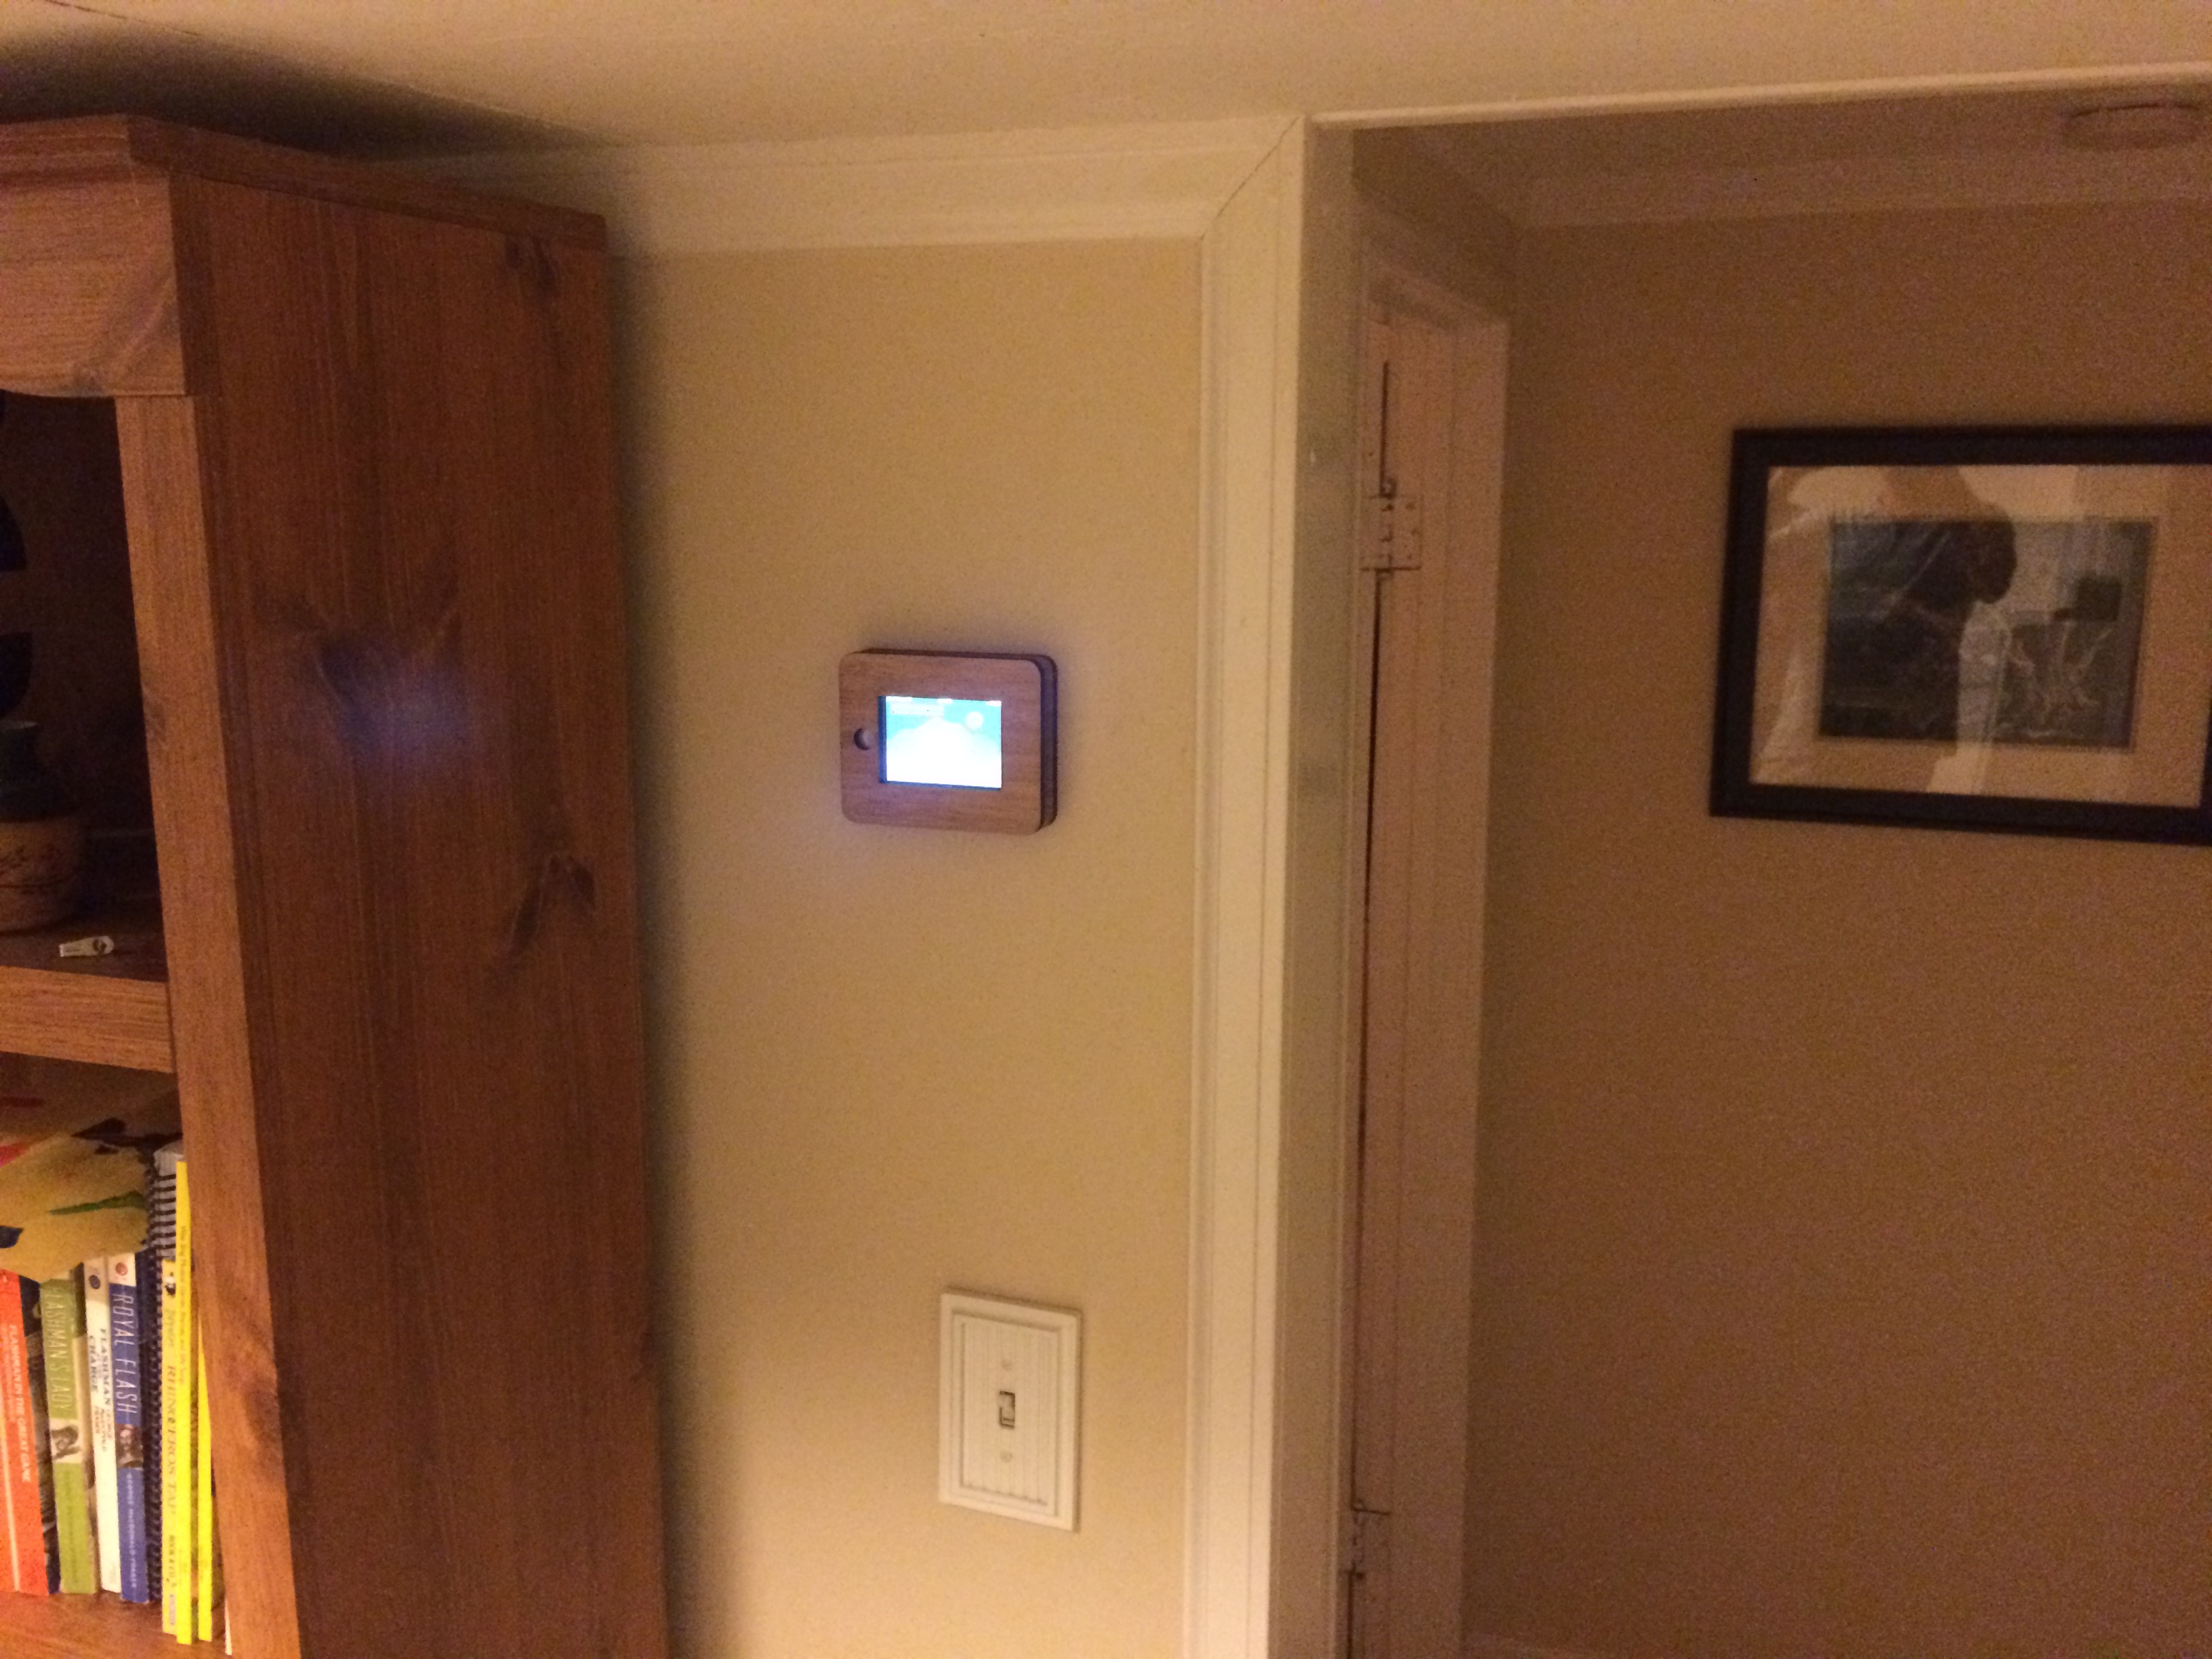
The first step for the removal iPhone 5 frame was to place the small wood pieces next to the phone. I then put wood glue on the top edge of the wood pieces.
The first step for the removable iPhone 5 frame was to place the small wood pieces next to the phone. I then put wood glue on the top edge of the wood pieces.
Next, I turned on the iPhone to bright screen.
Next, I turned on the iPhone to a bright screen.
Then, I quickly positioned the frame faceplate so the screen was centered.
After 10 minutes, I pulled out the phone and flipped the glued materials over.
I then stuck the glued materials in a frame clamp. You can get a frame clamp like this at Home Depot.
Then, I placed the frame back into the frame clamp as well. This allowed the frontplate and backplate to be perfectly aligned with one another.
I used Scotch wall adhesive stickers to mount the frames flush on the wall.
I used Scotch wall adhesive stickers to mount the frames directly on the wall.
Using four stickers per frame seemed to work well.
Using four stickers per frame seemed to work well. I used a level to make sure the frames were perfectly horizontal when sticking them on the wall.
Since I didn't really care if the iPhone 4 was removable, I just glued its case into the frame.
Since I didn’t really care if the iPhone 4 was removable, I just glued its case into the frame.


The Final Result

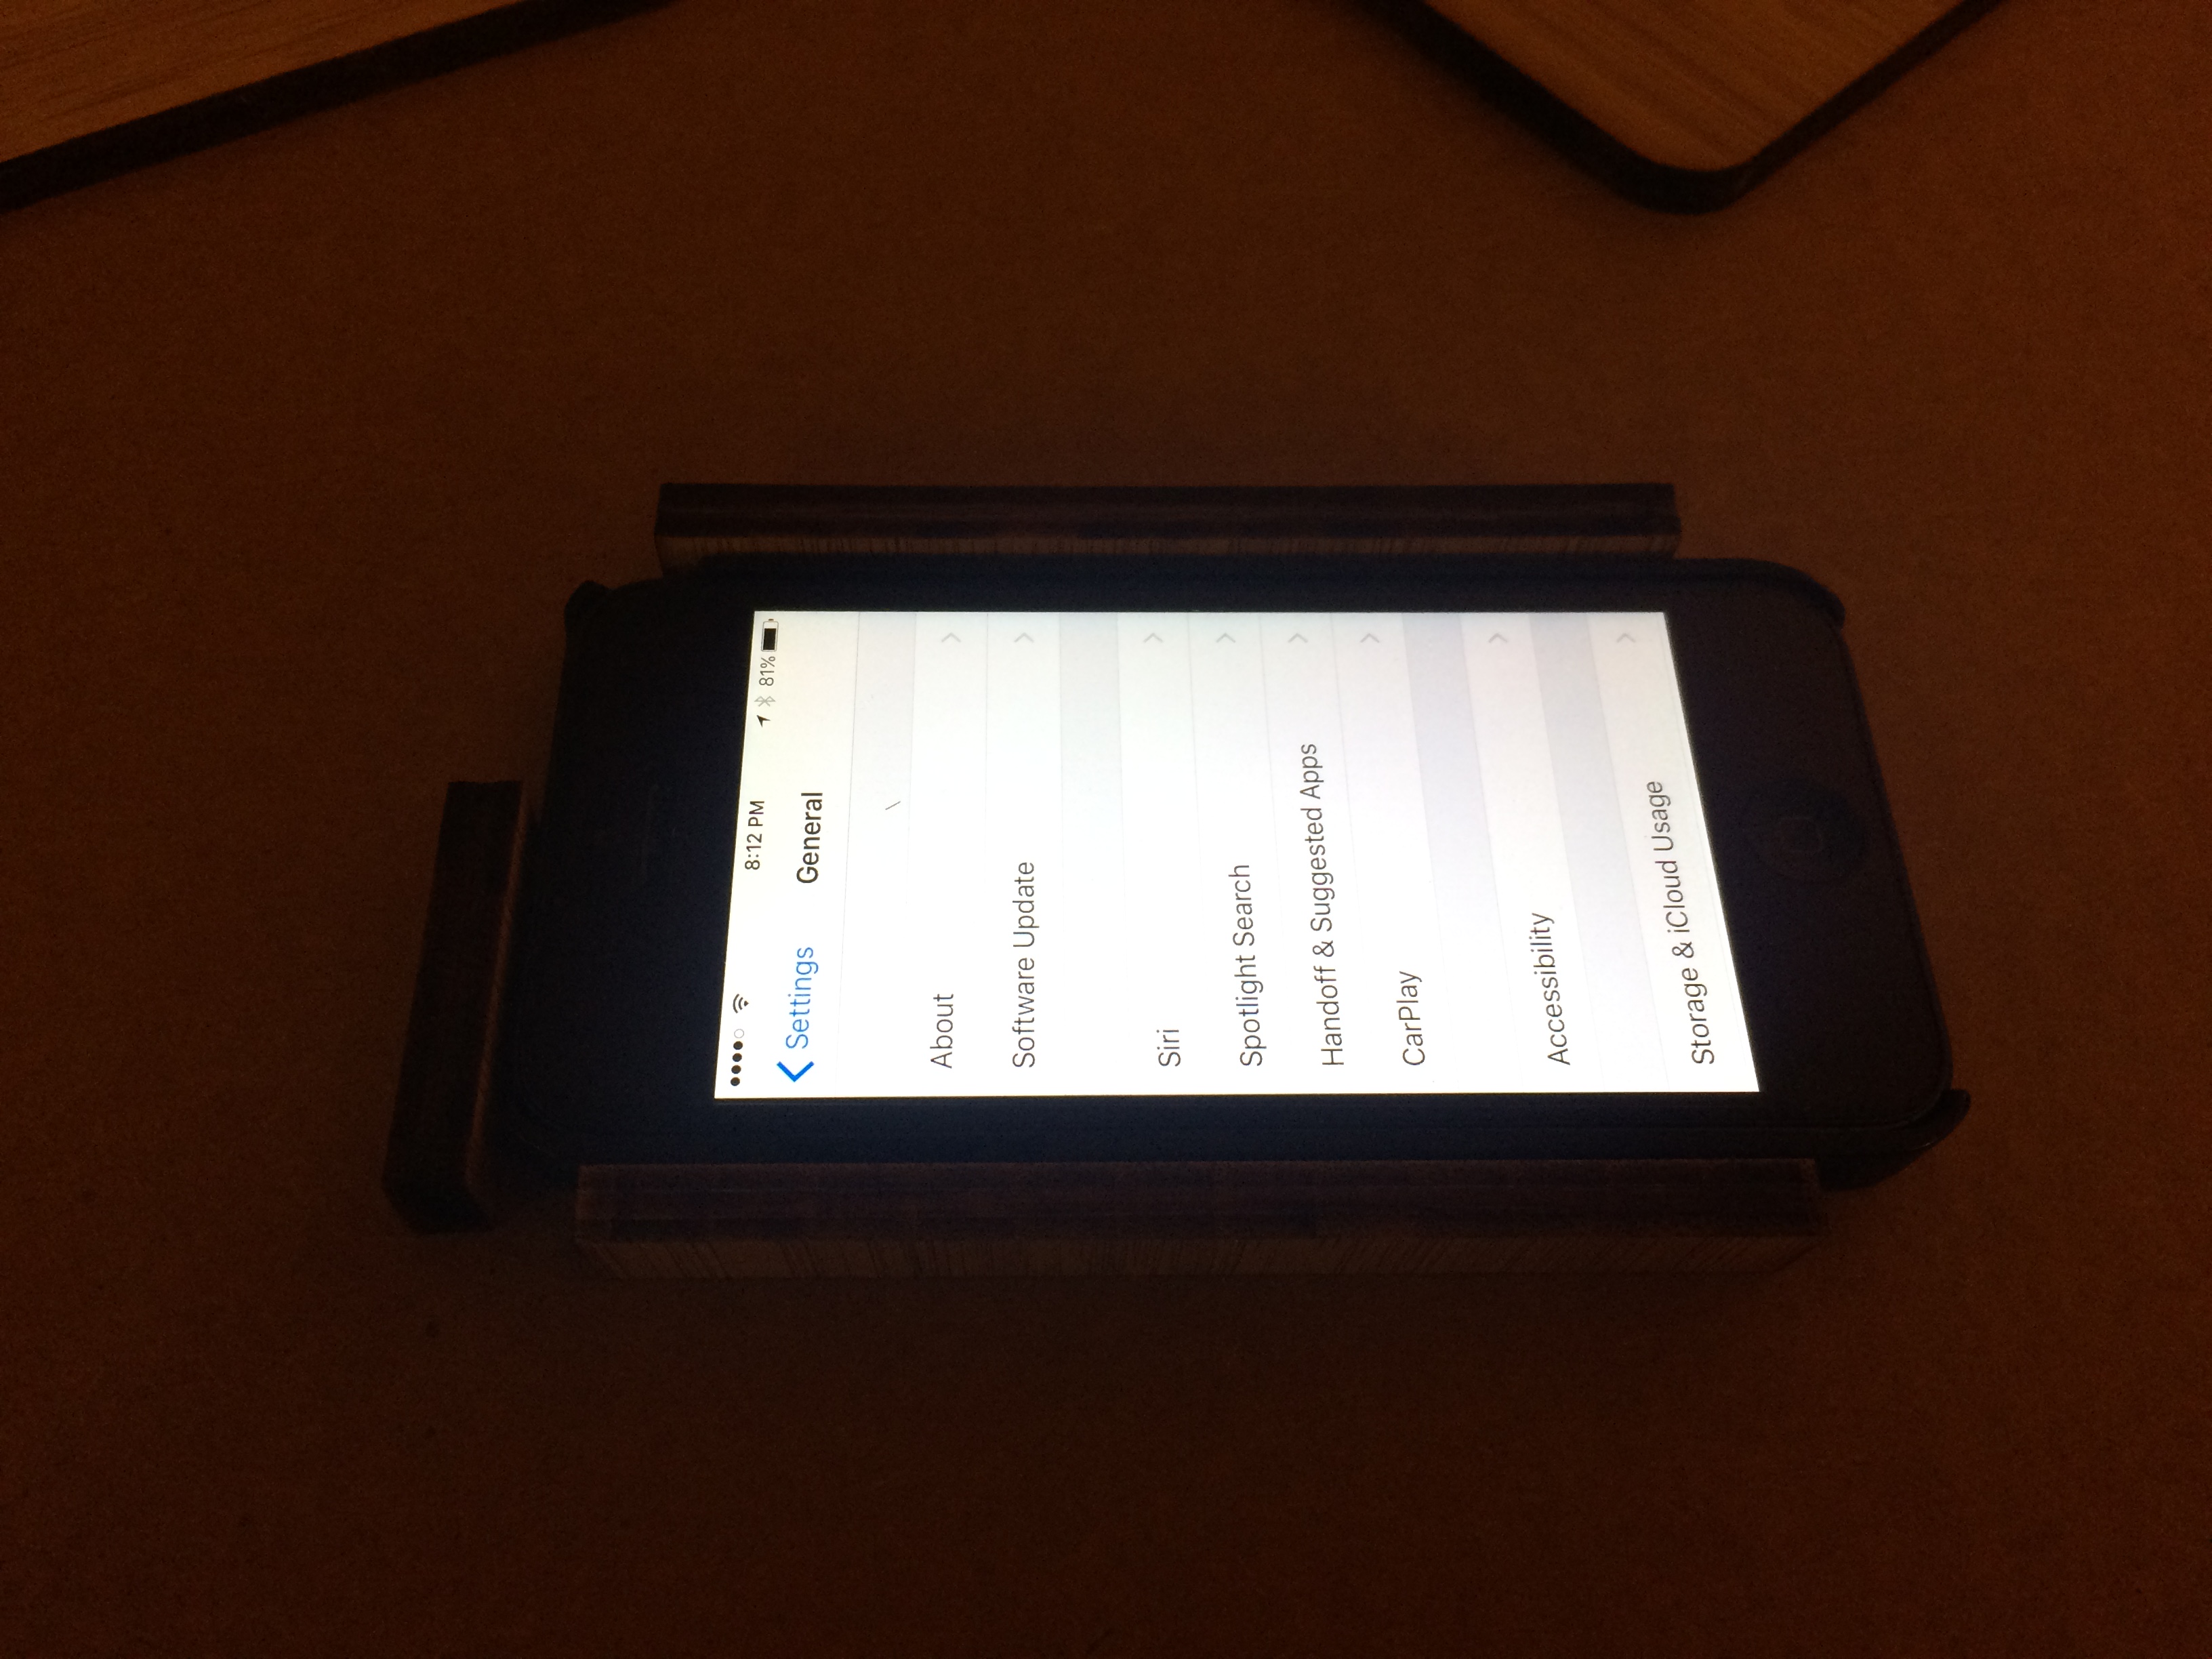
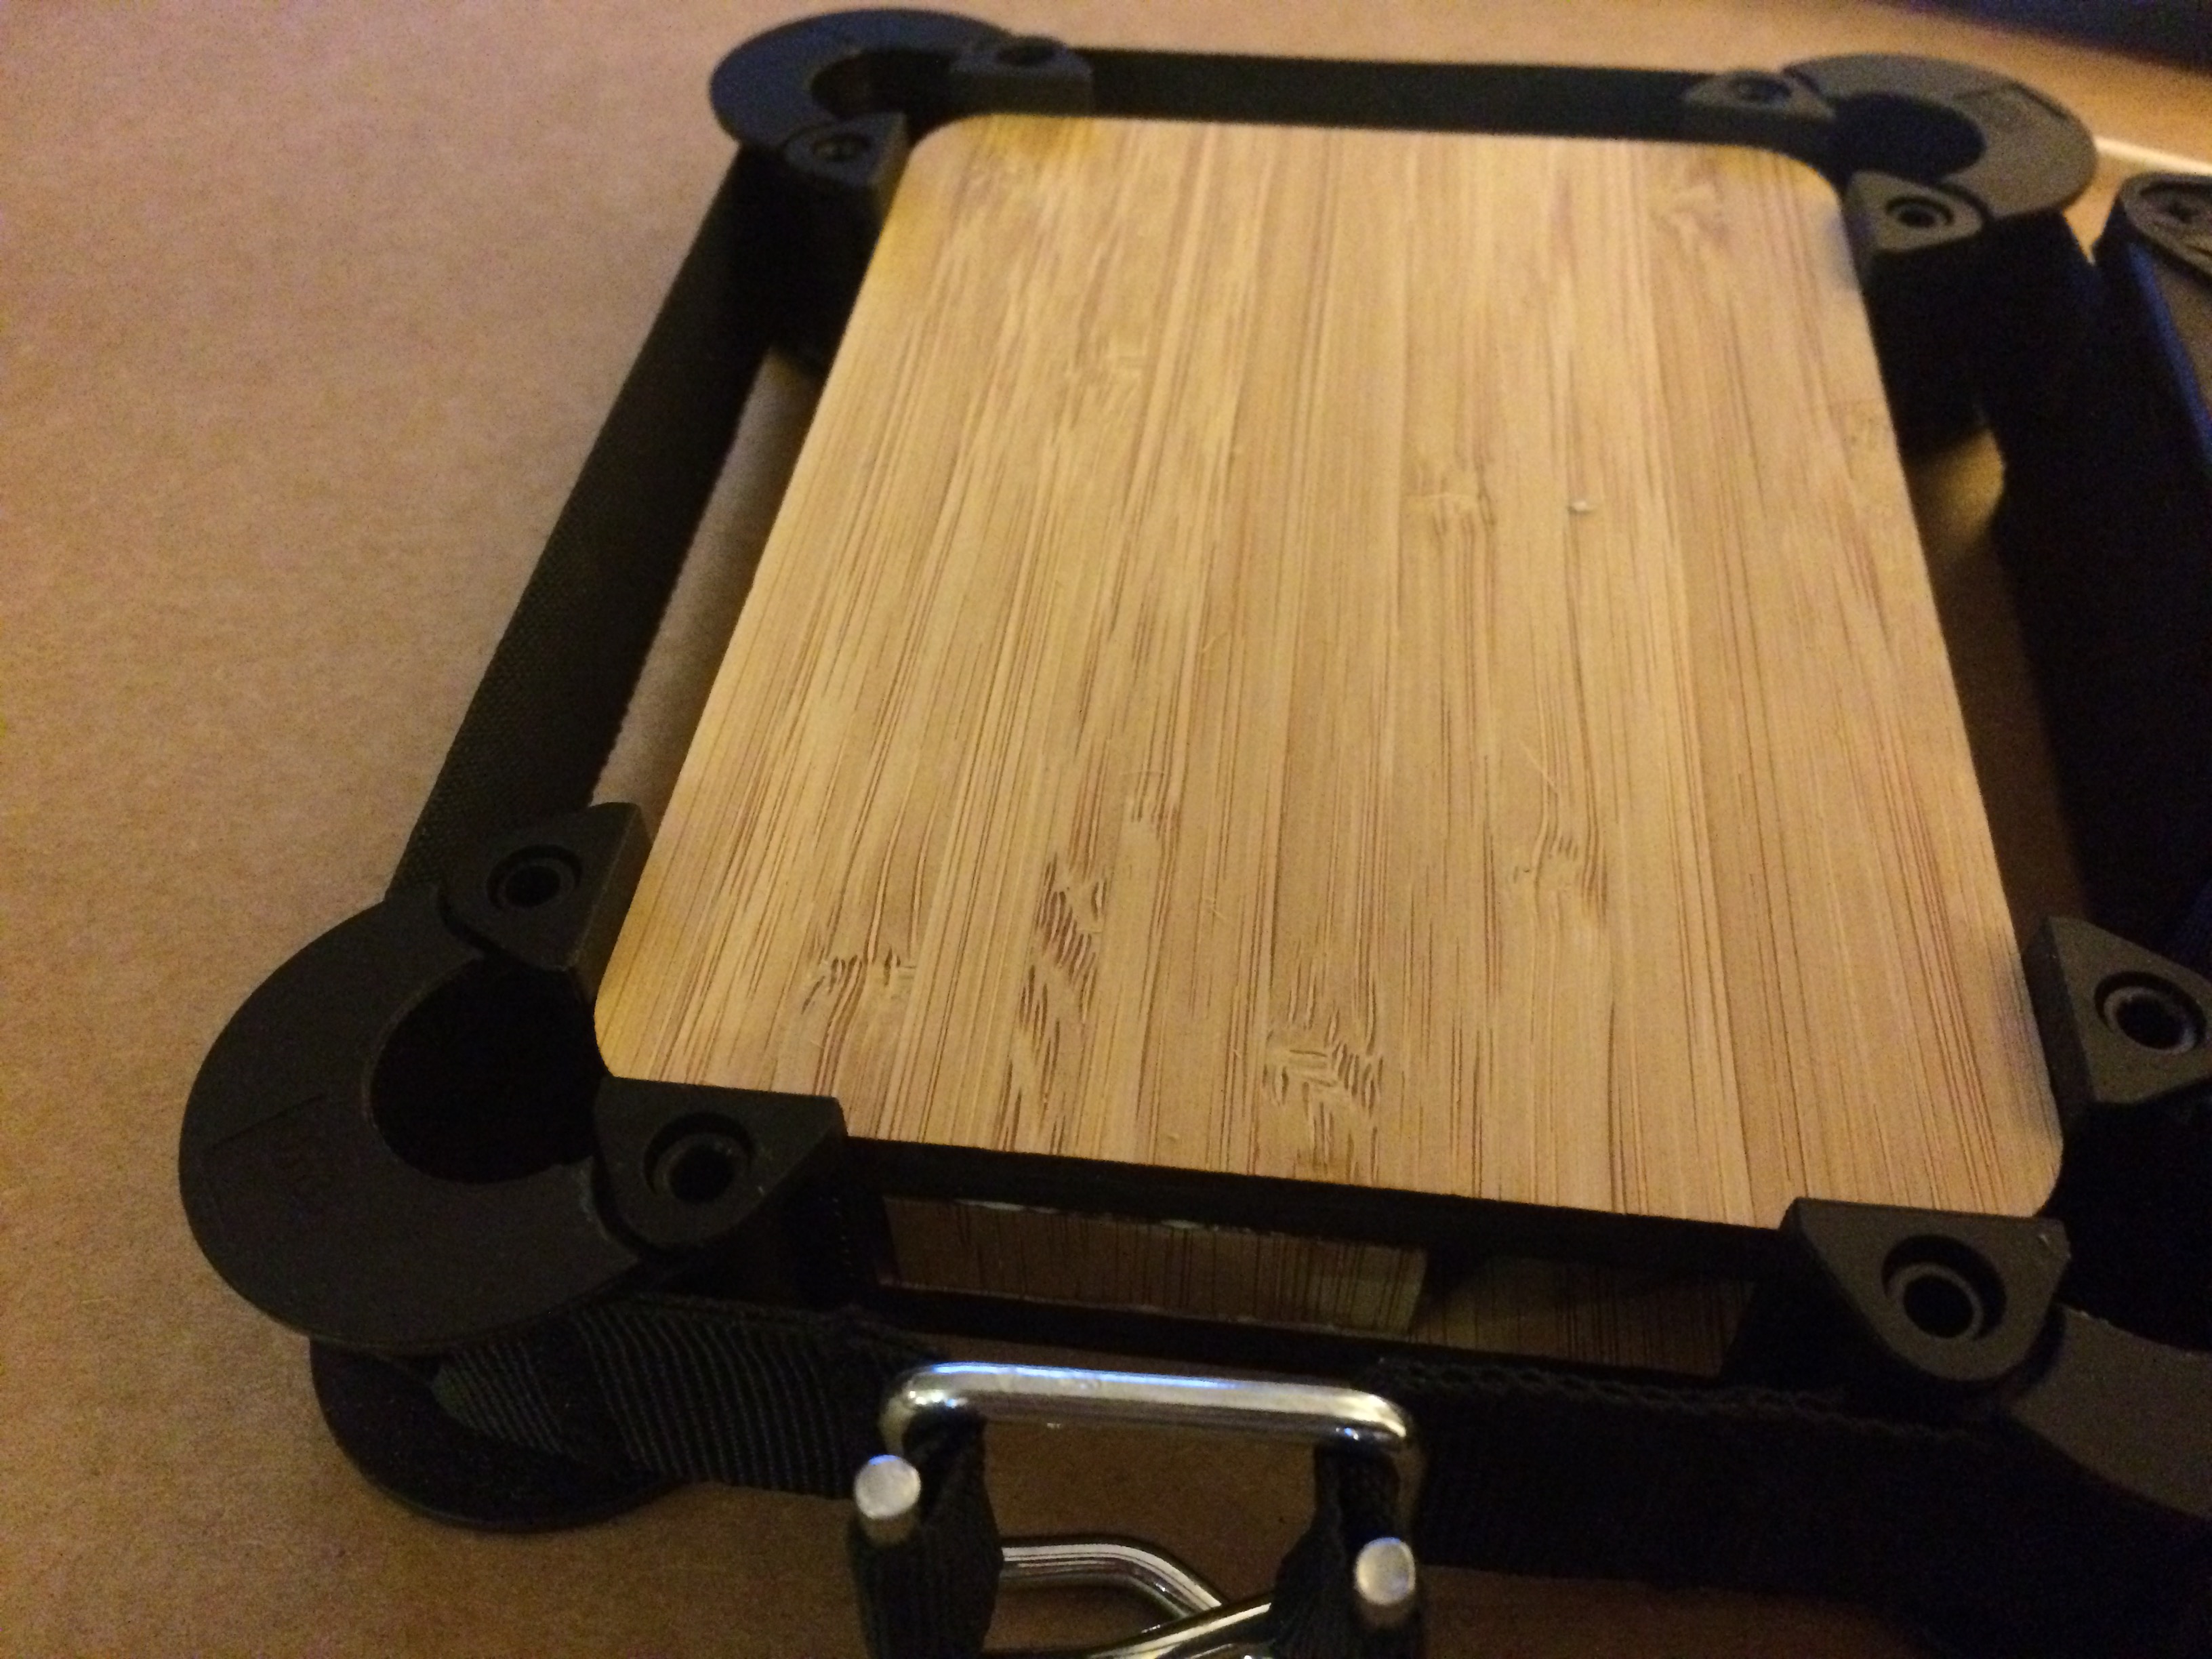
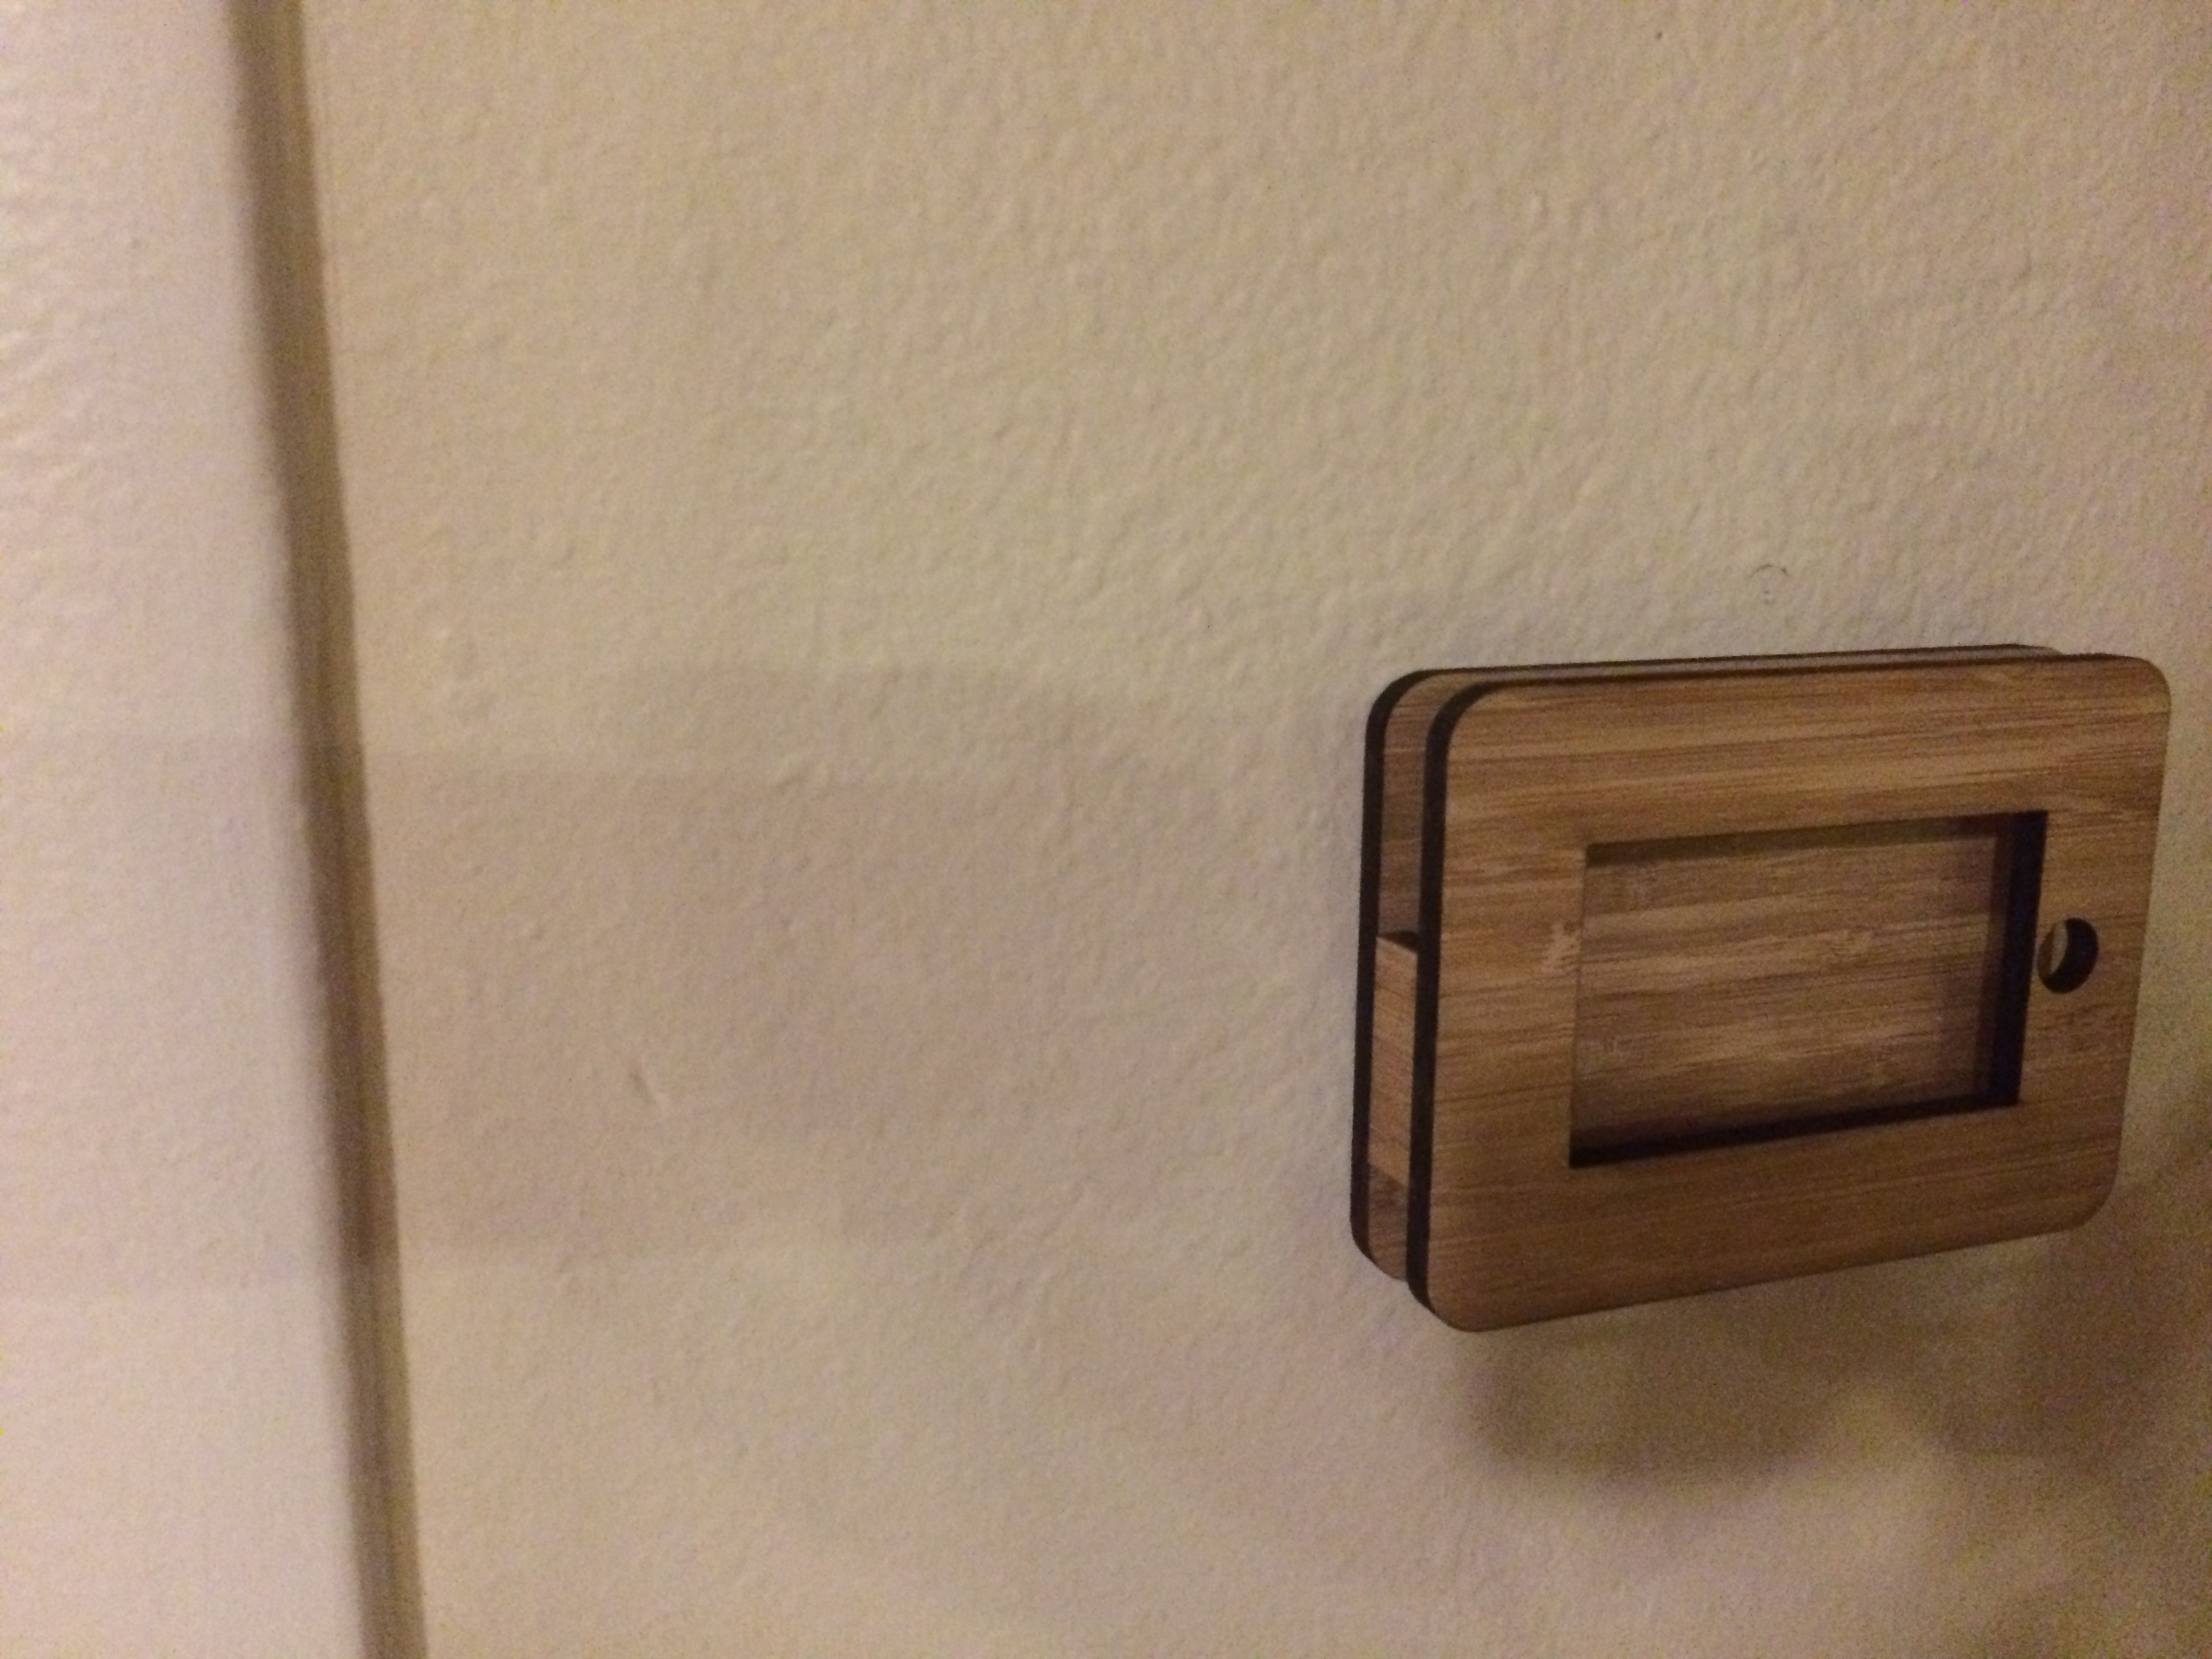
The frames are pretty sleek and cool looking. They look a little steampunky. I think they turned out pretty well! Only time will tell how they work as iPhone enclosures. Hopefully the iPhones don’t overheat. I’ve changed the iPhone settings so the screens are always on and the brightness is up all of the way.

The iPhone 5 frame allows for the phone to be removed if desired.
The iPhone 5 frame mounted next to the raspberry pi in our living room, and its USB power cable is plugged into the rpi.
The iPhone 5 frame is mounted next to the raspberry pi in our living room, and its USB power cable is plugged into the rpi.
The iPhone 4 frame mounted in a high traffic area, providing an easy readout of house status.
The iPhone 4 frame is also mounted in a high traffic area, providing an easy readout of house status.


I’d love to hear about your similar projects / questions below in the comments!

2 thoughts on “Wall Mounted iPhones For Home Automation.

  1. Nice solution… thumbs up! Surprisingly, it’s not an easy thing to find. I plan to do the same with an iPhone SE sometime soon, to control my RaspberryMatic (Homematic) and maybe my Hue lights, hopefully in landscape position. But I intend not to place it on the wall, but as a picture frame on a window bench next to the sofa. Maybe with a permanent cable, maybe with a powerbank, tbd. Also, I was thinking of handcrafting the frame myself with a Dremel etc. but if I find an affordable laser-cutting provider here (Germany) I might as well go that pretty neat way. Regards!

    1. I’d love to see what you end up making. Since I posted this in 2015, I’ve transitioned from wall mounts to desk/shelf stands. Much more practical!

Leave a Reply to MarTex Cancel reply

Your email address will not be published. Required fields are marked *