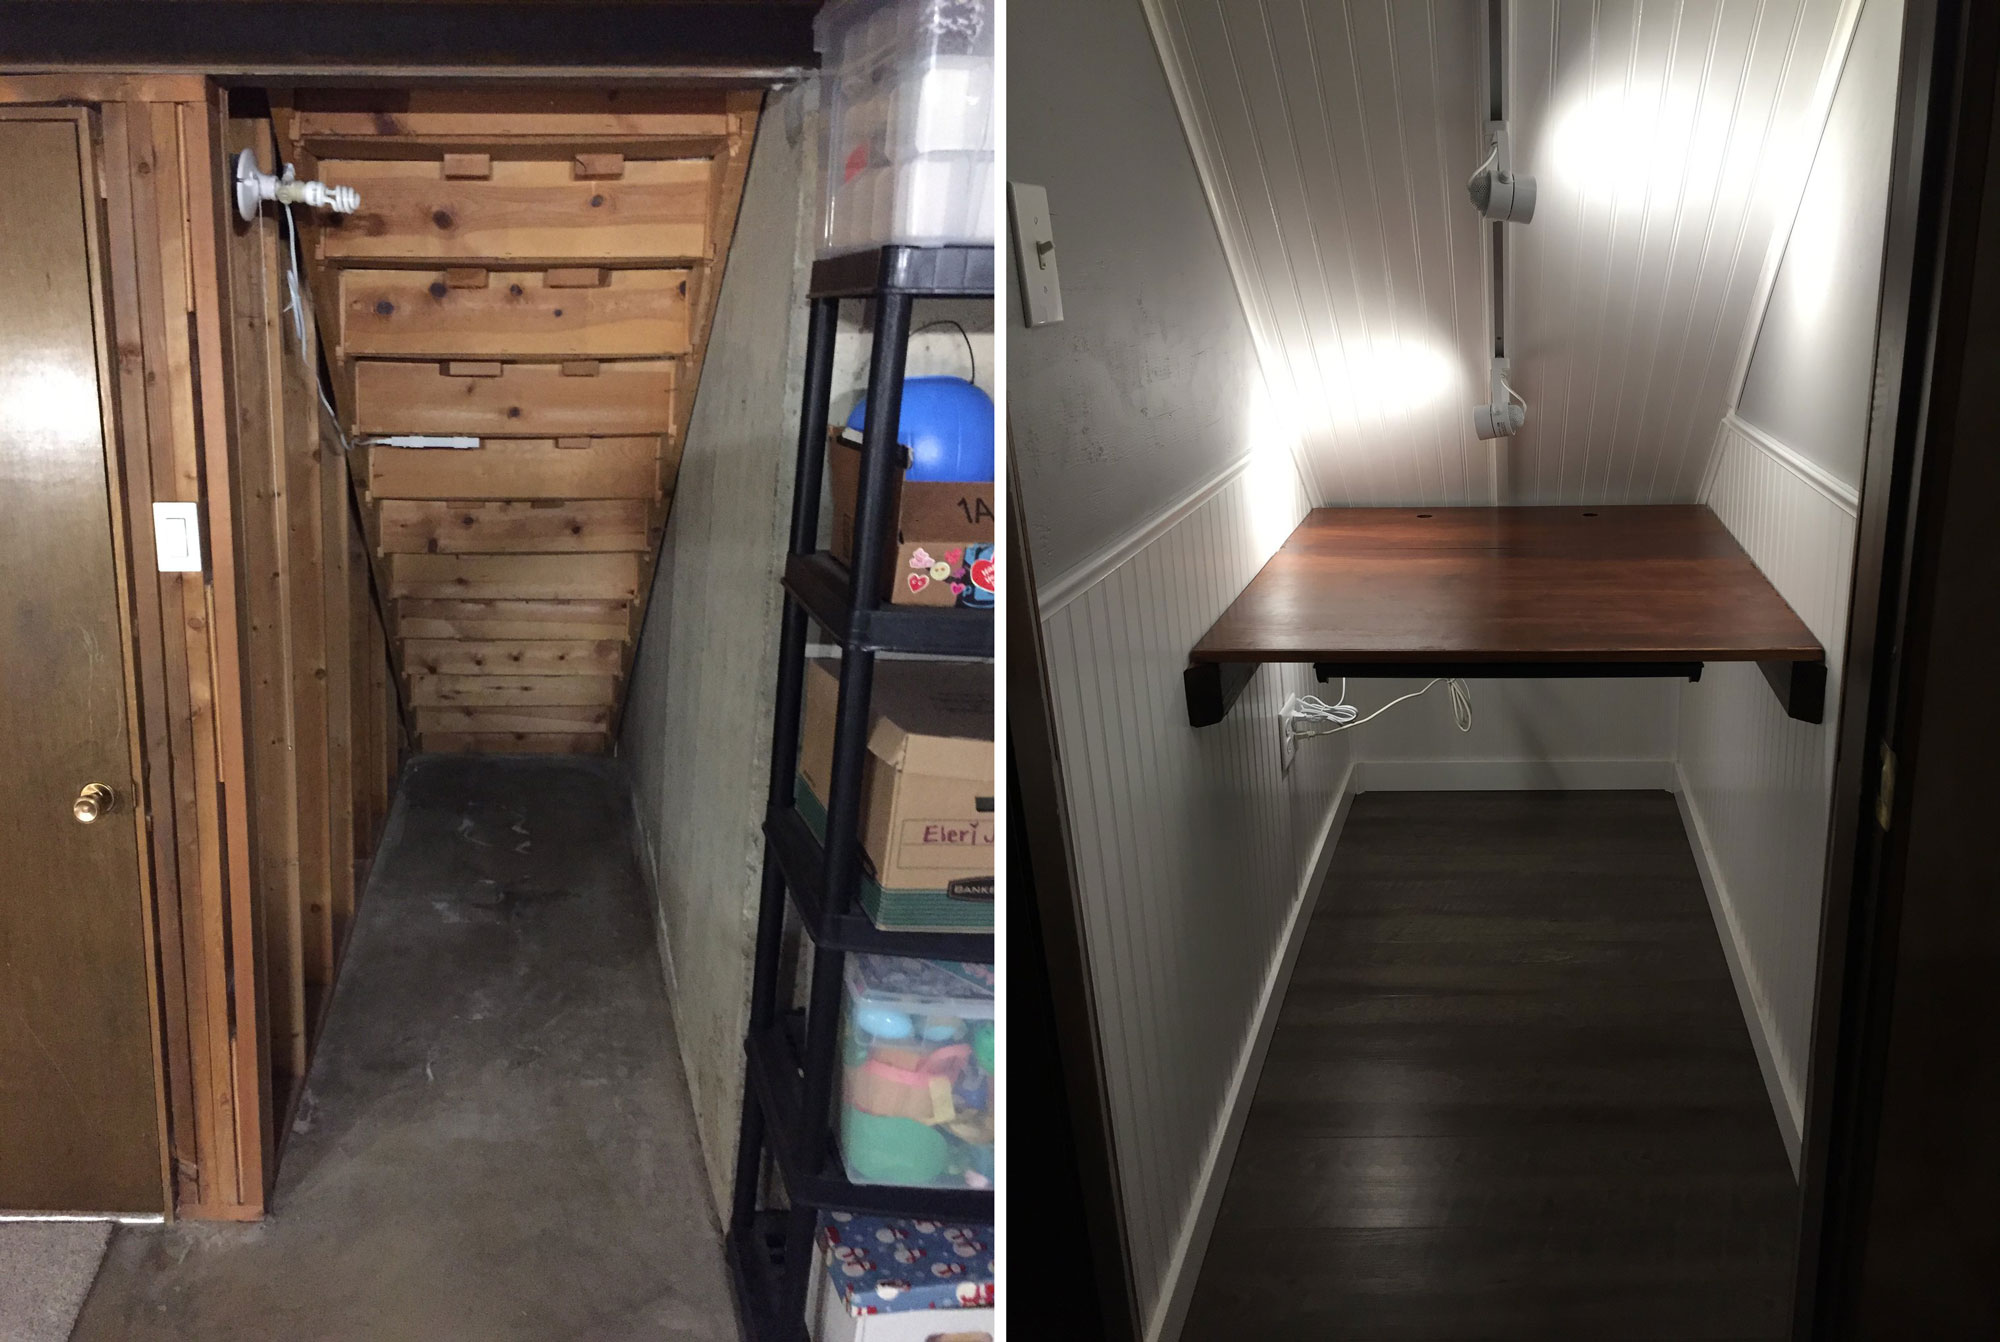
When my daughter’s birth was imminent, we converted the room I’d been using for a home office into her nursery. While home on paternity leave with my new baby girl this winter, I spent a few weeks (between naps, etc) building a small home office for myself under the basement stairs. The term ‘Cloffice’ (Closet Office) is going around the internet to mean a tiny office in a closet, and I think this fits the bill! My wife jokes with me that because it’s under a stairway it’s Harry Potter’s office. Because the room lacks windows, I wanted to make it nice so I’d like being in there.
The Before and After shot of the closet office (cloffice).
With our family likely to be self-isolating from home for the next while, and me working from home once paternity leave is over, I imagine I’ll be using this room a lot.
See the full build below!
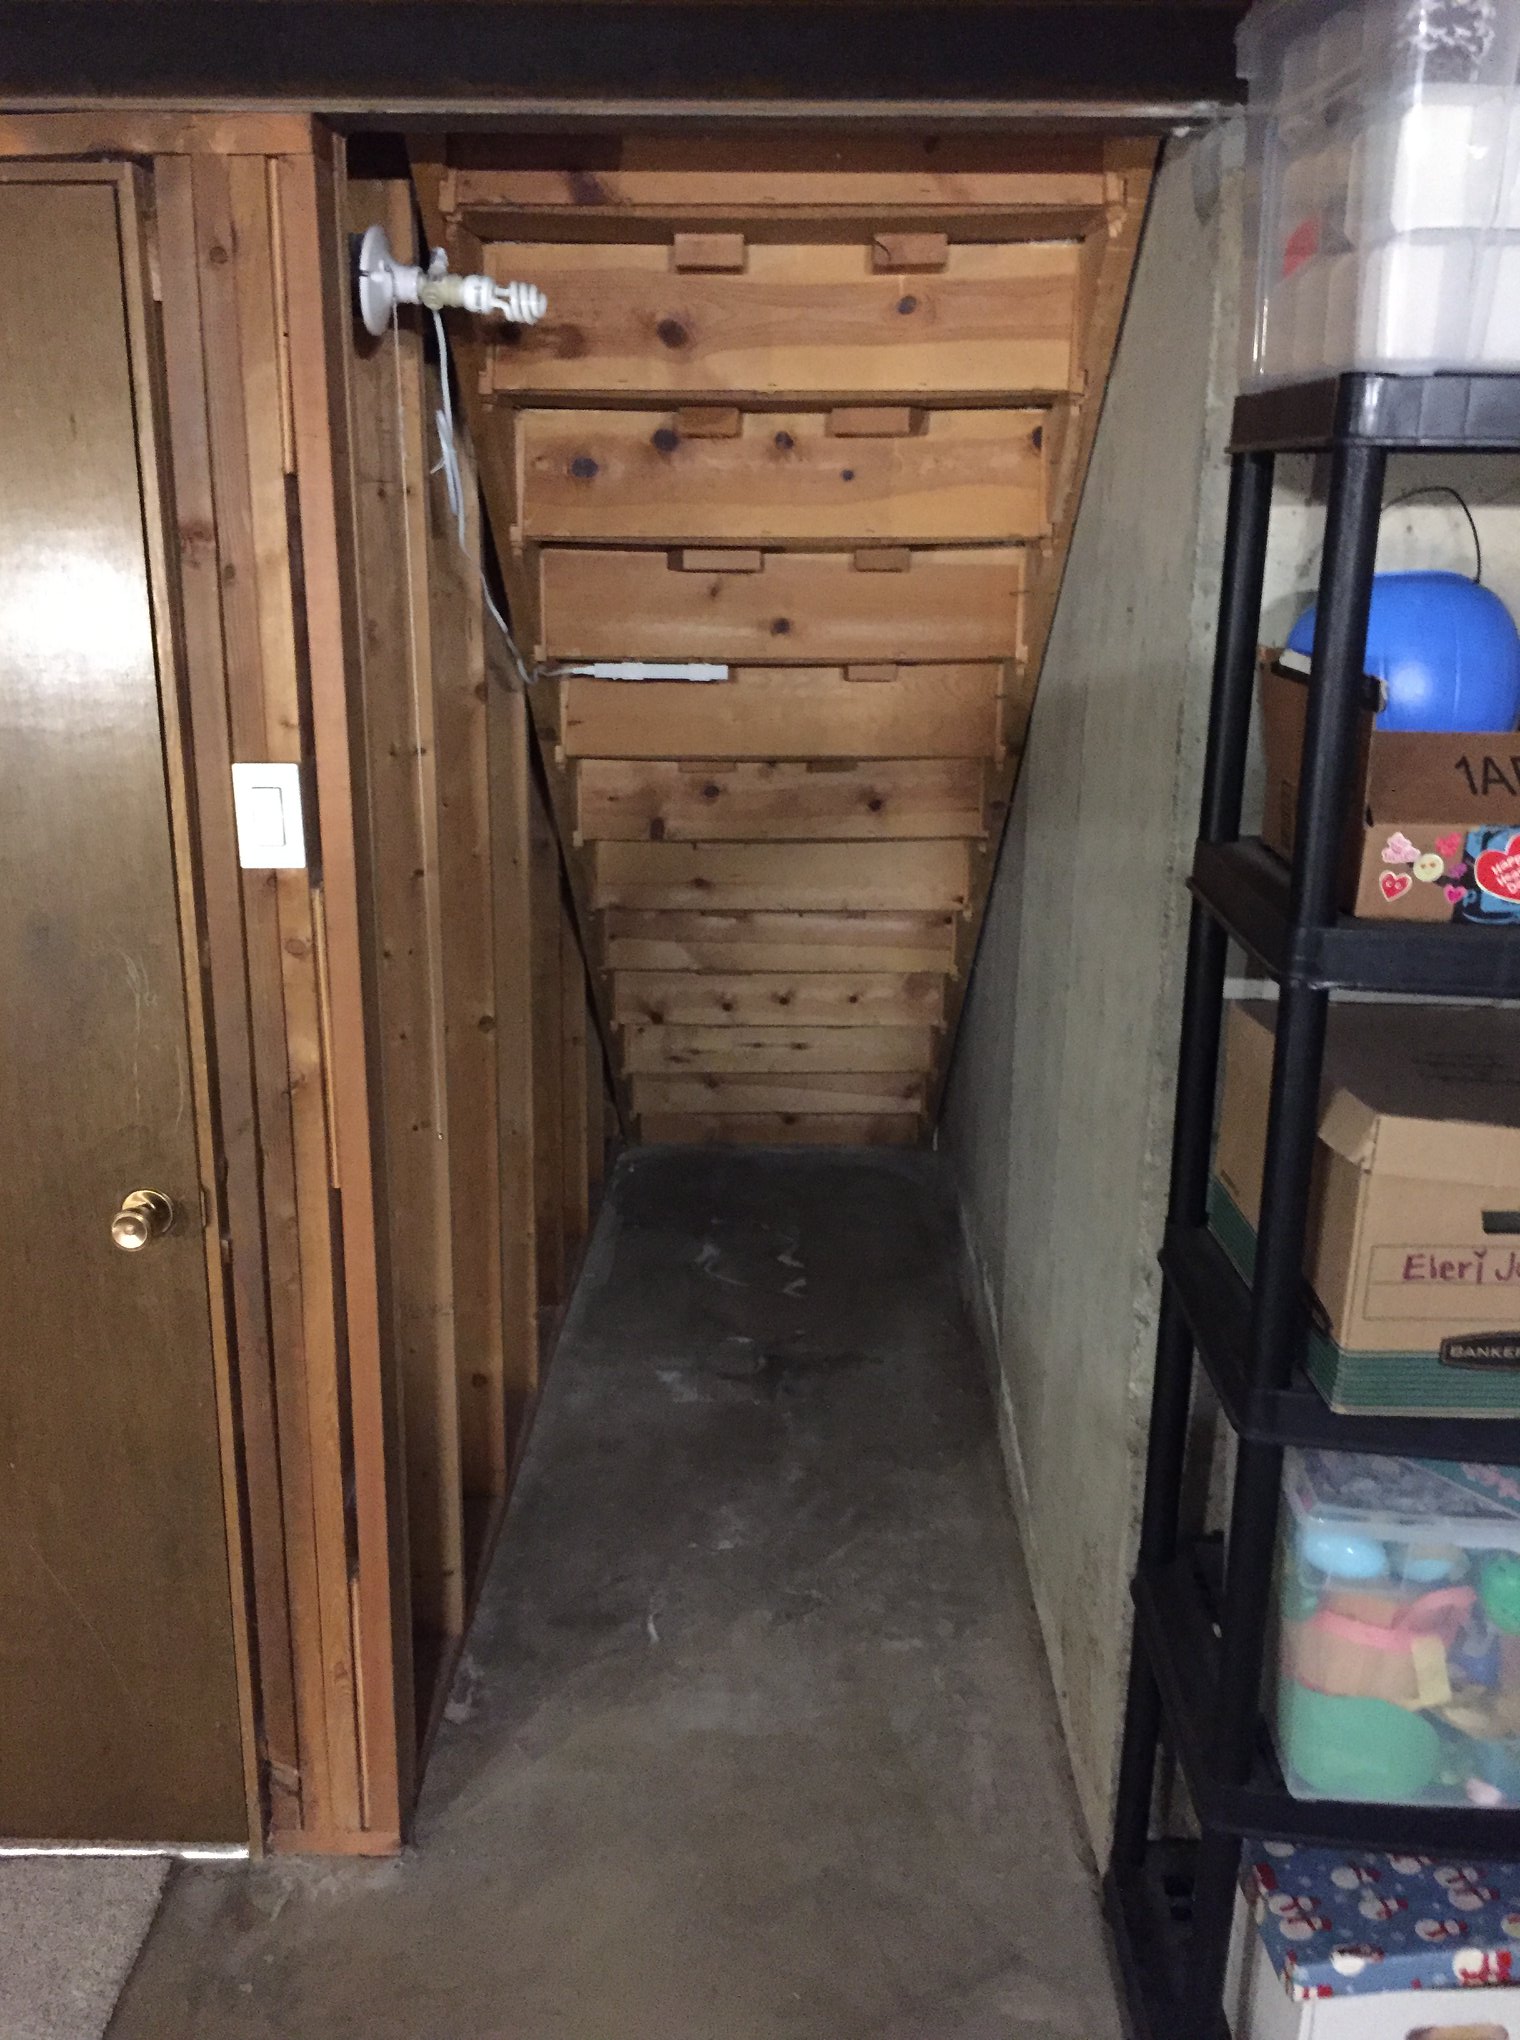
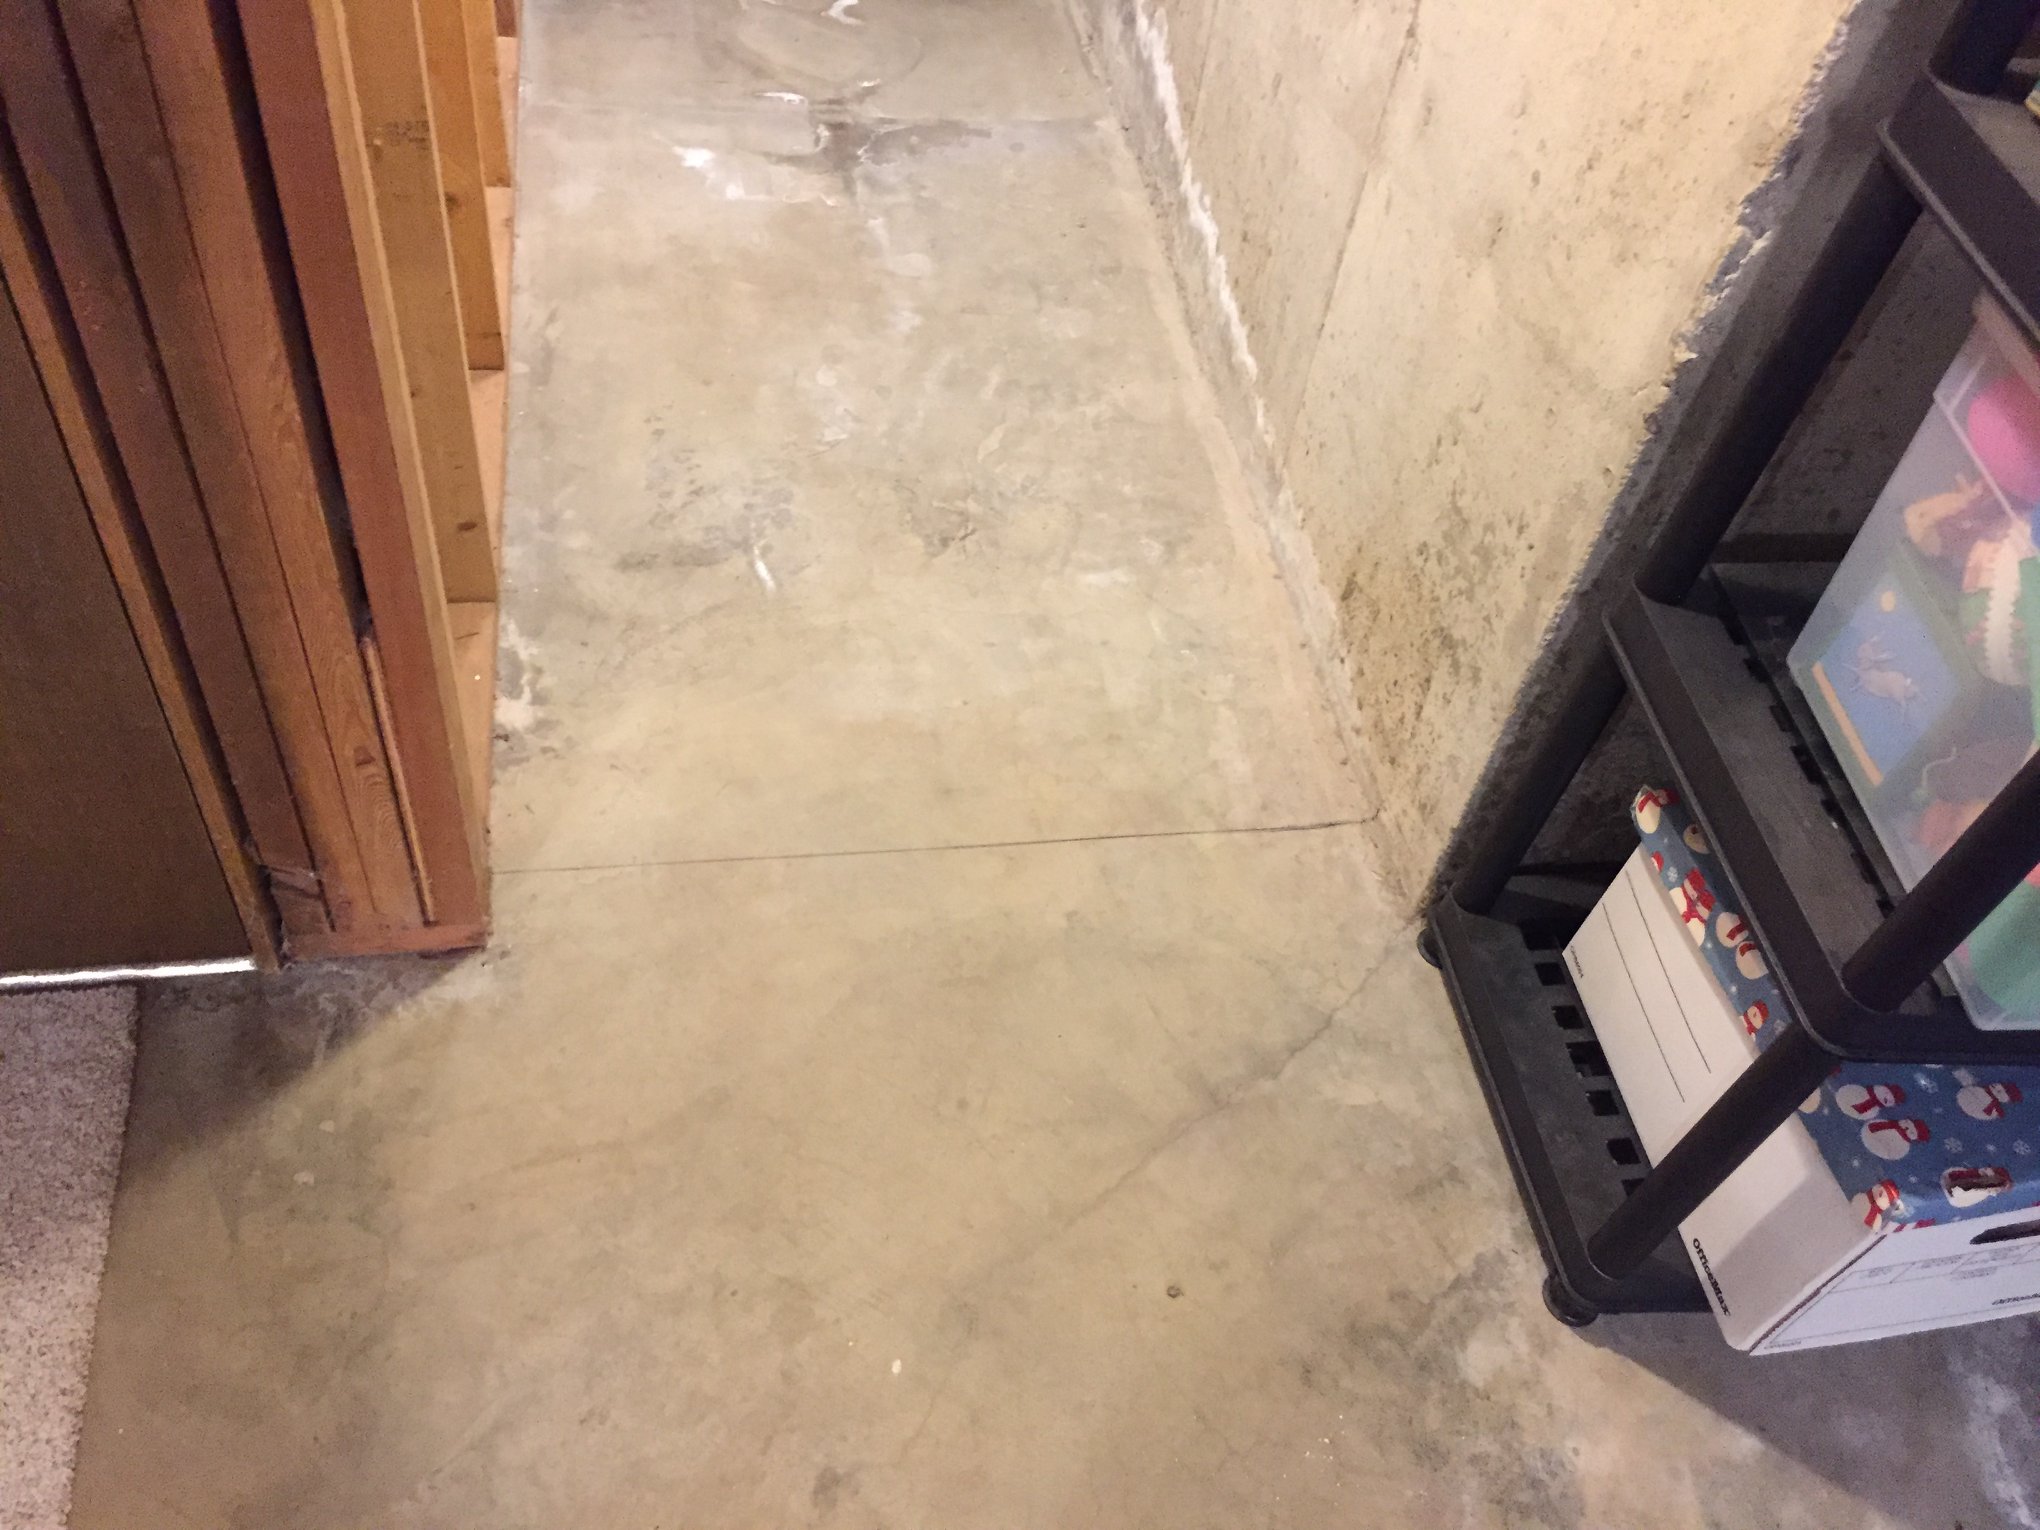
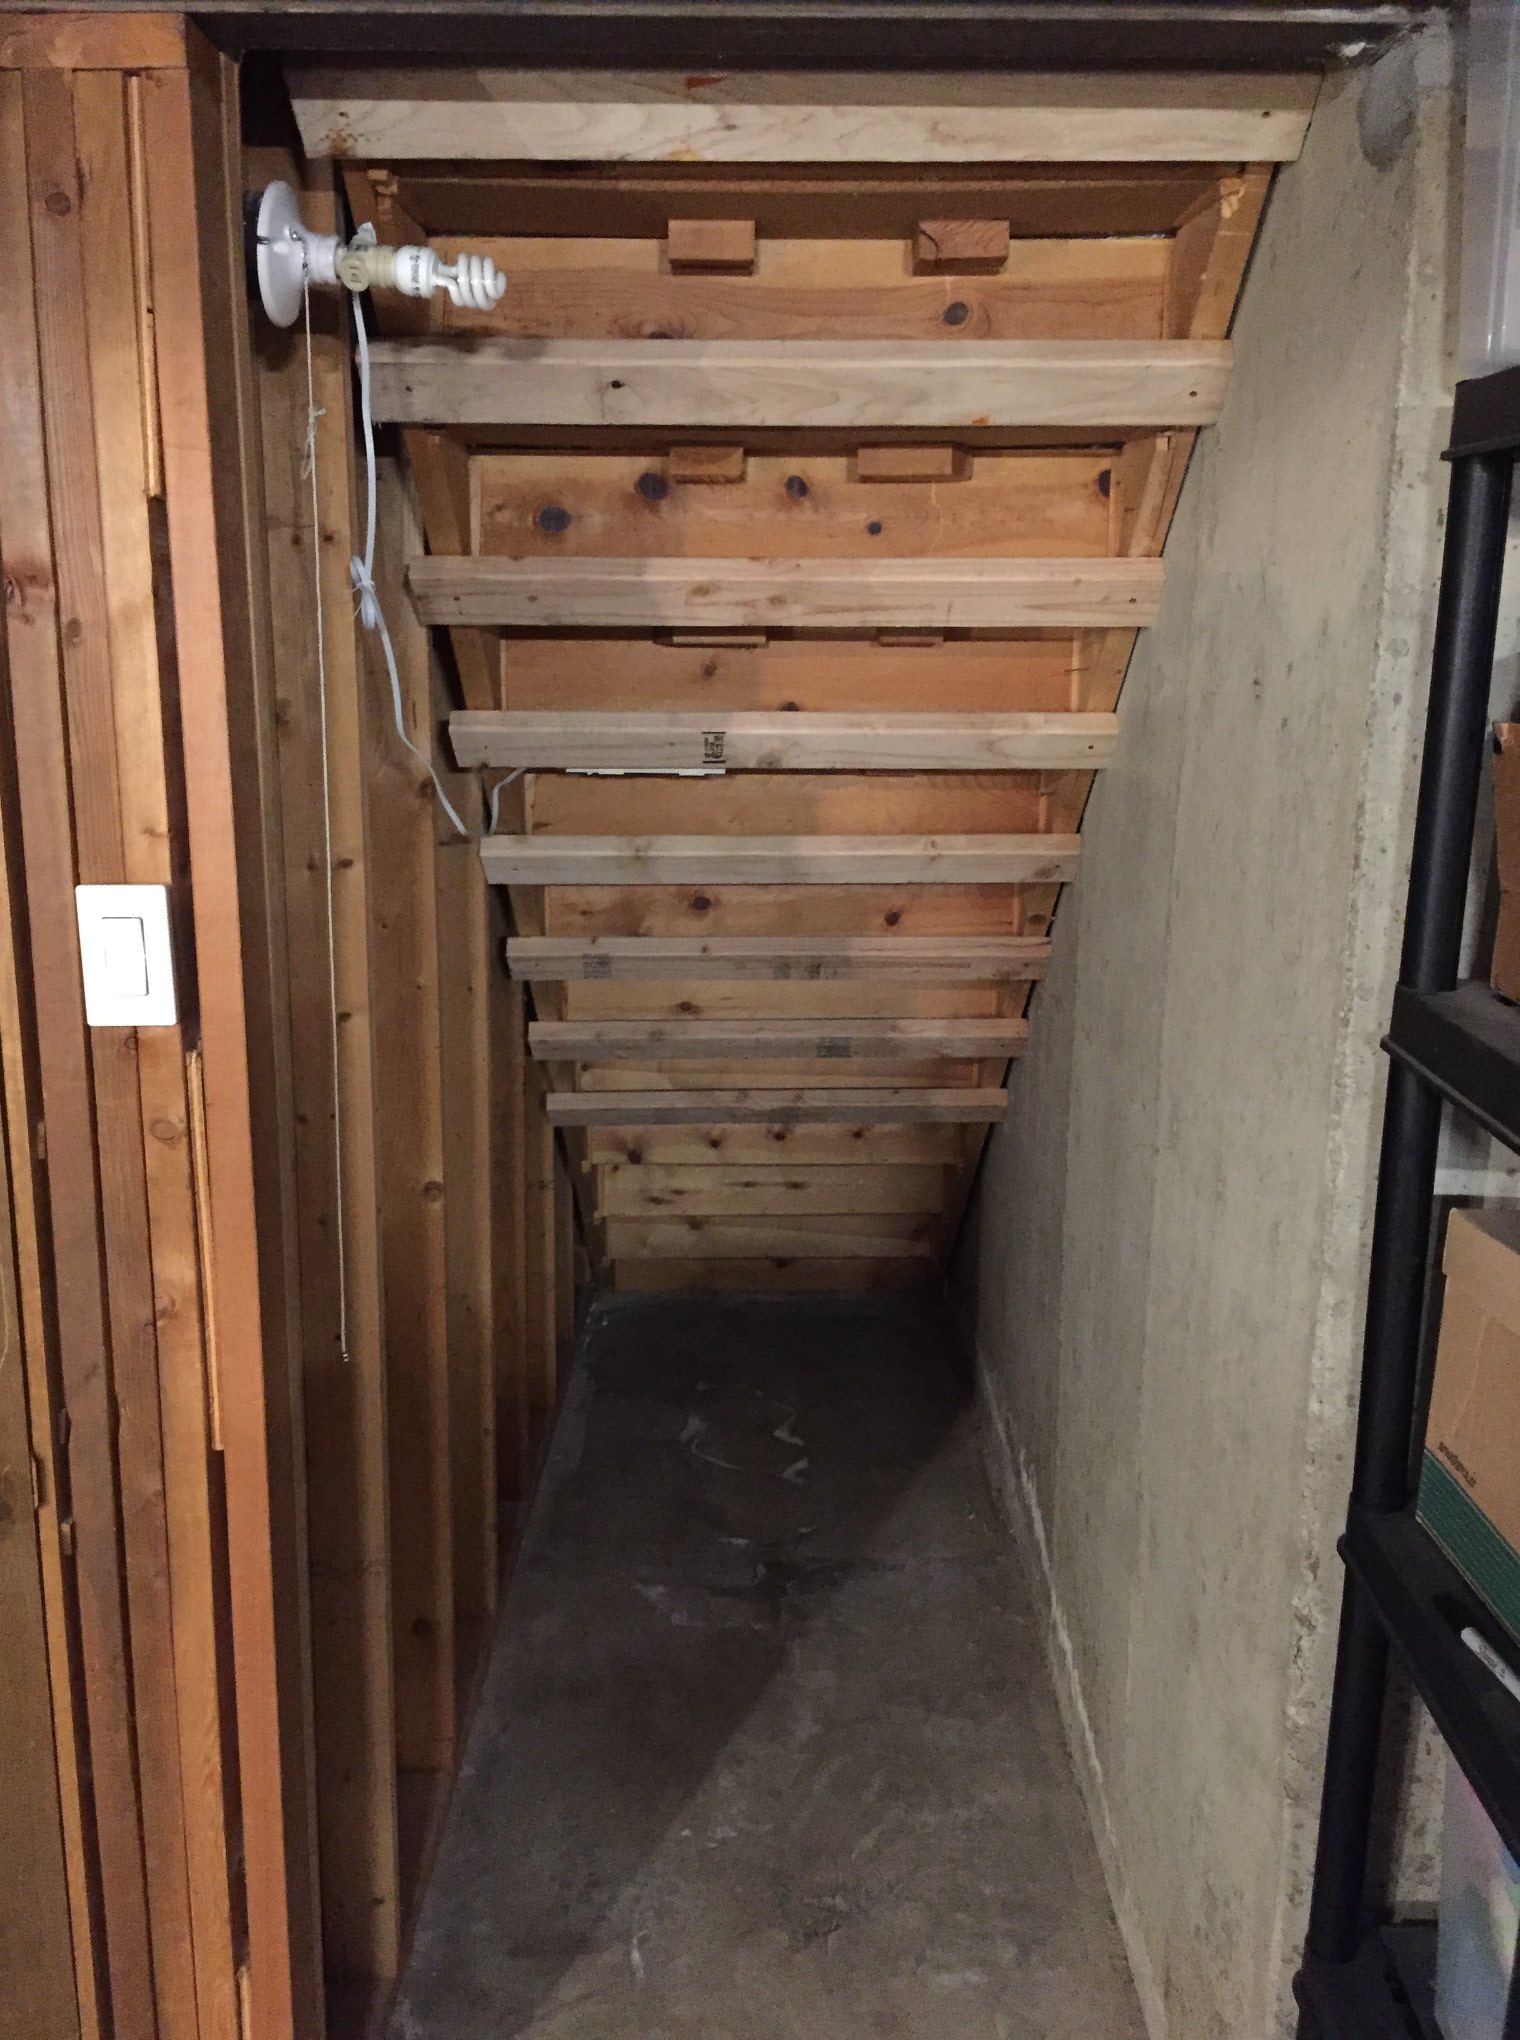
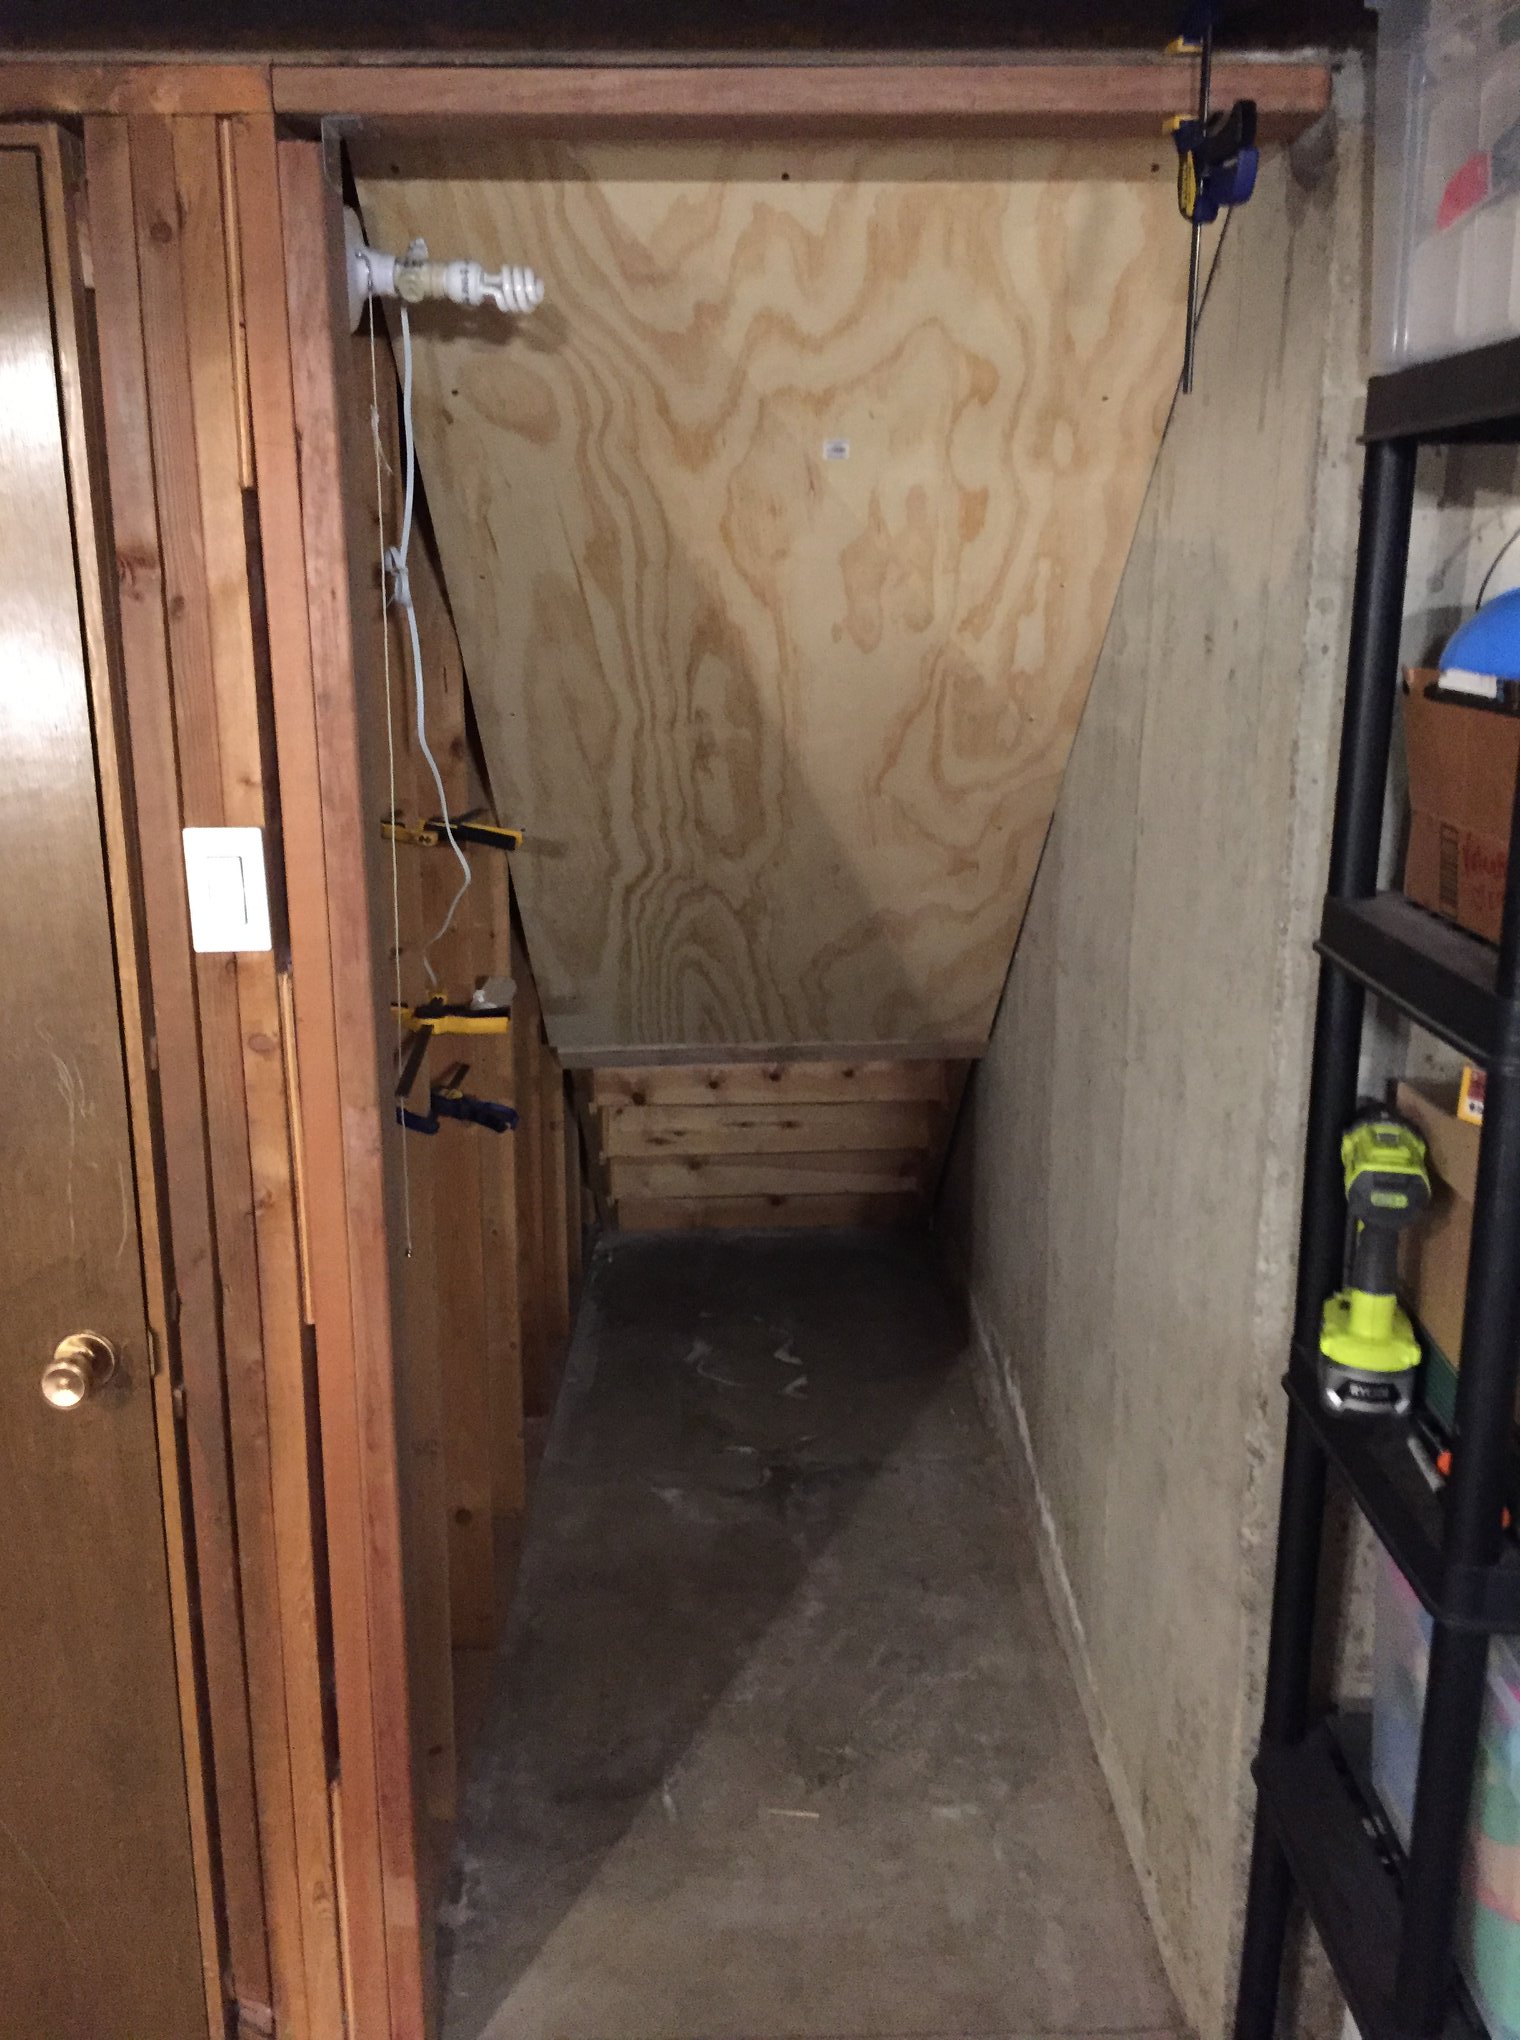
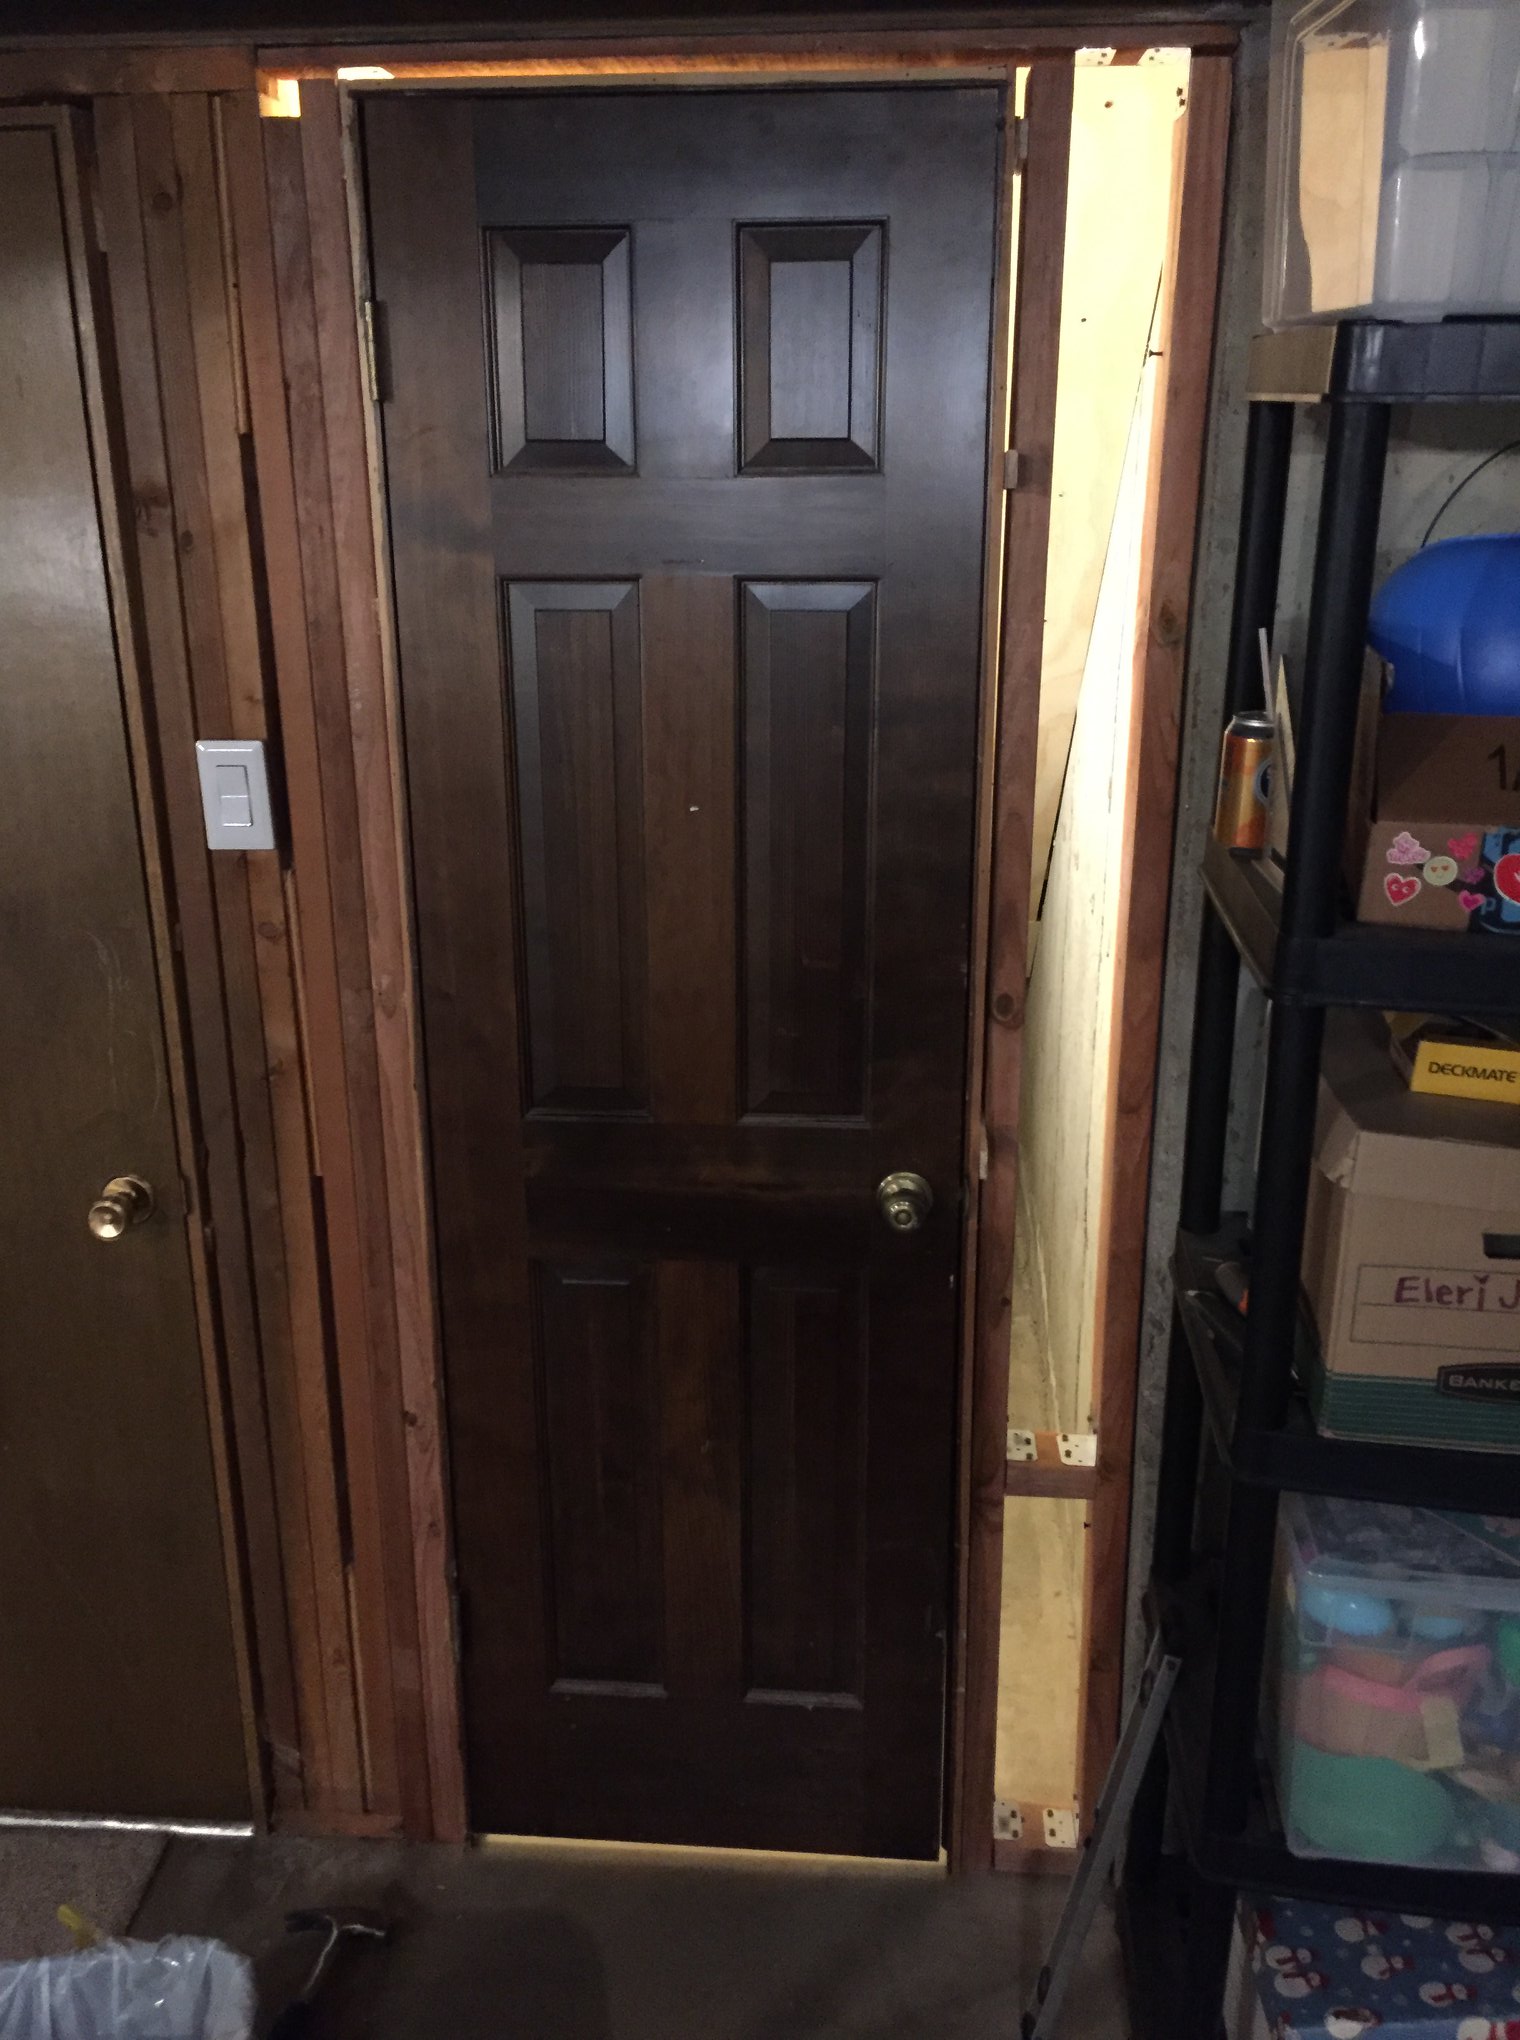
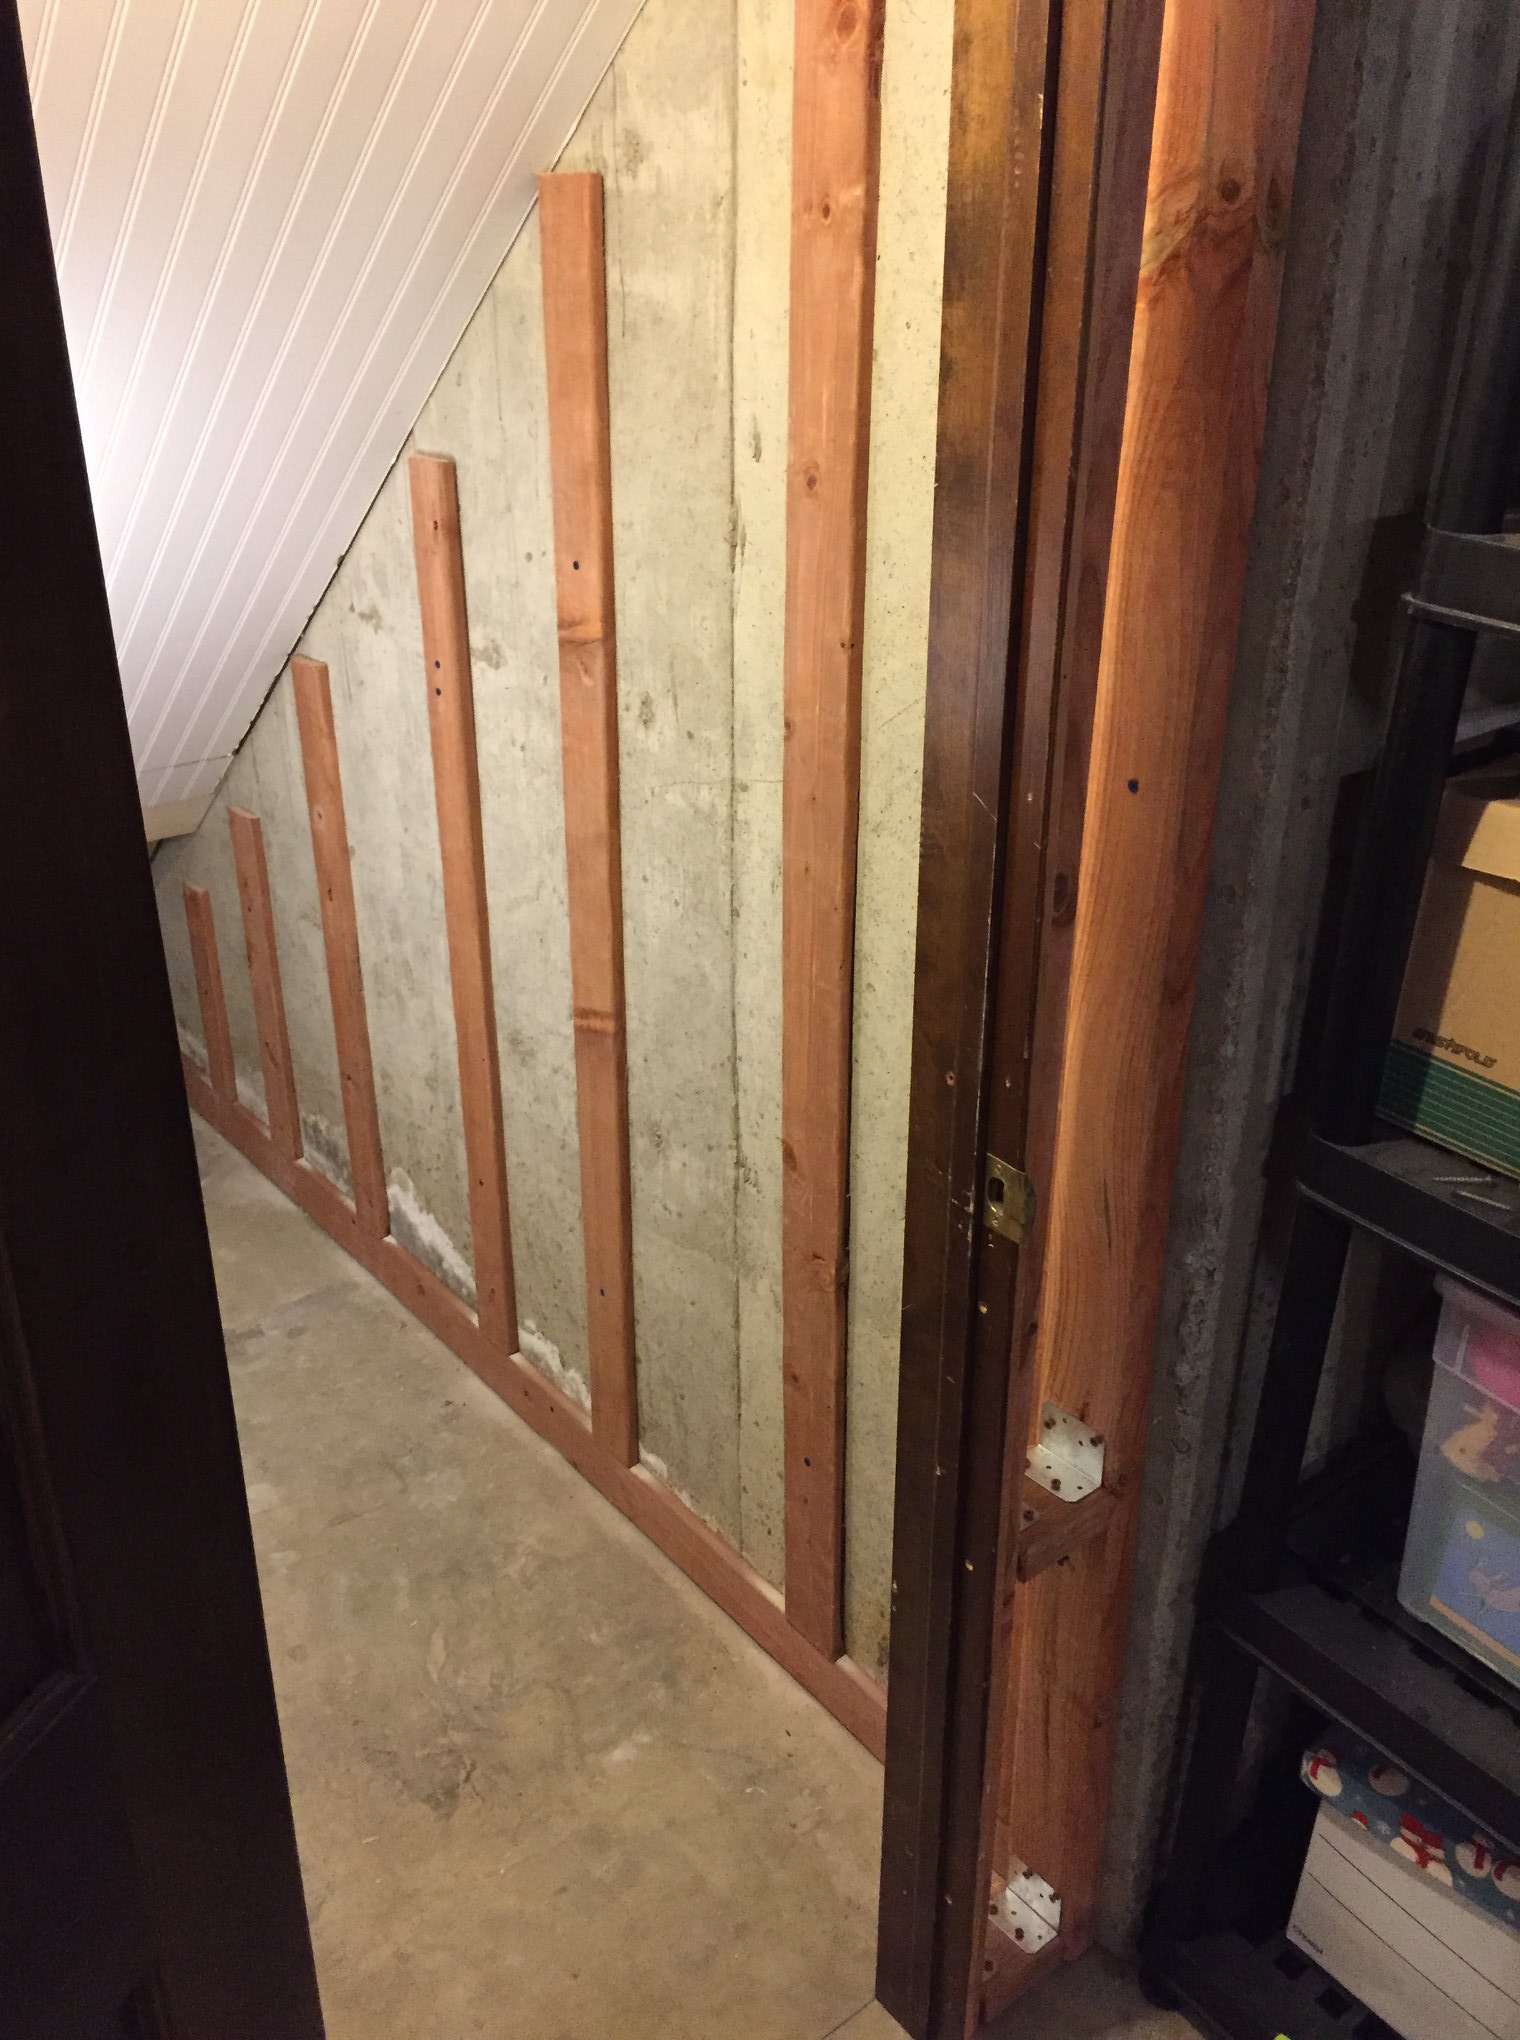
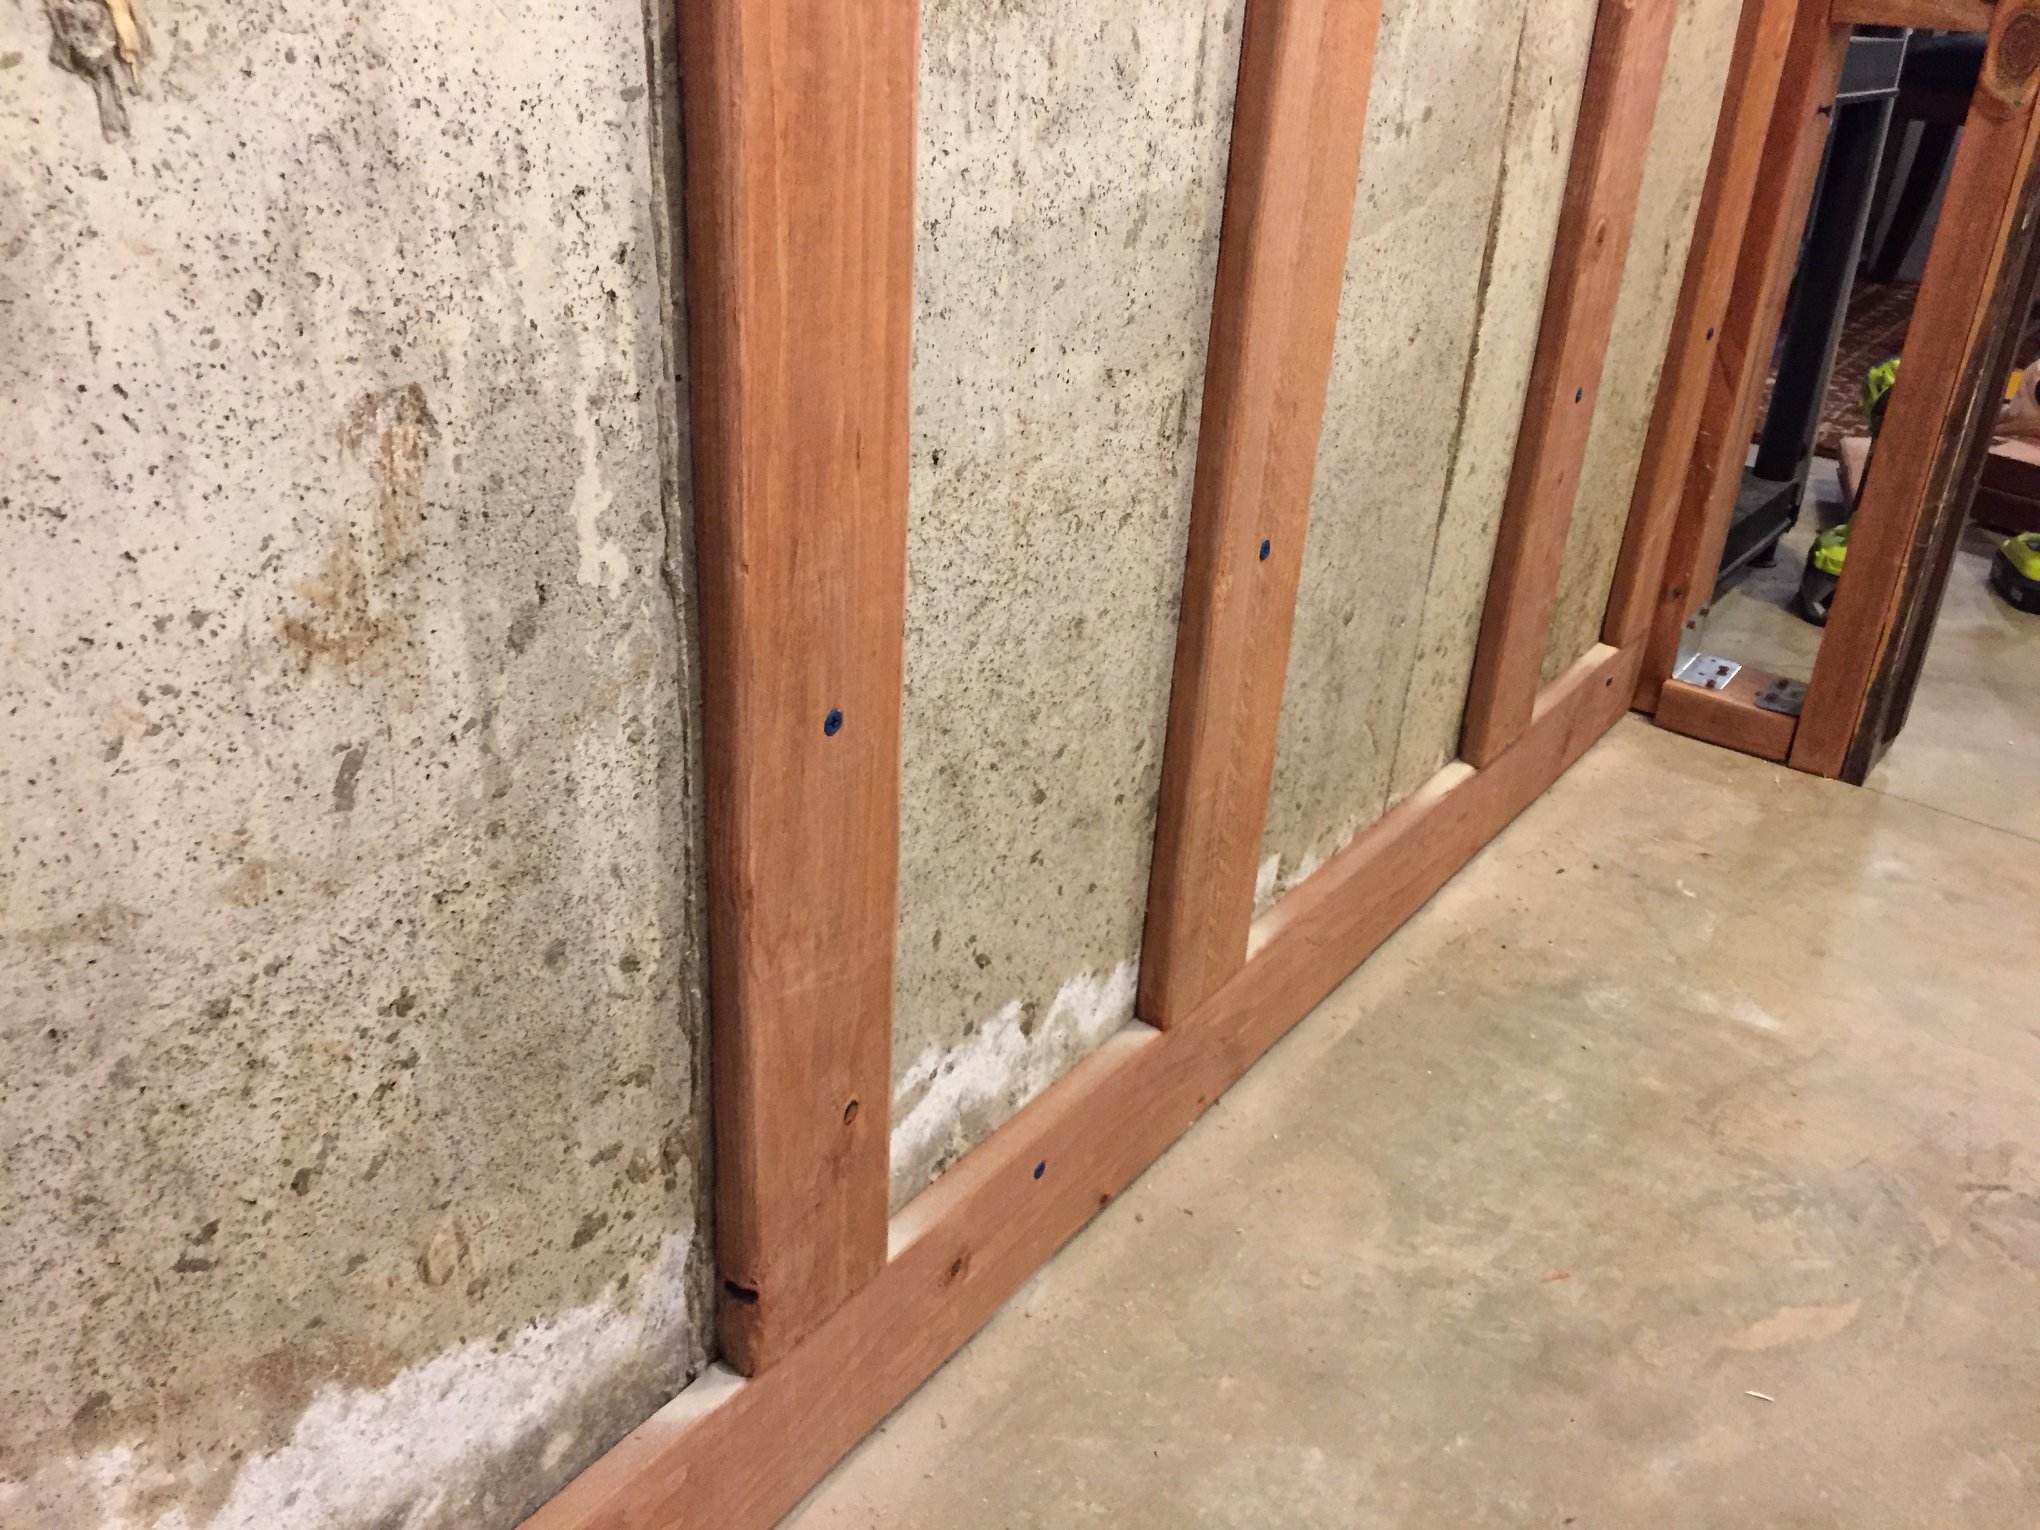
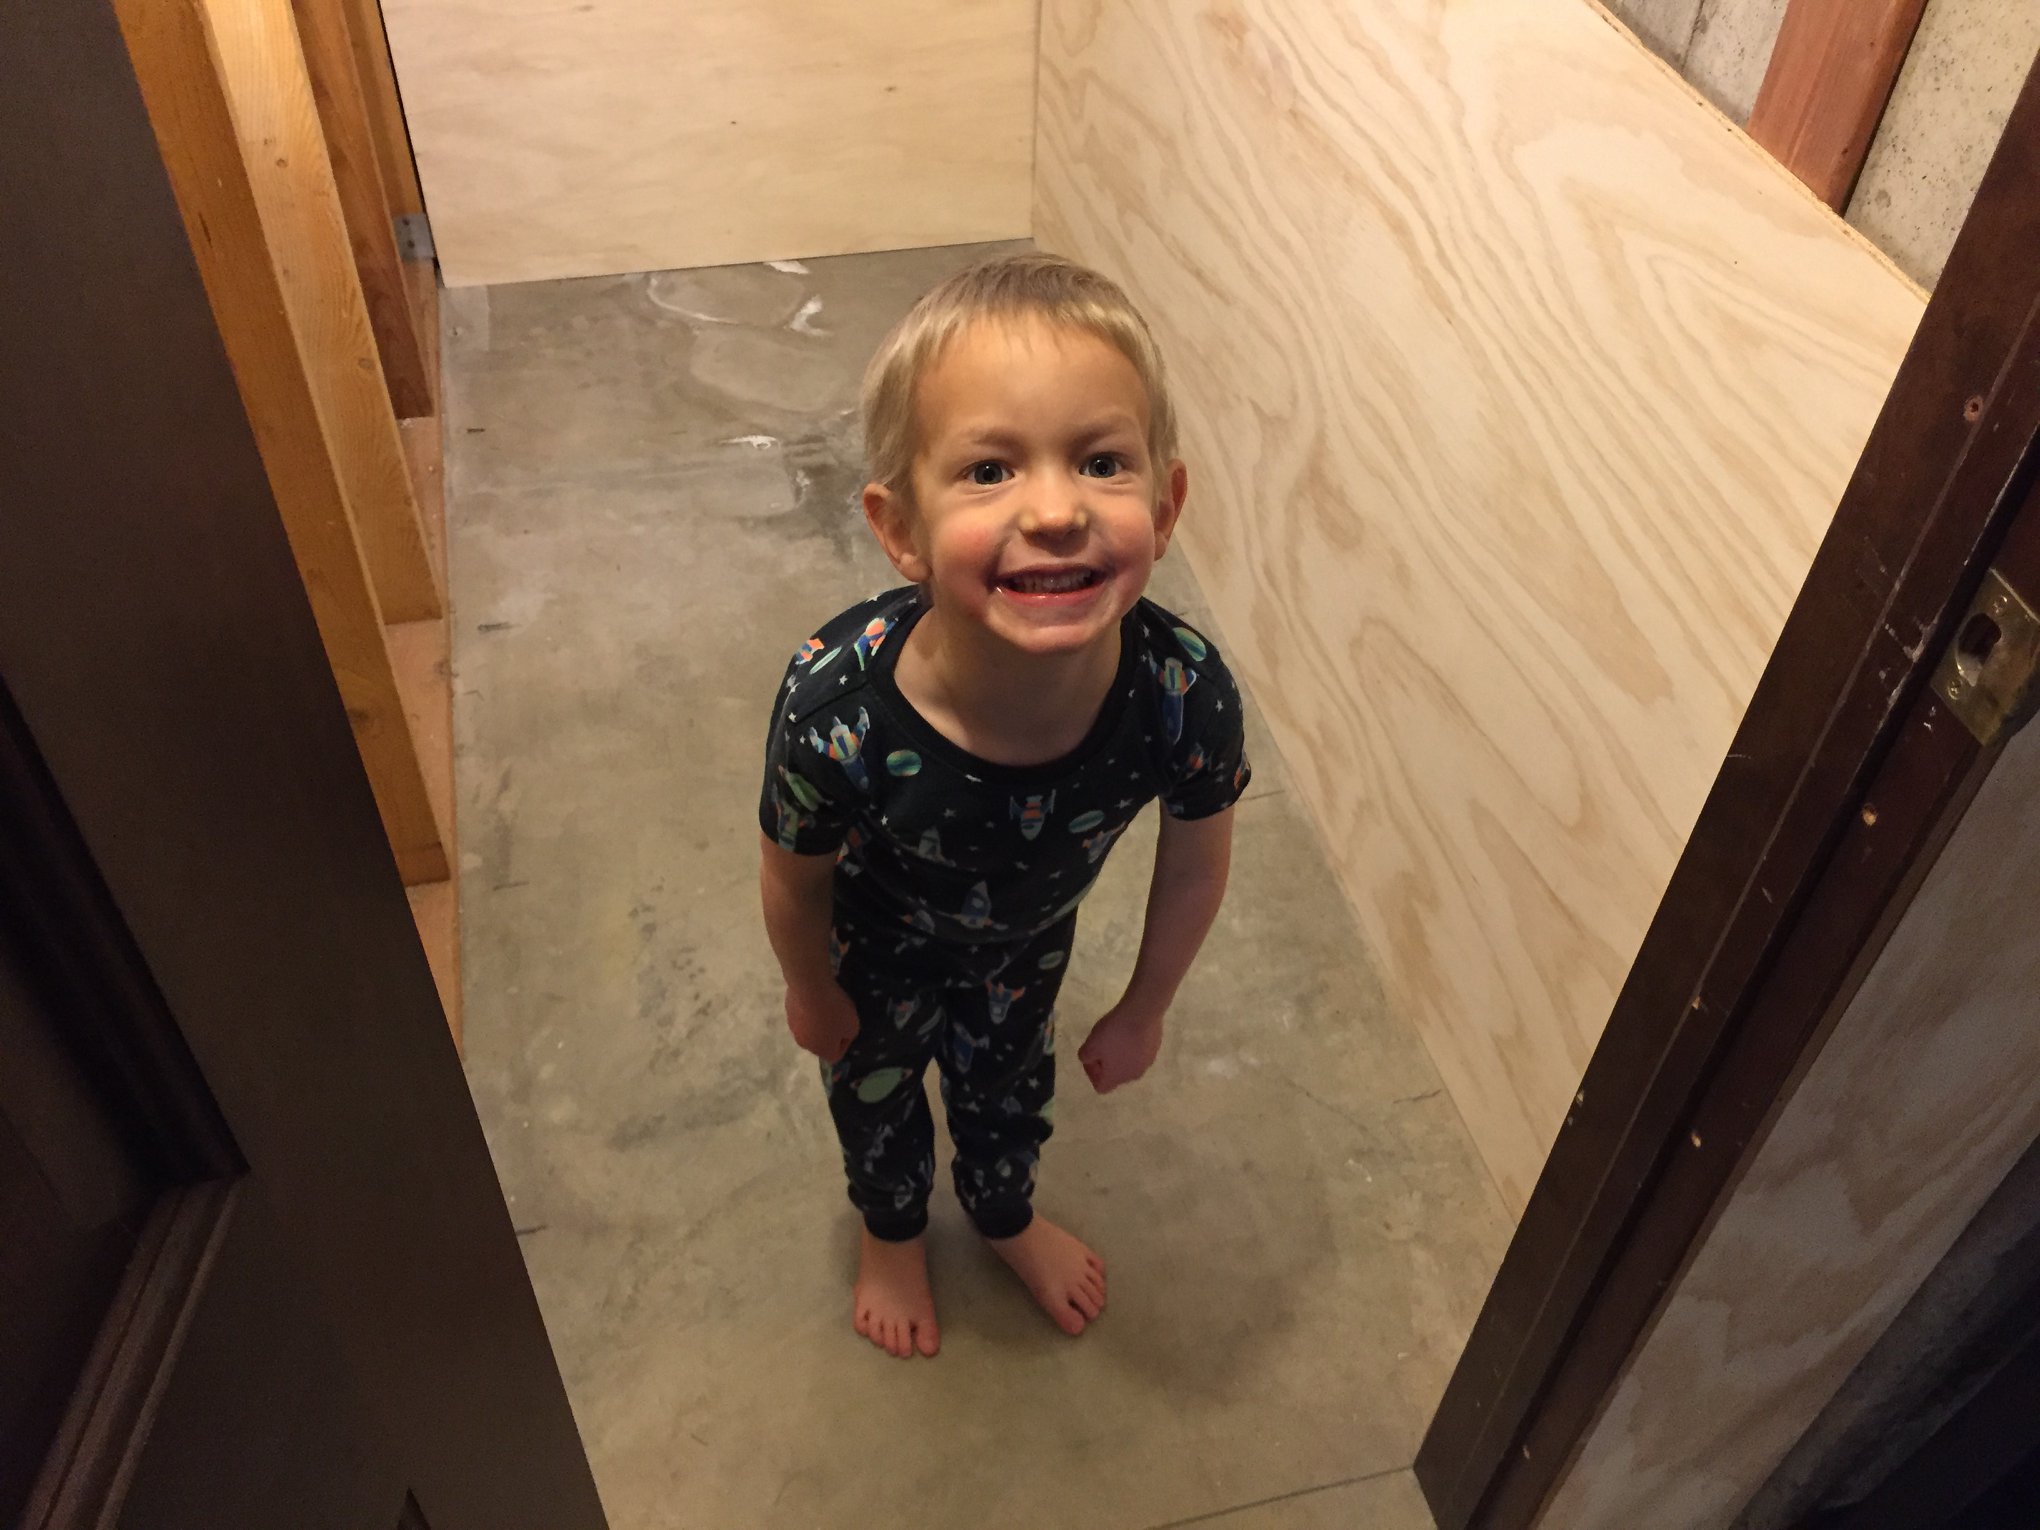
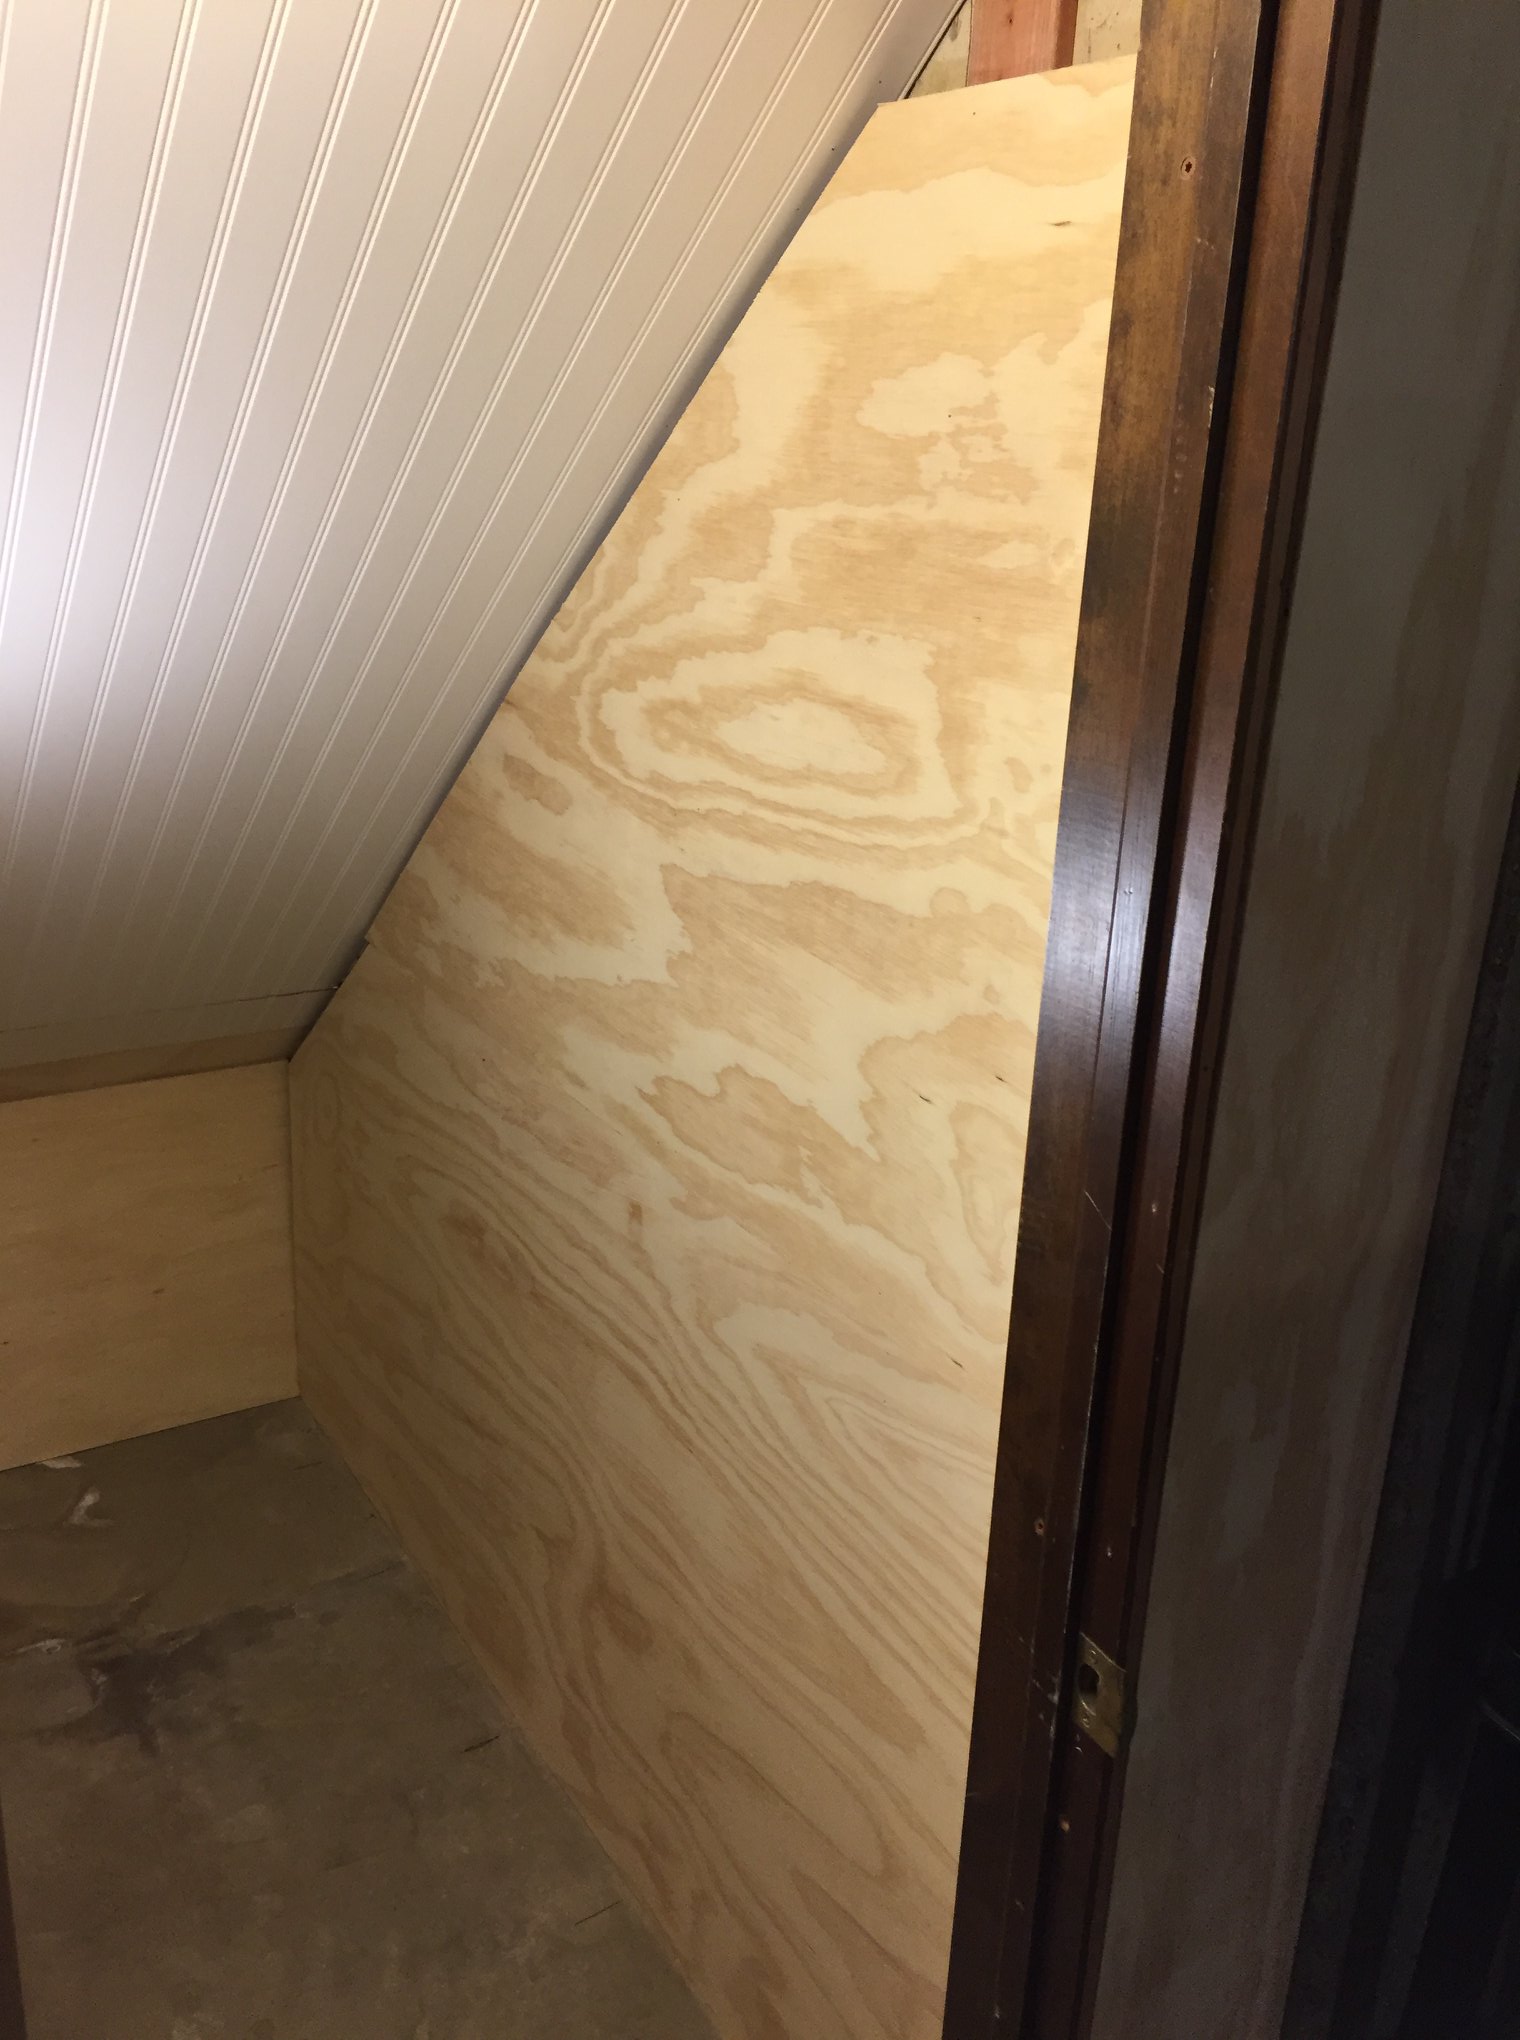
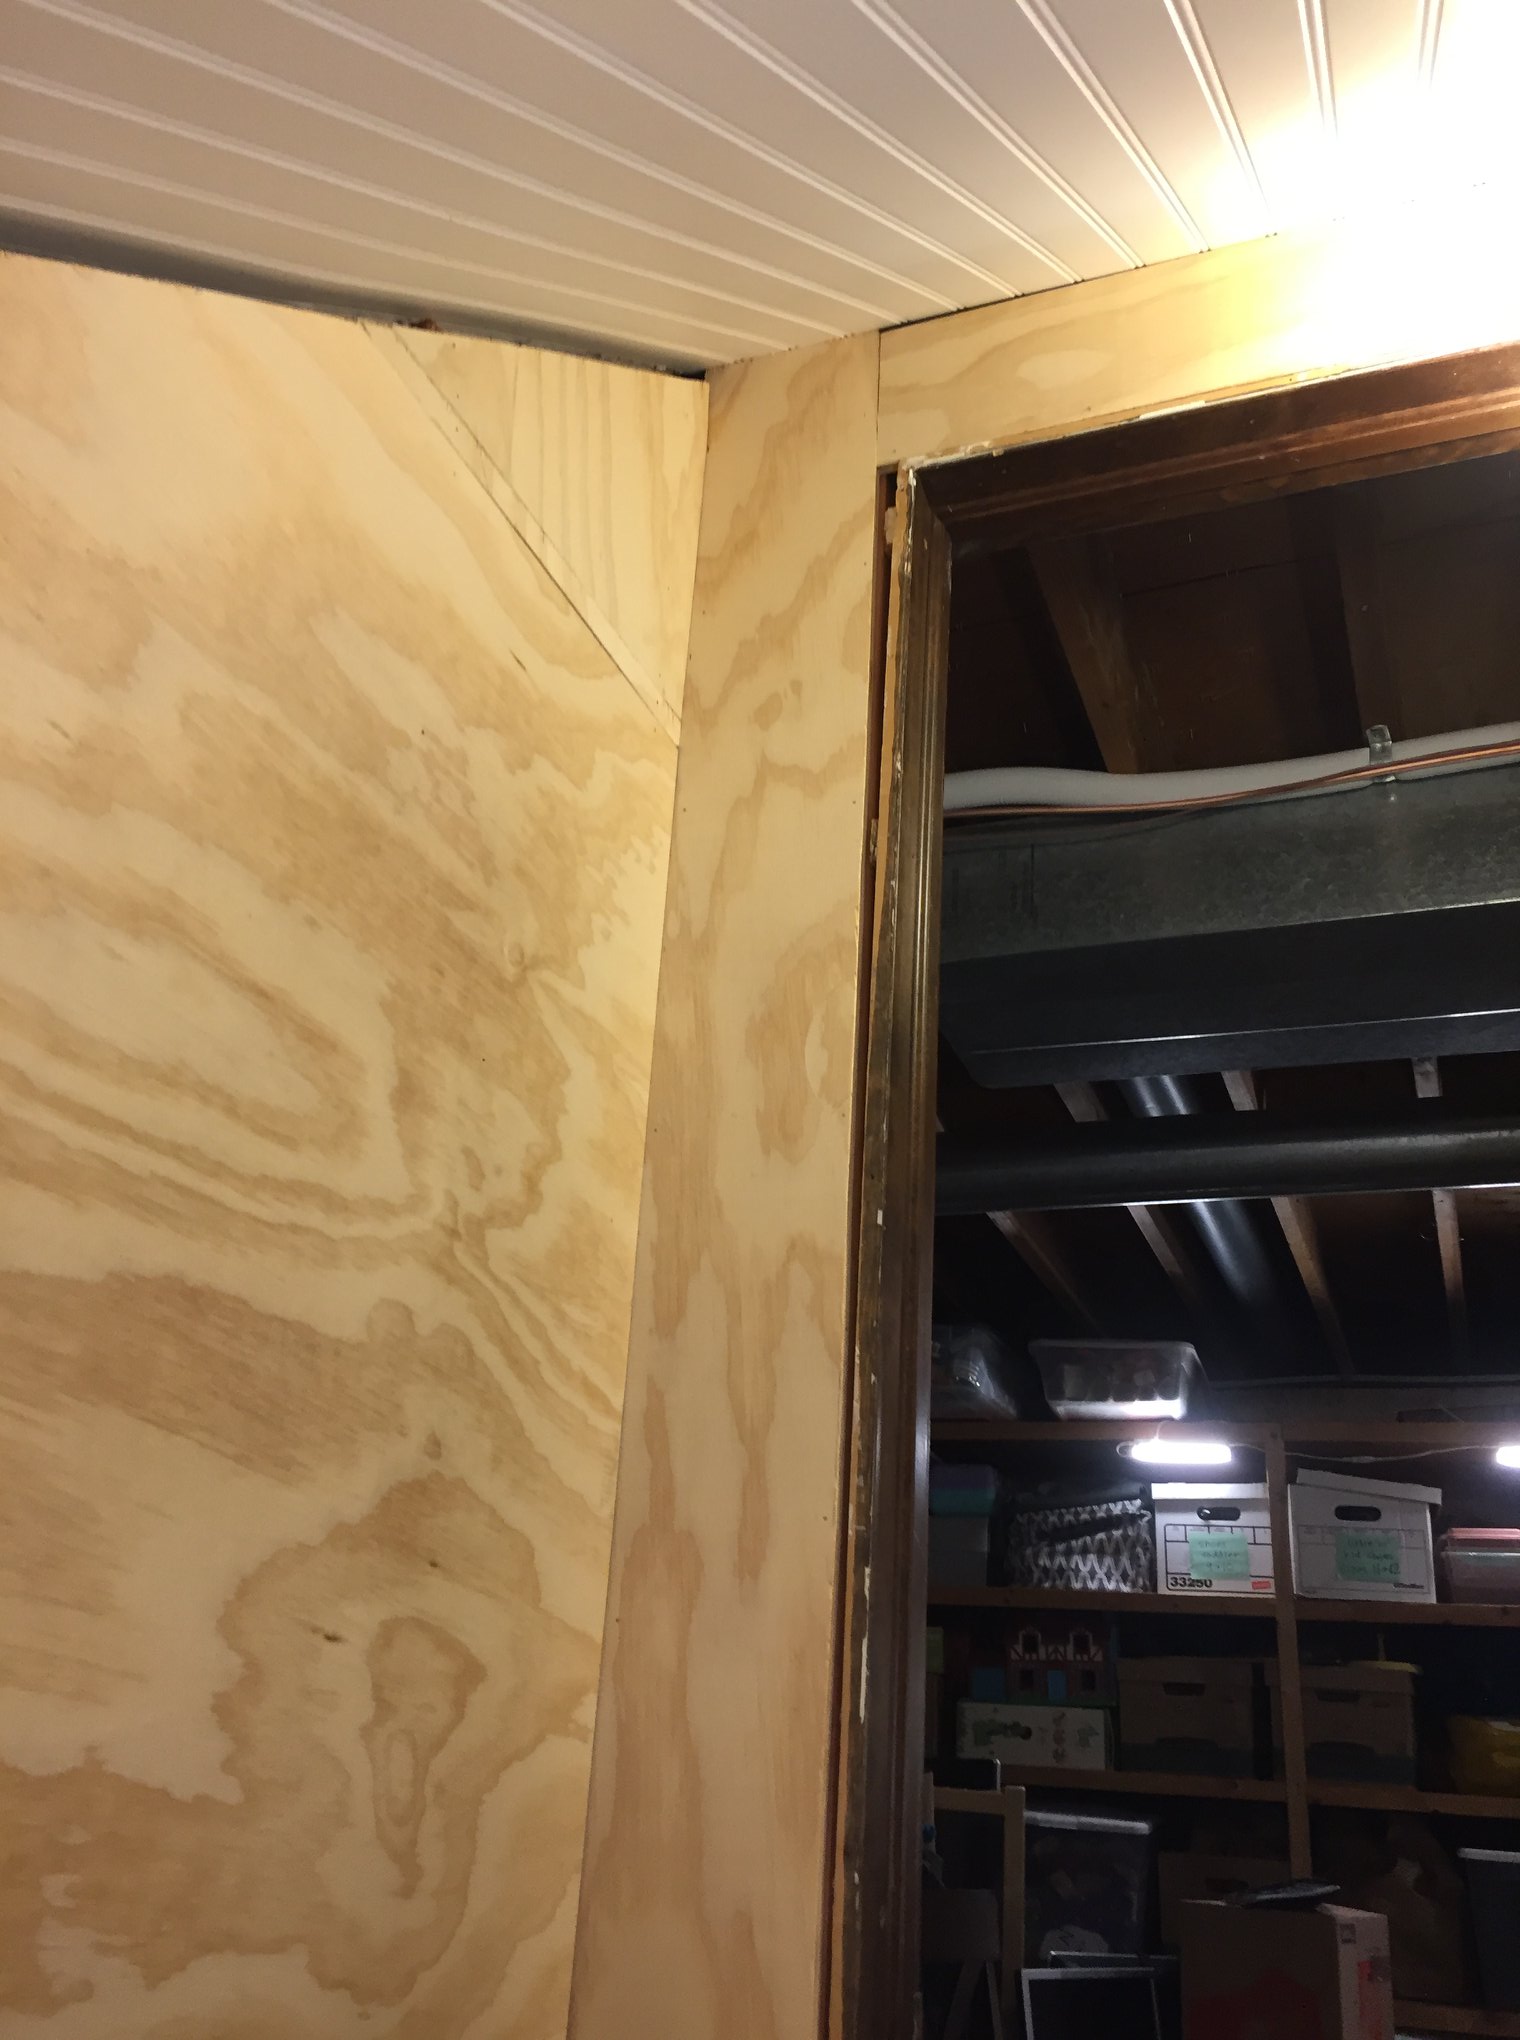
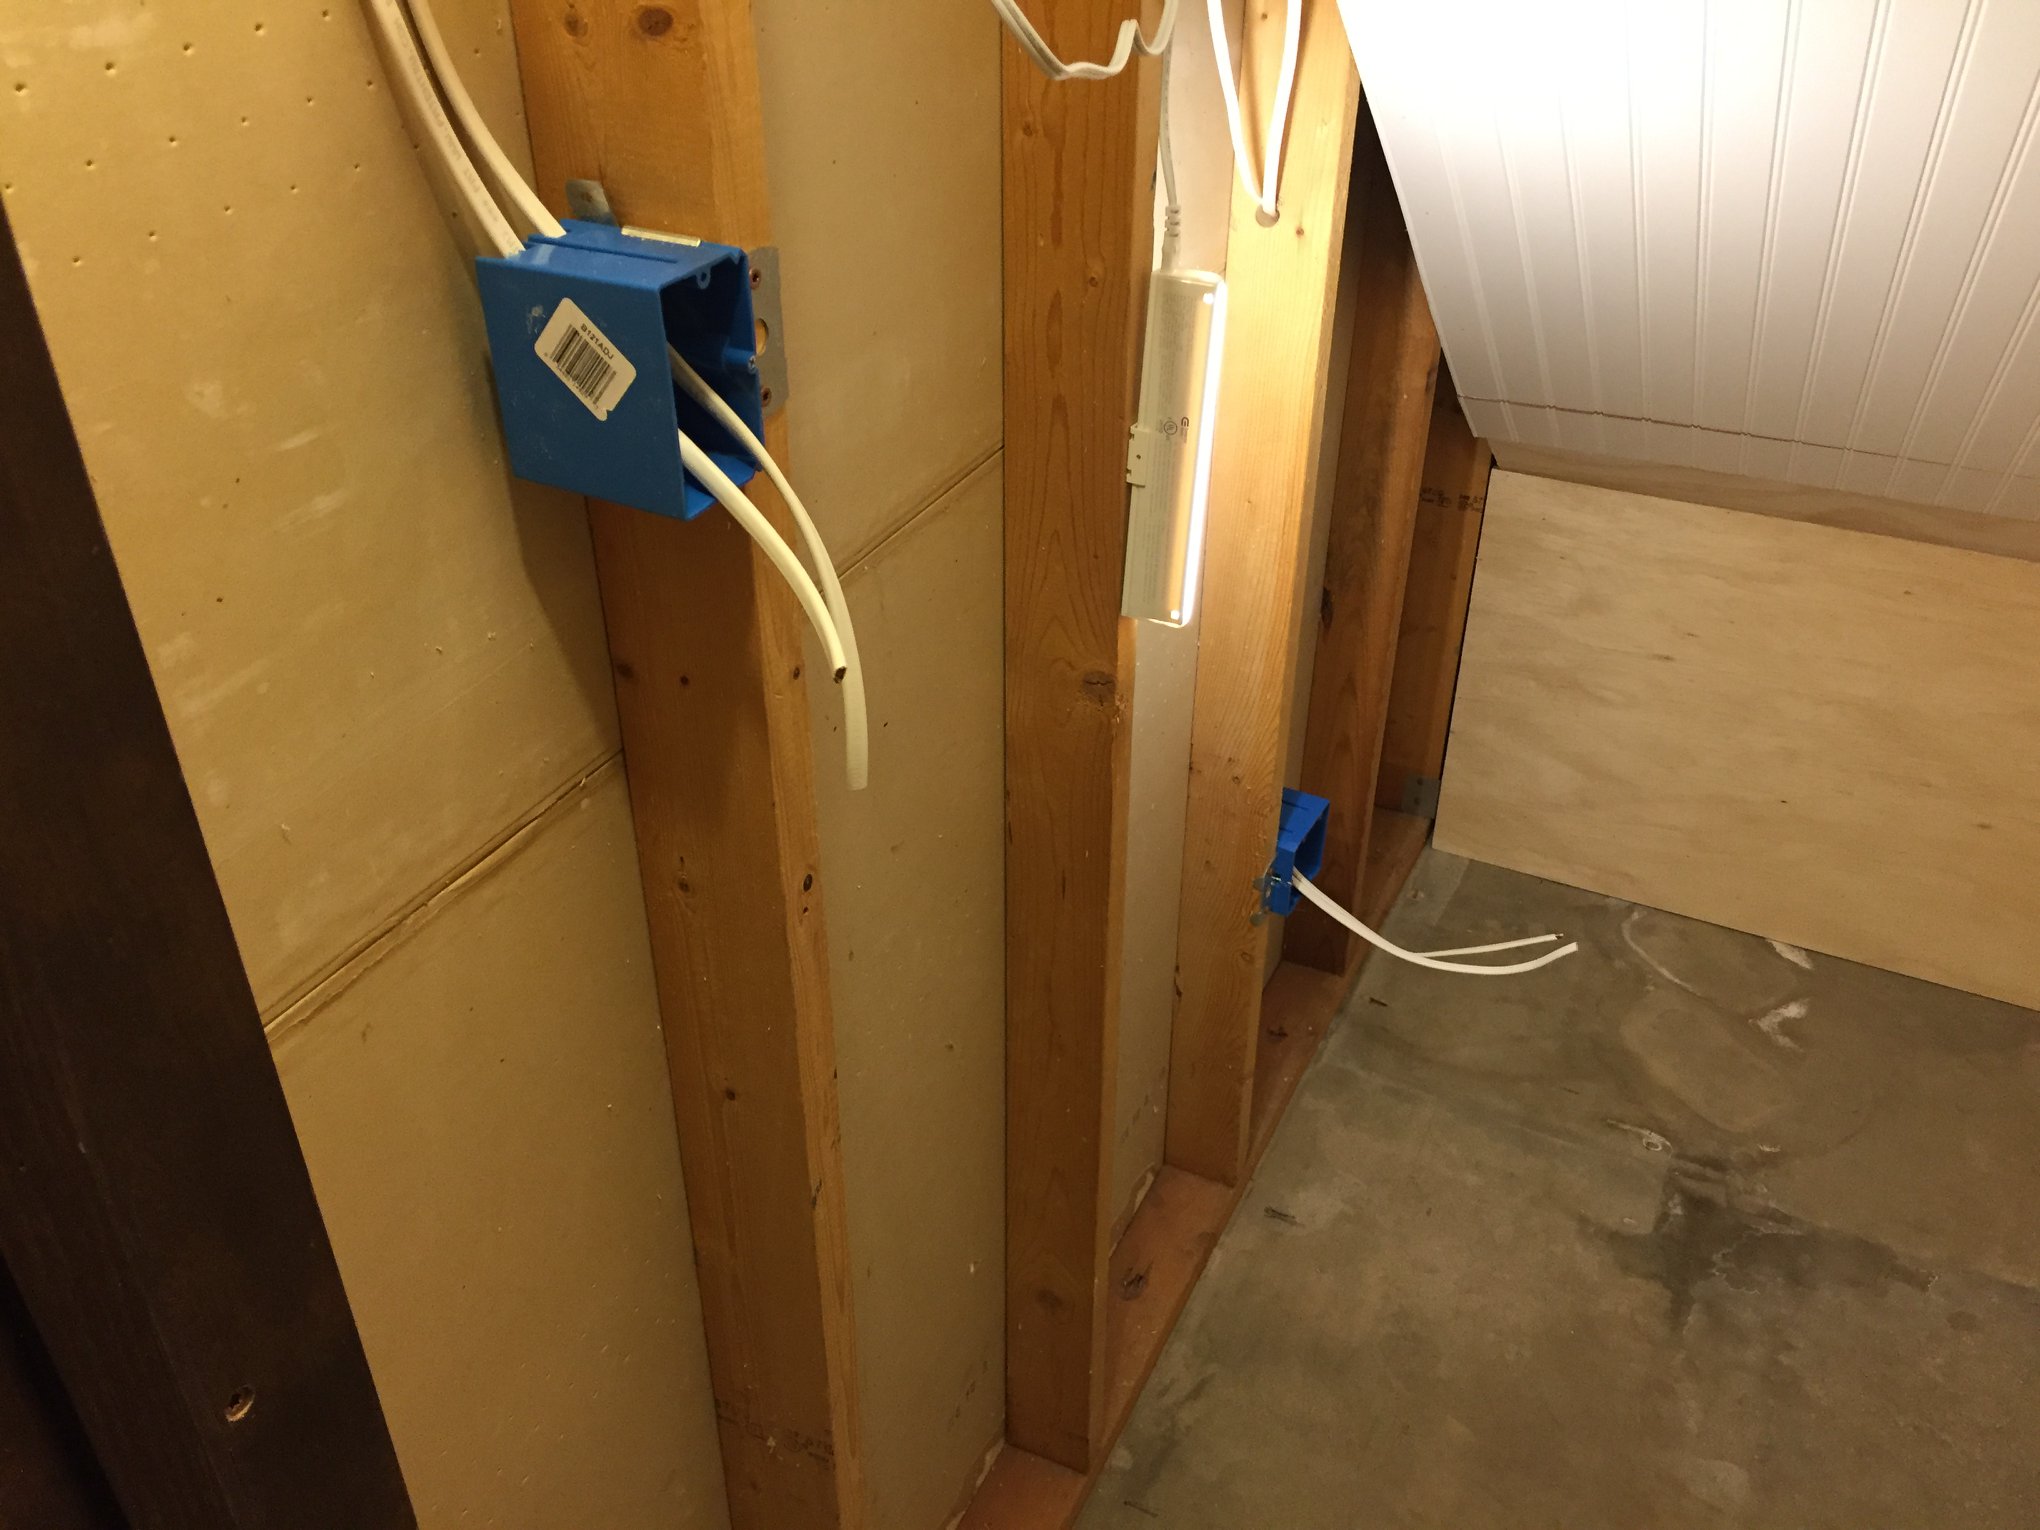
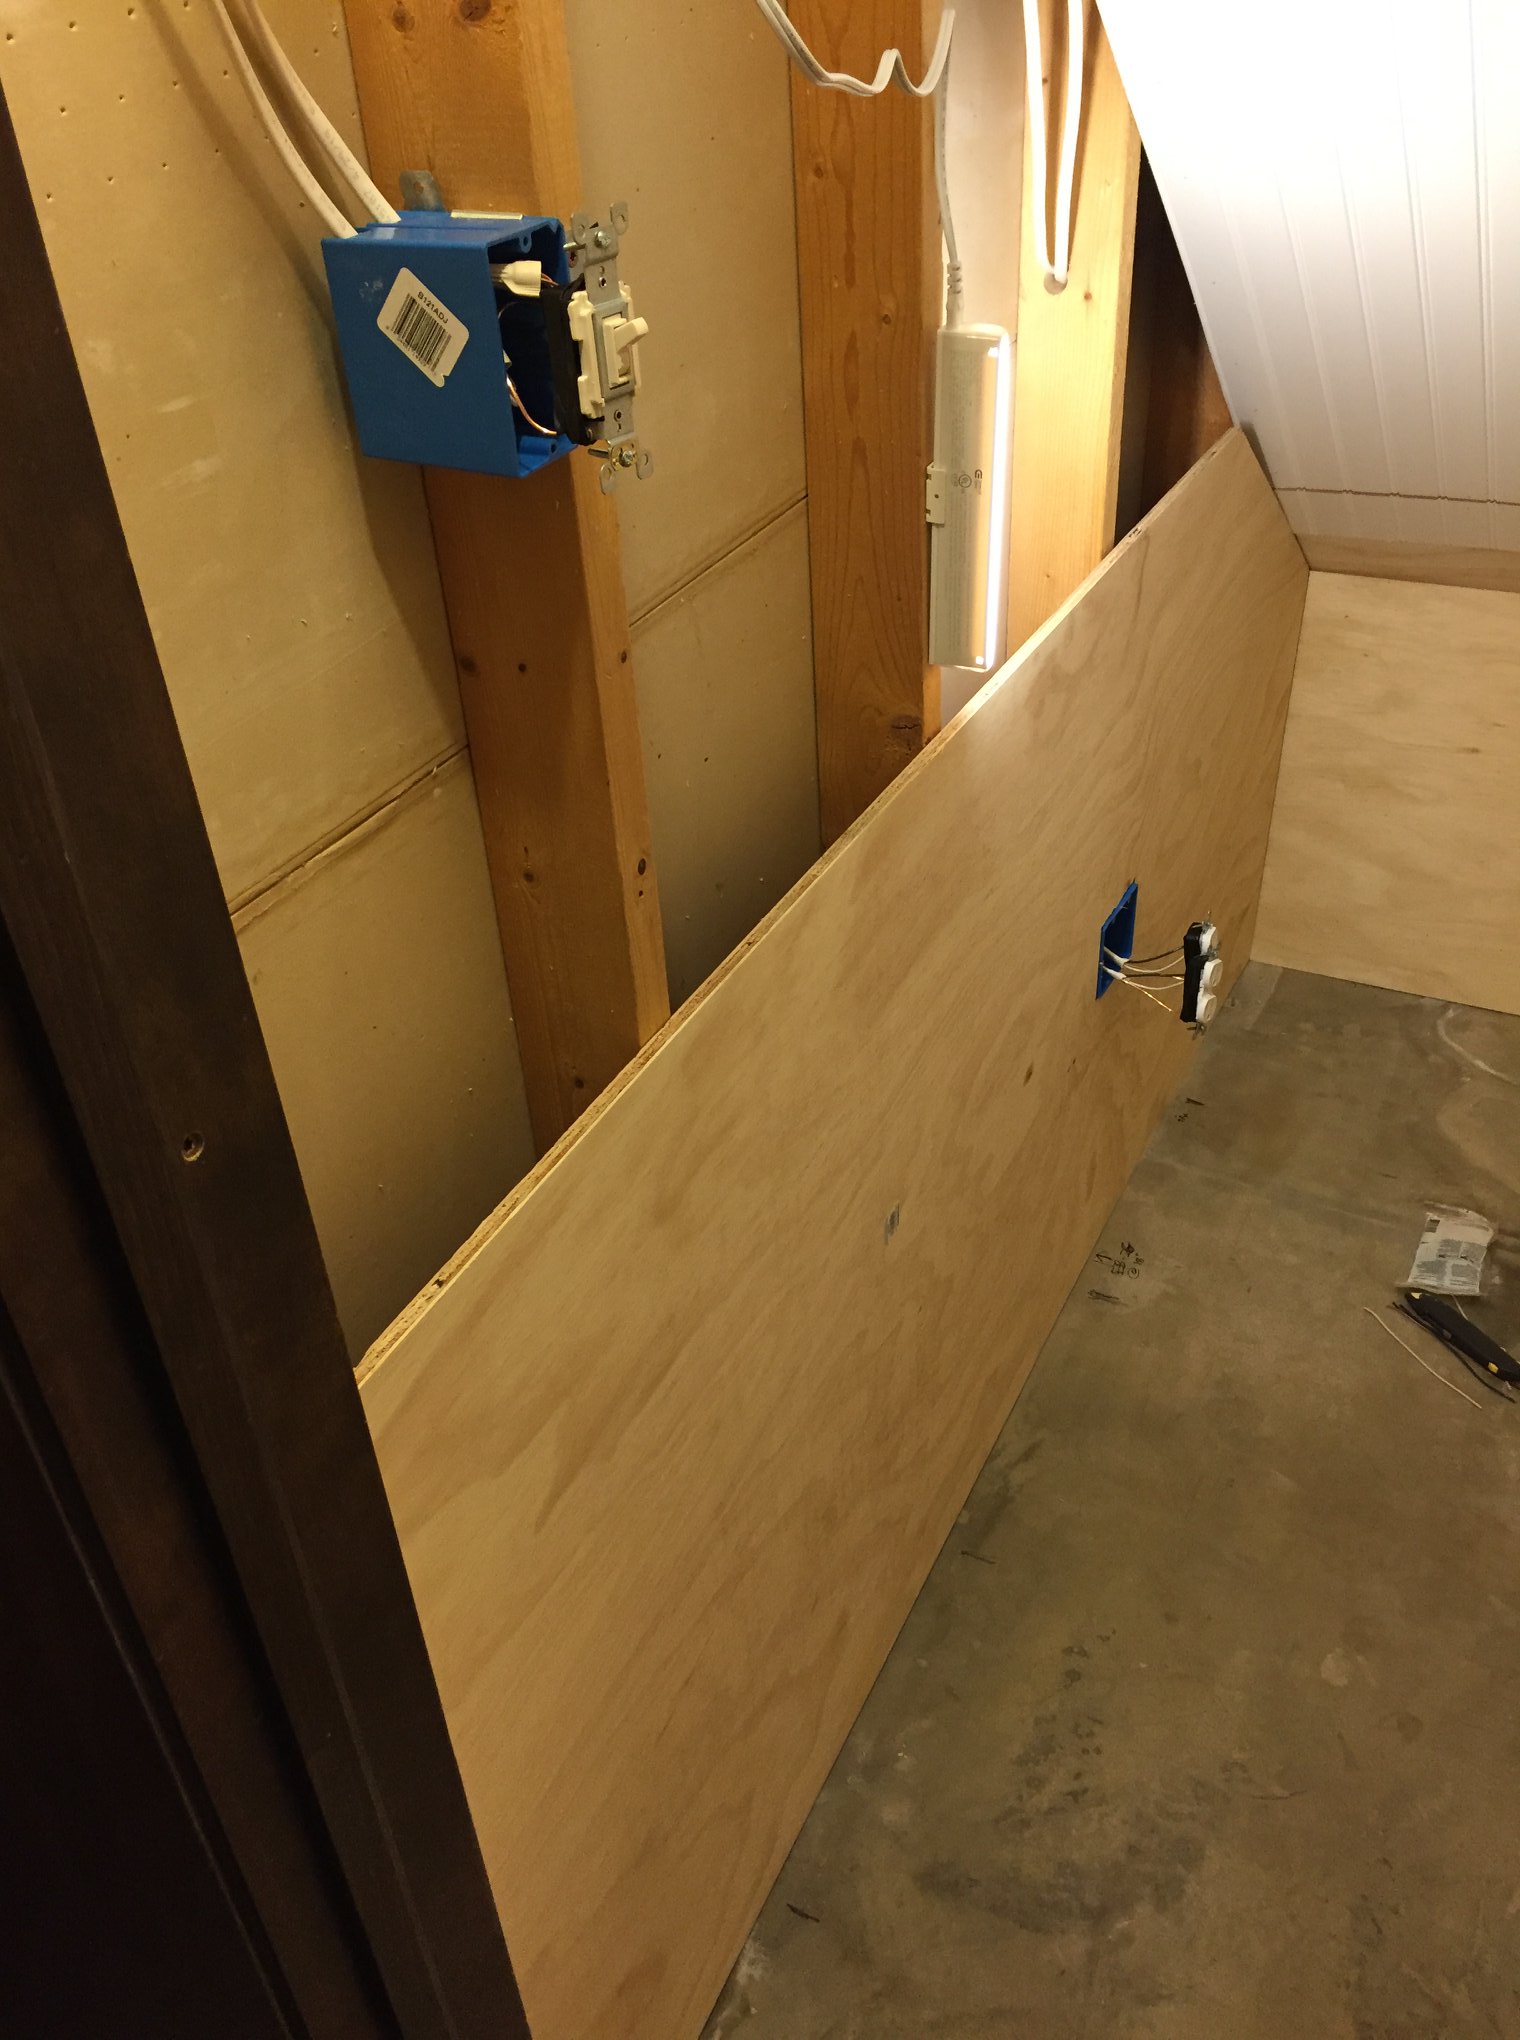
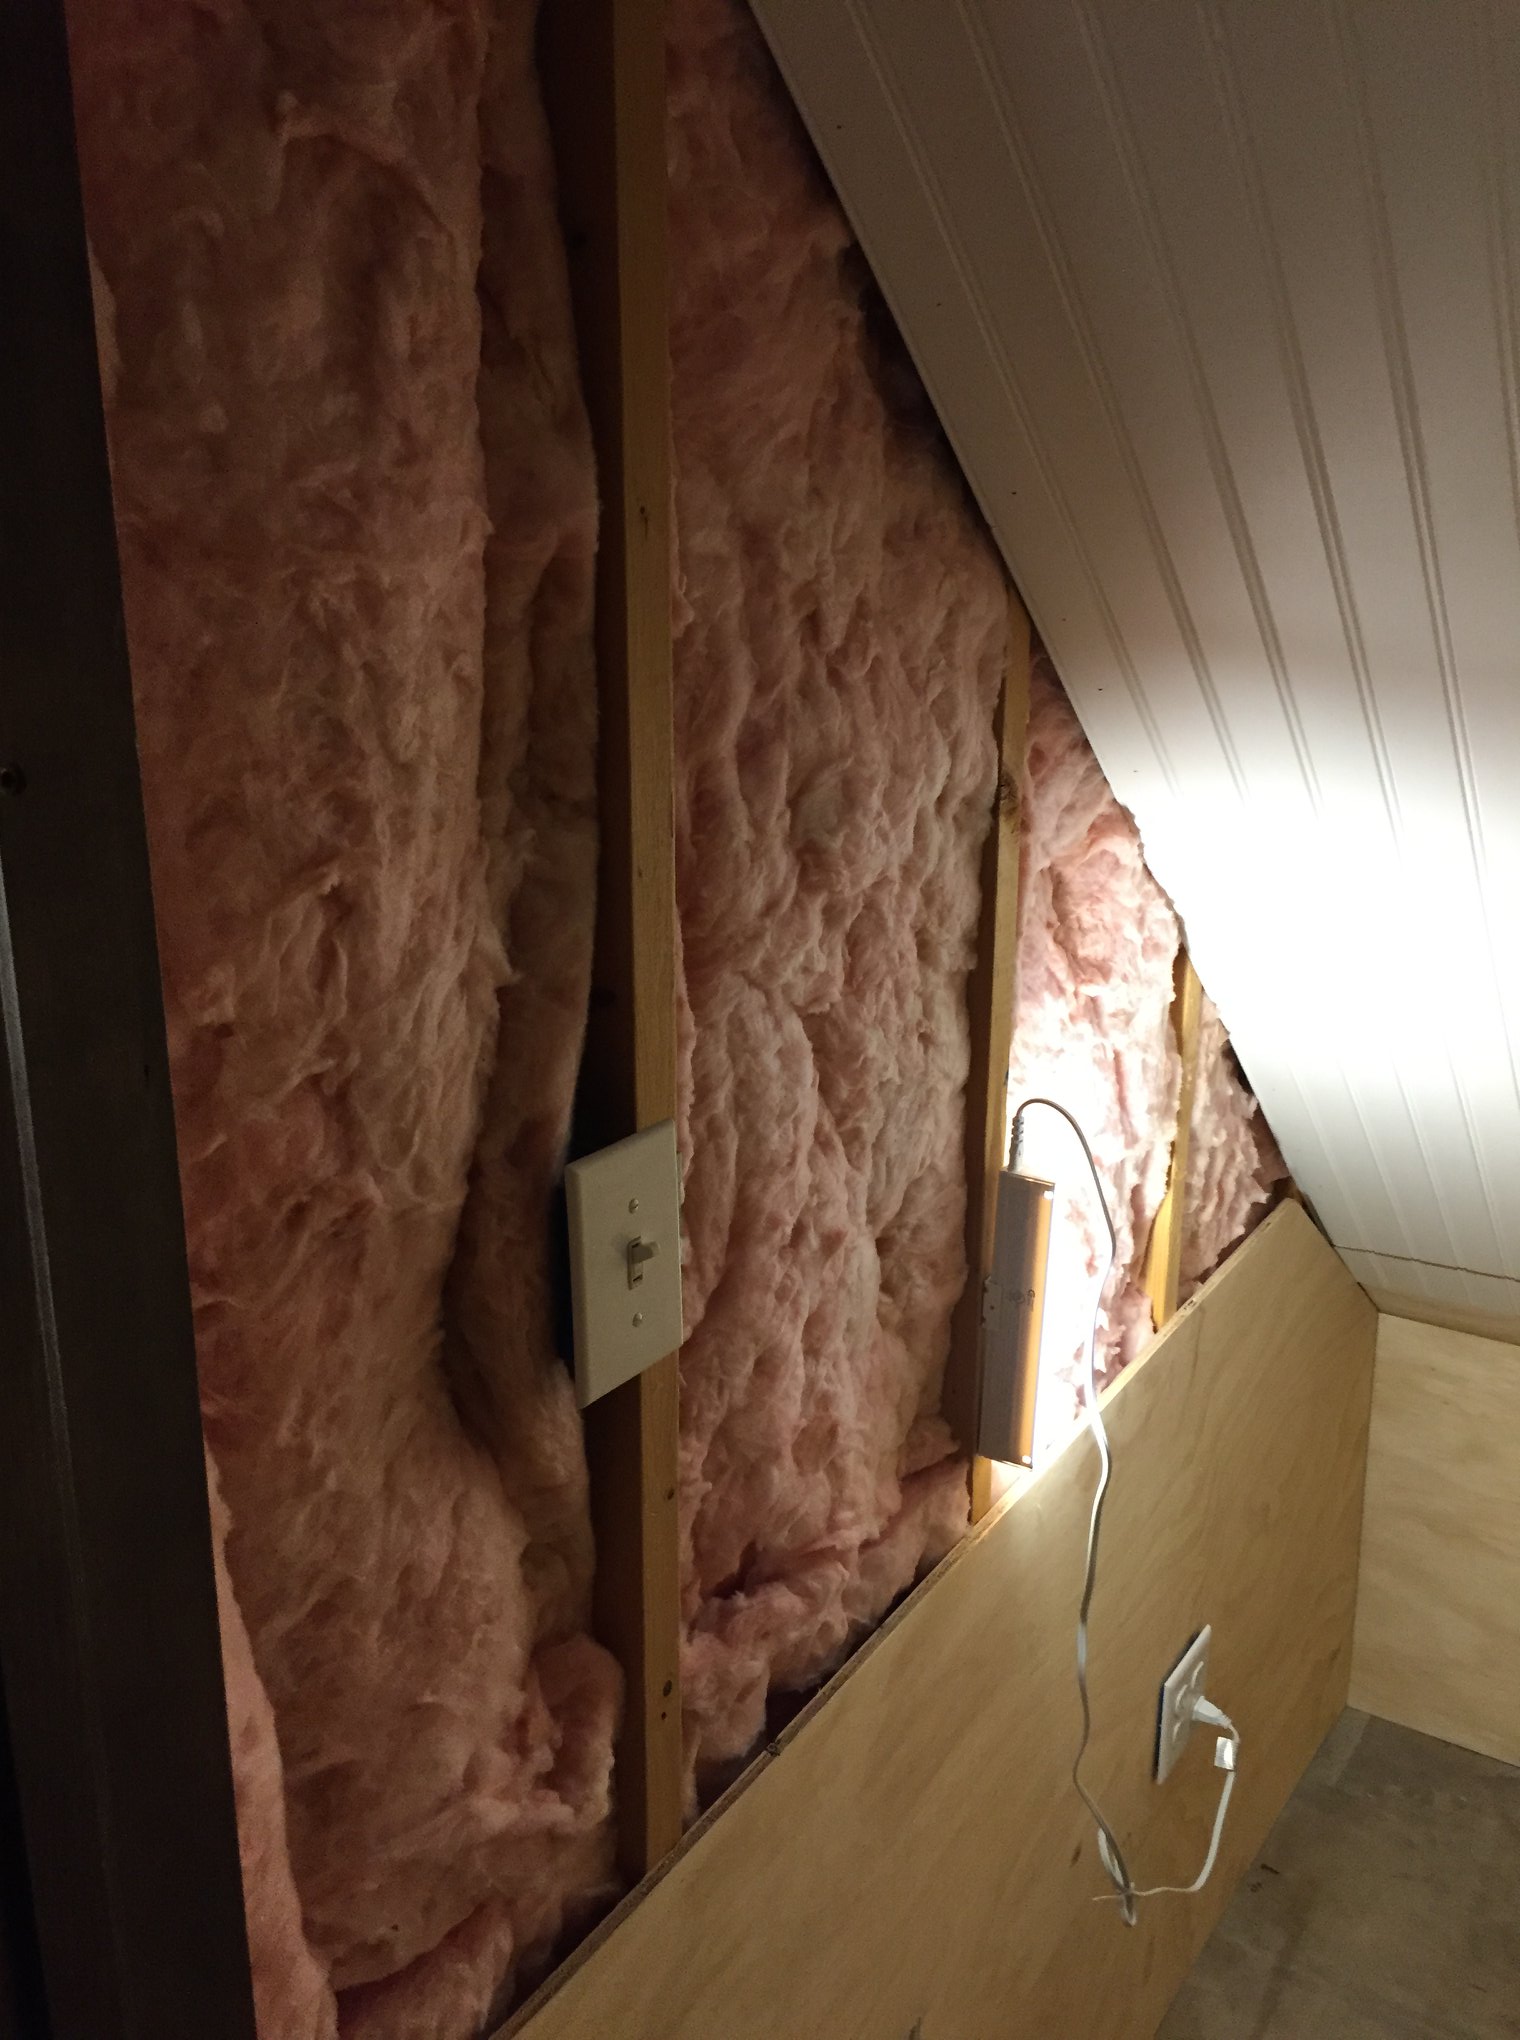
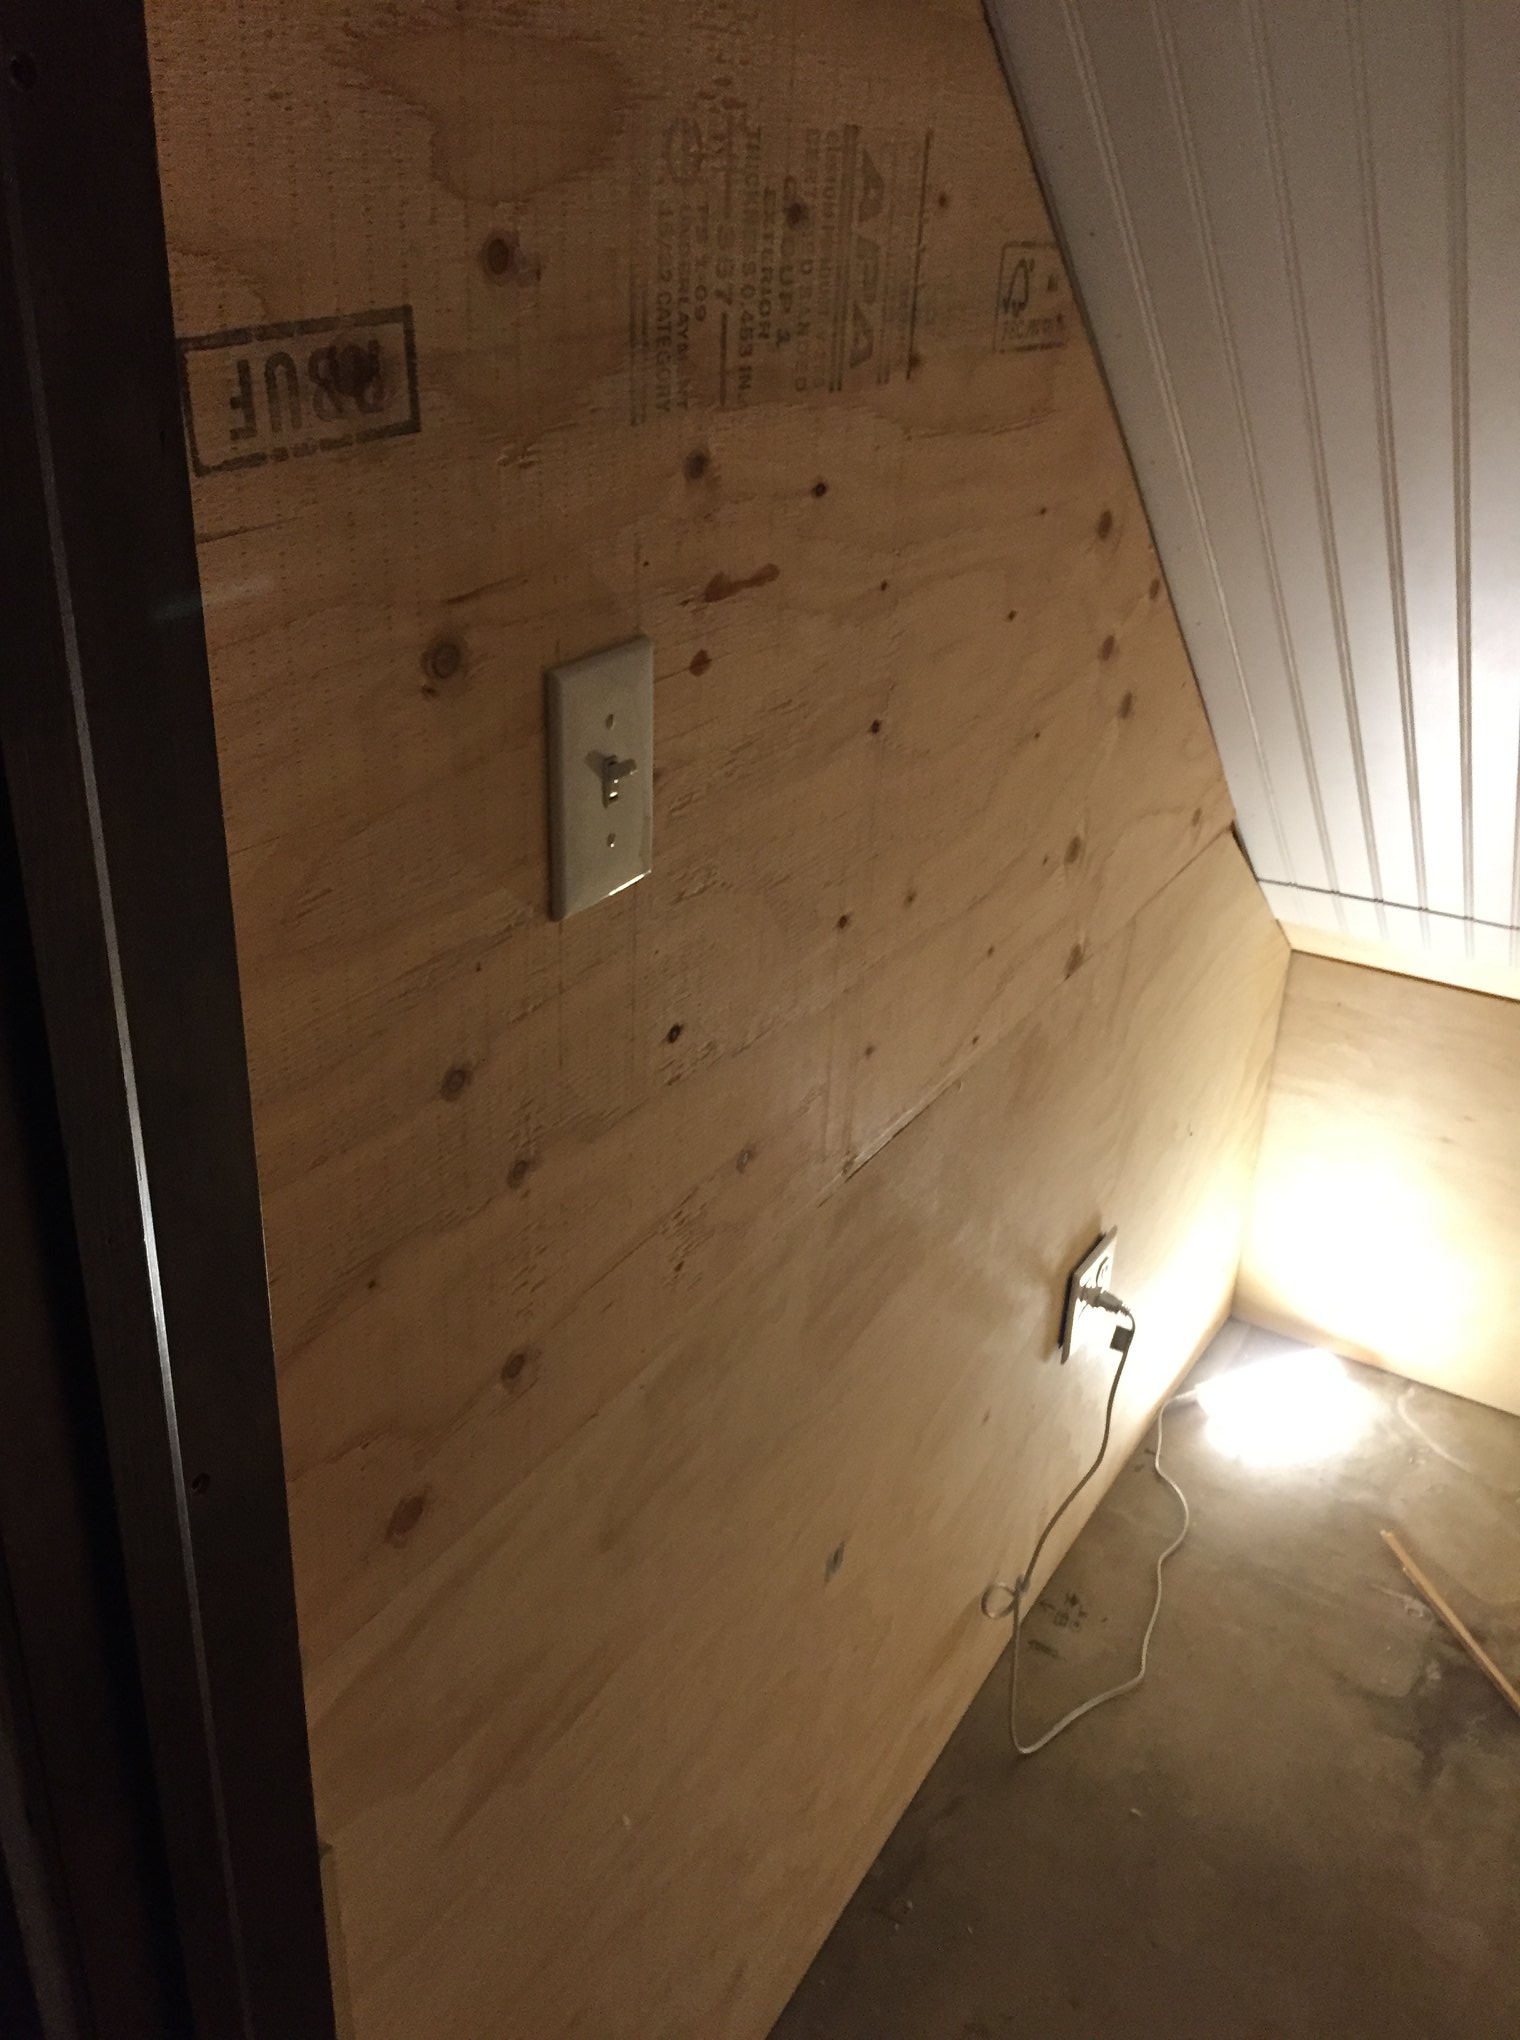
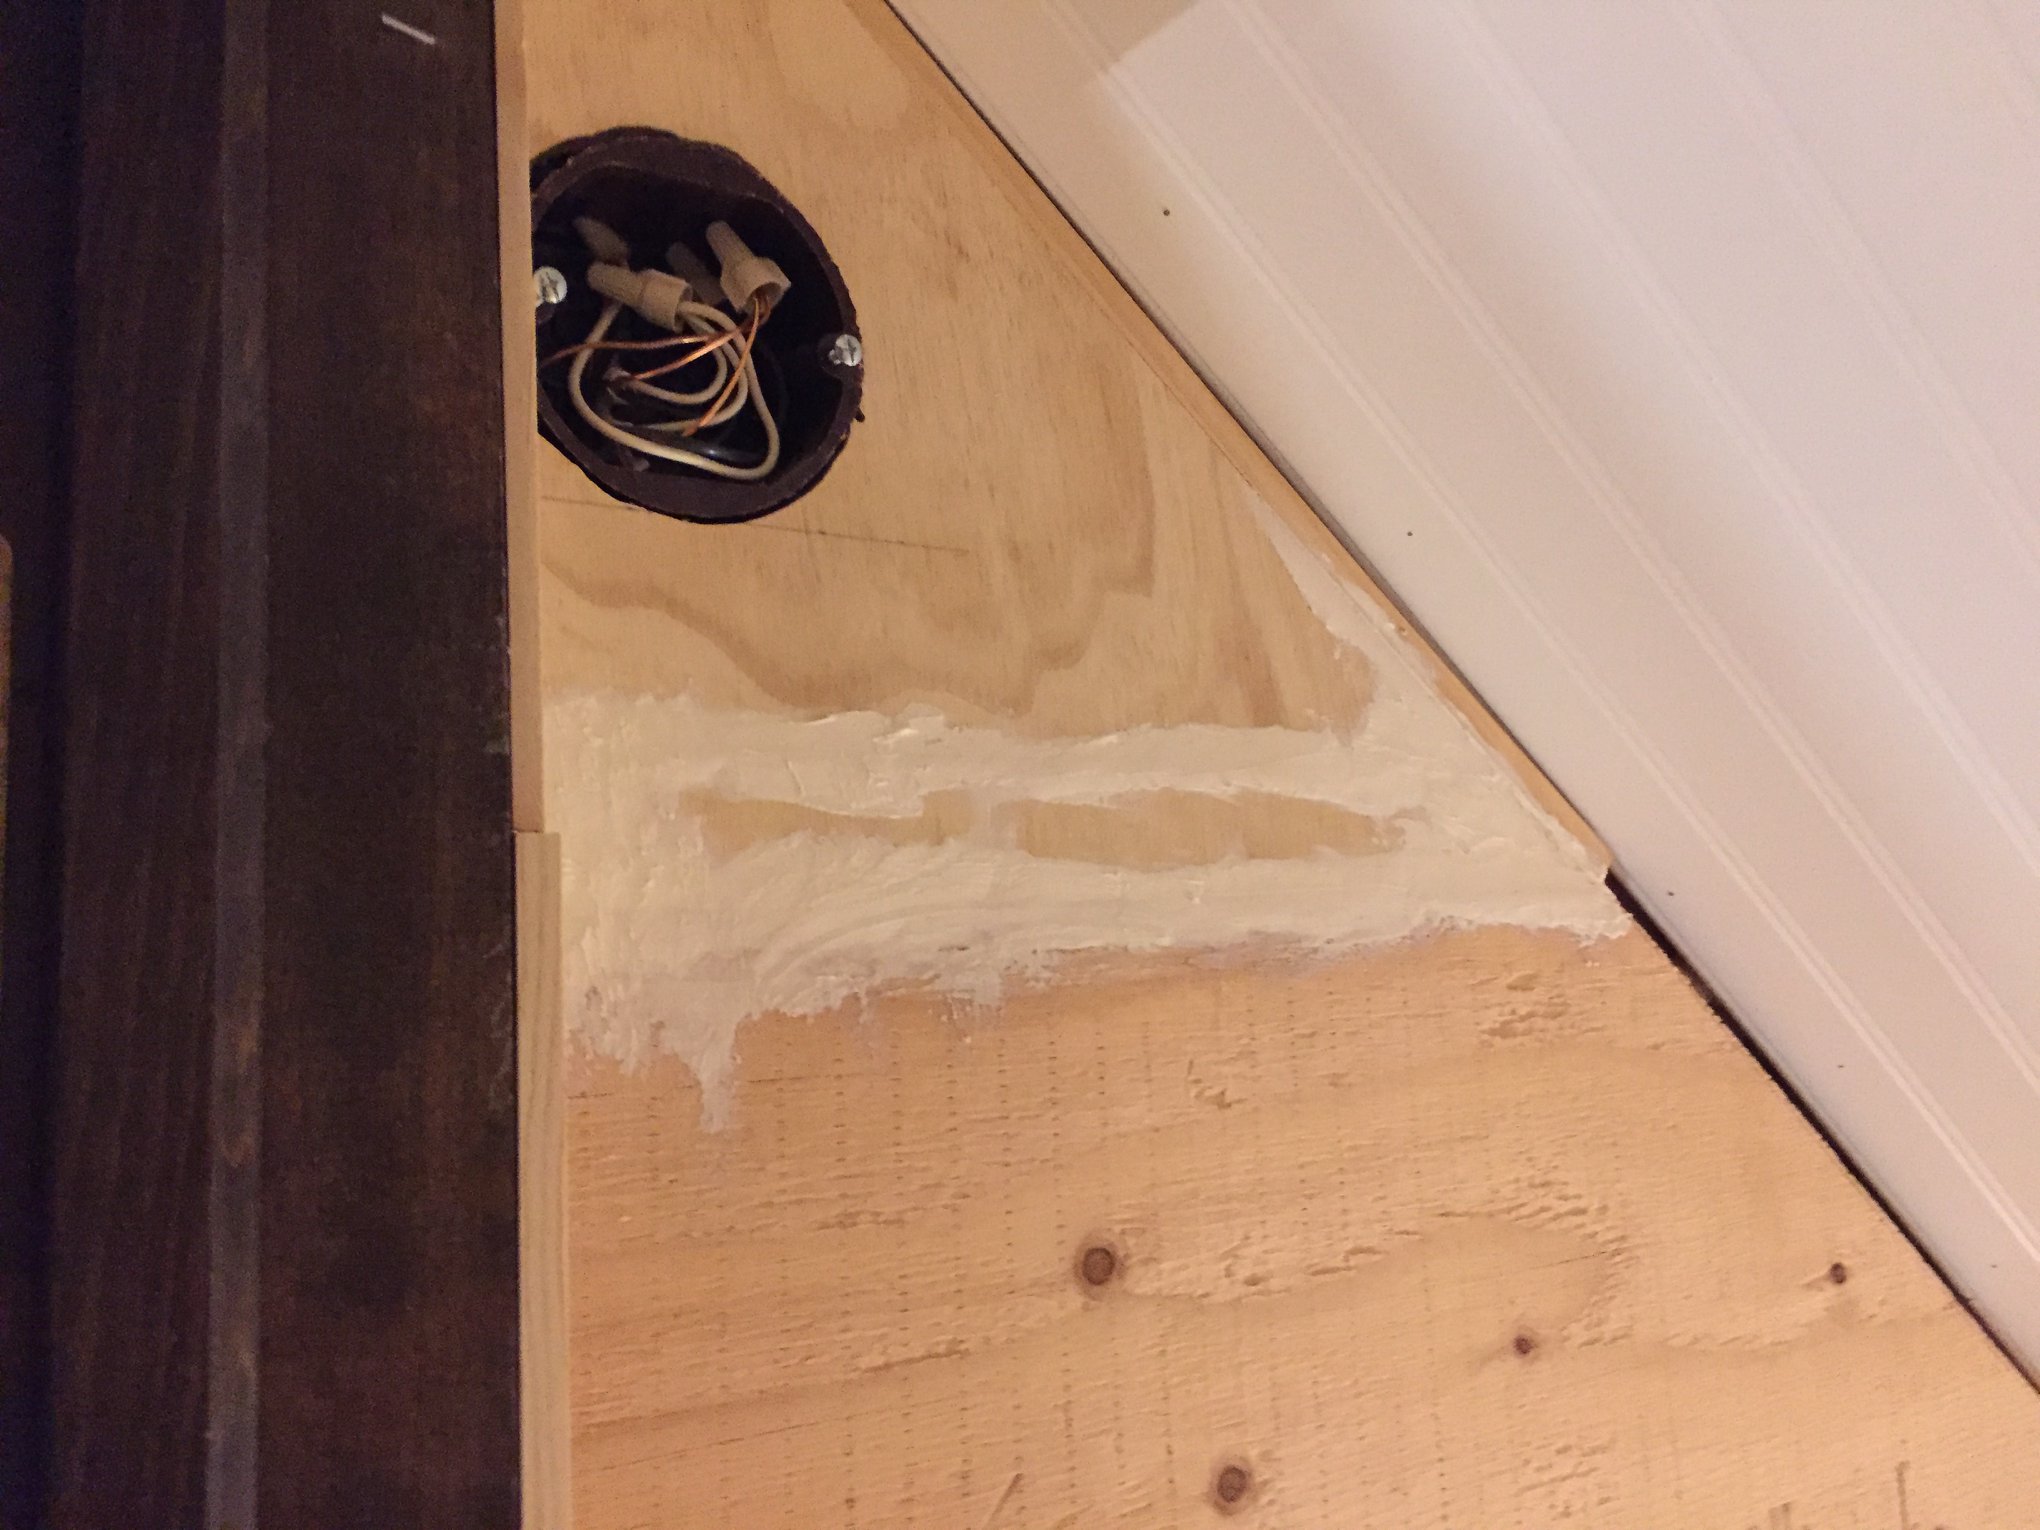
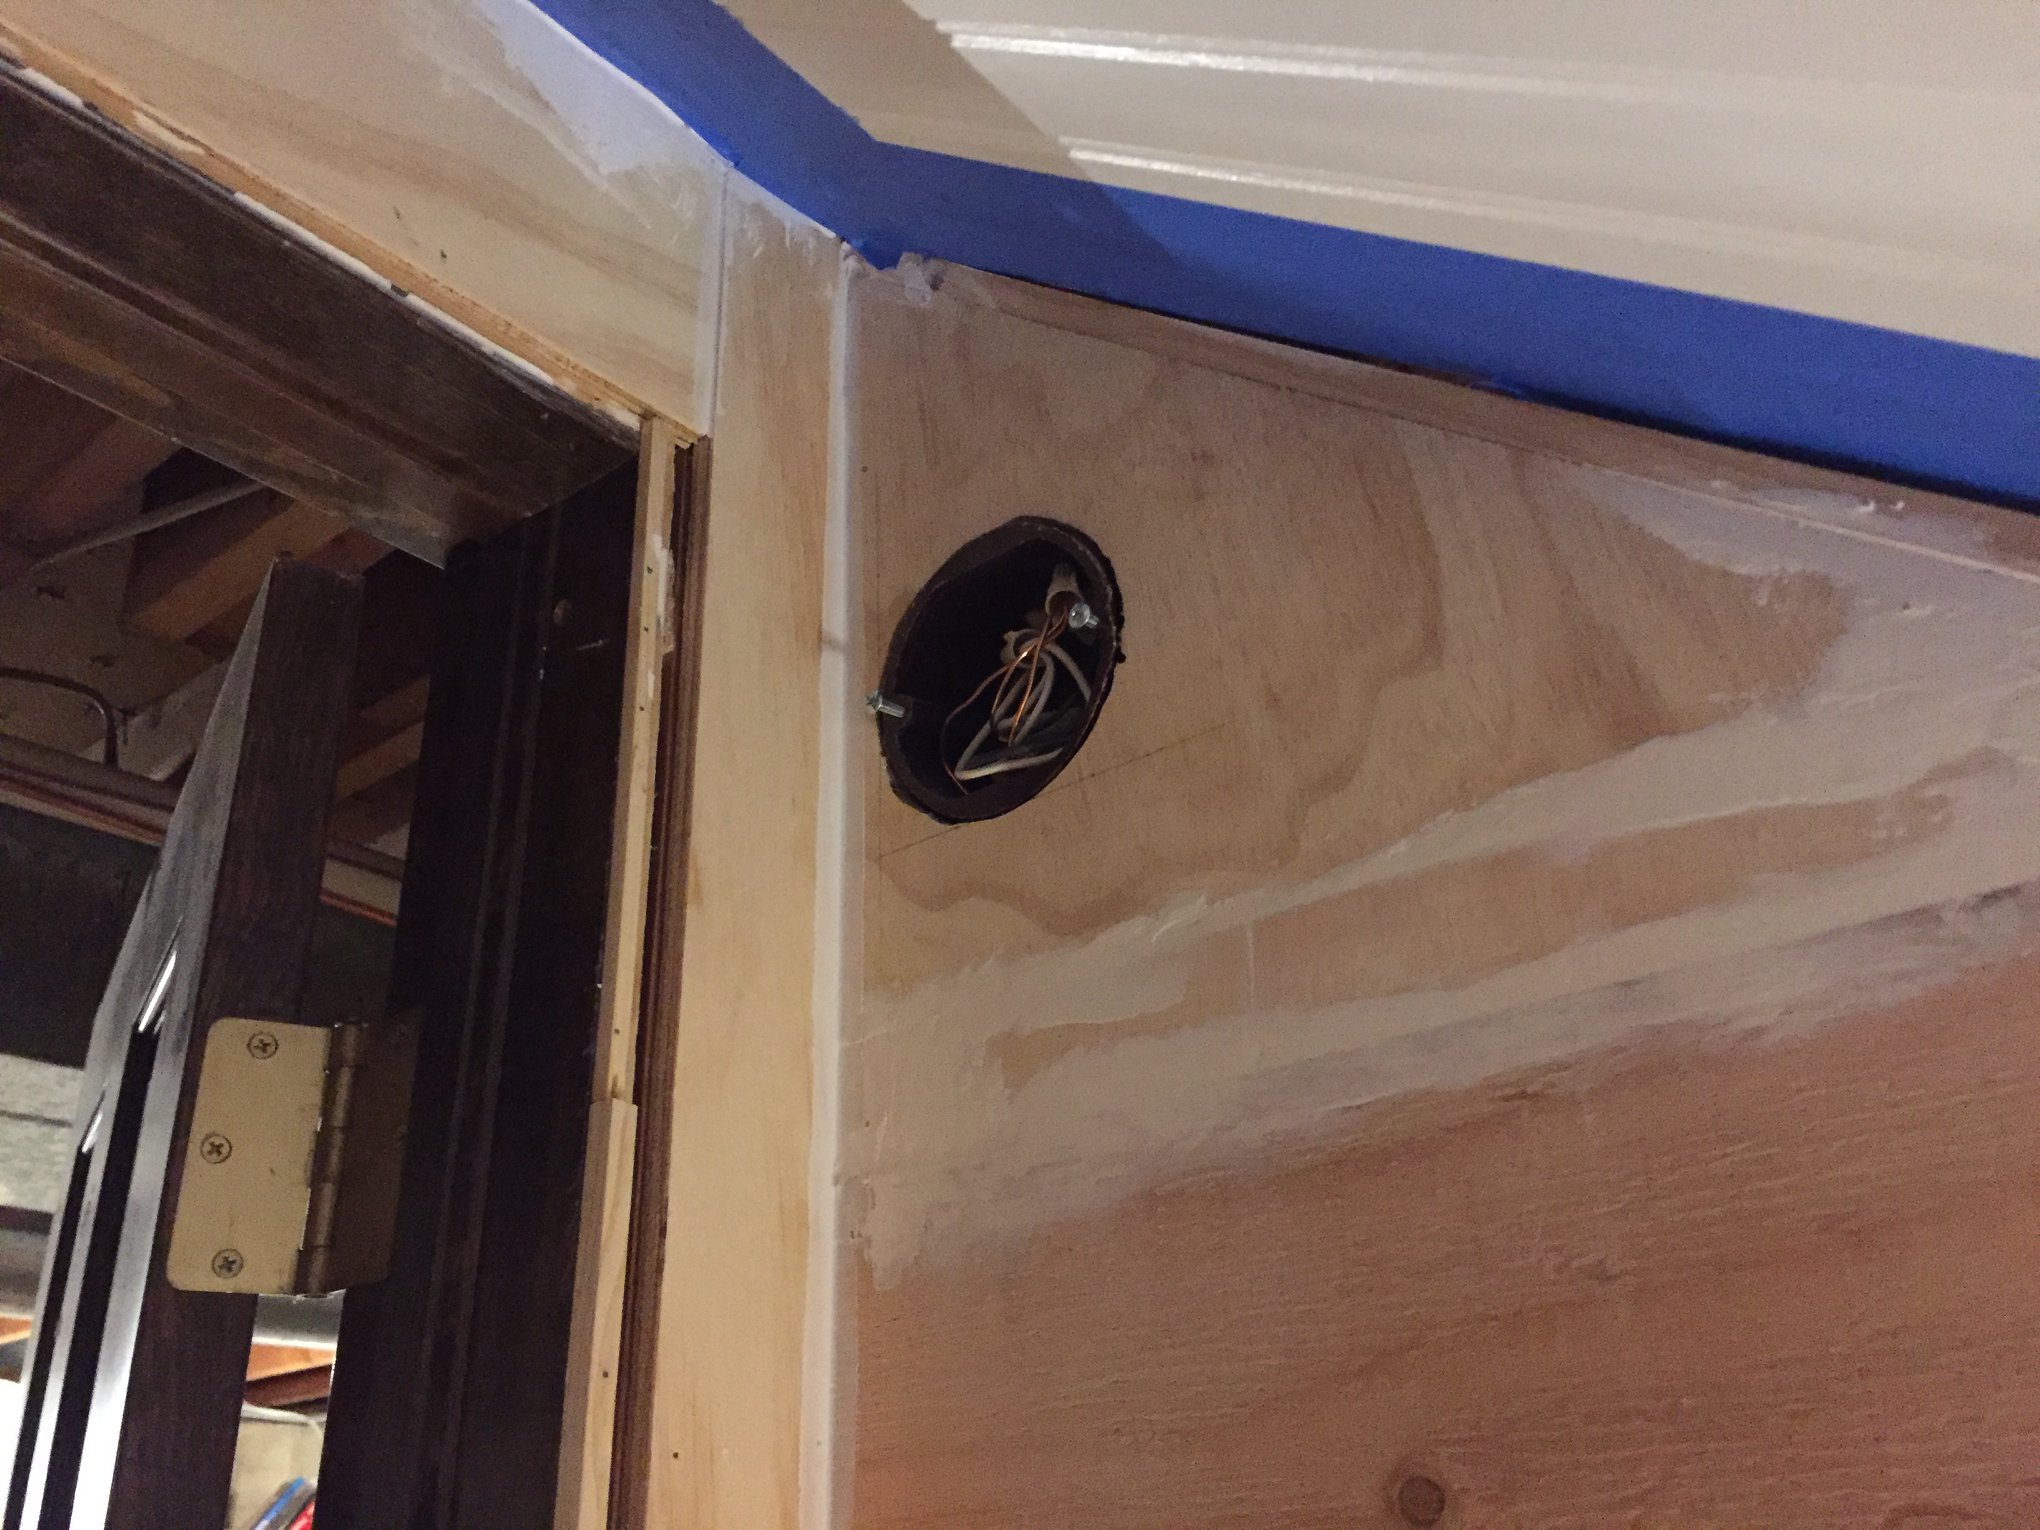
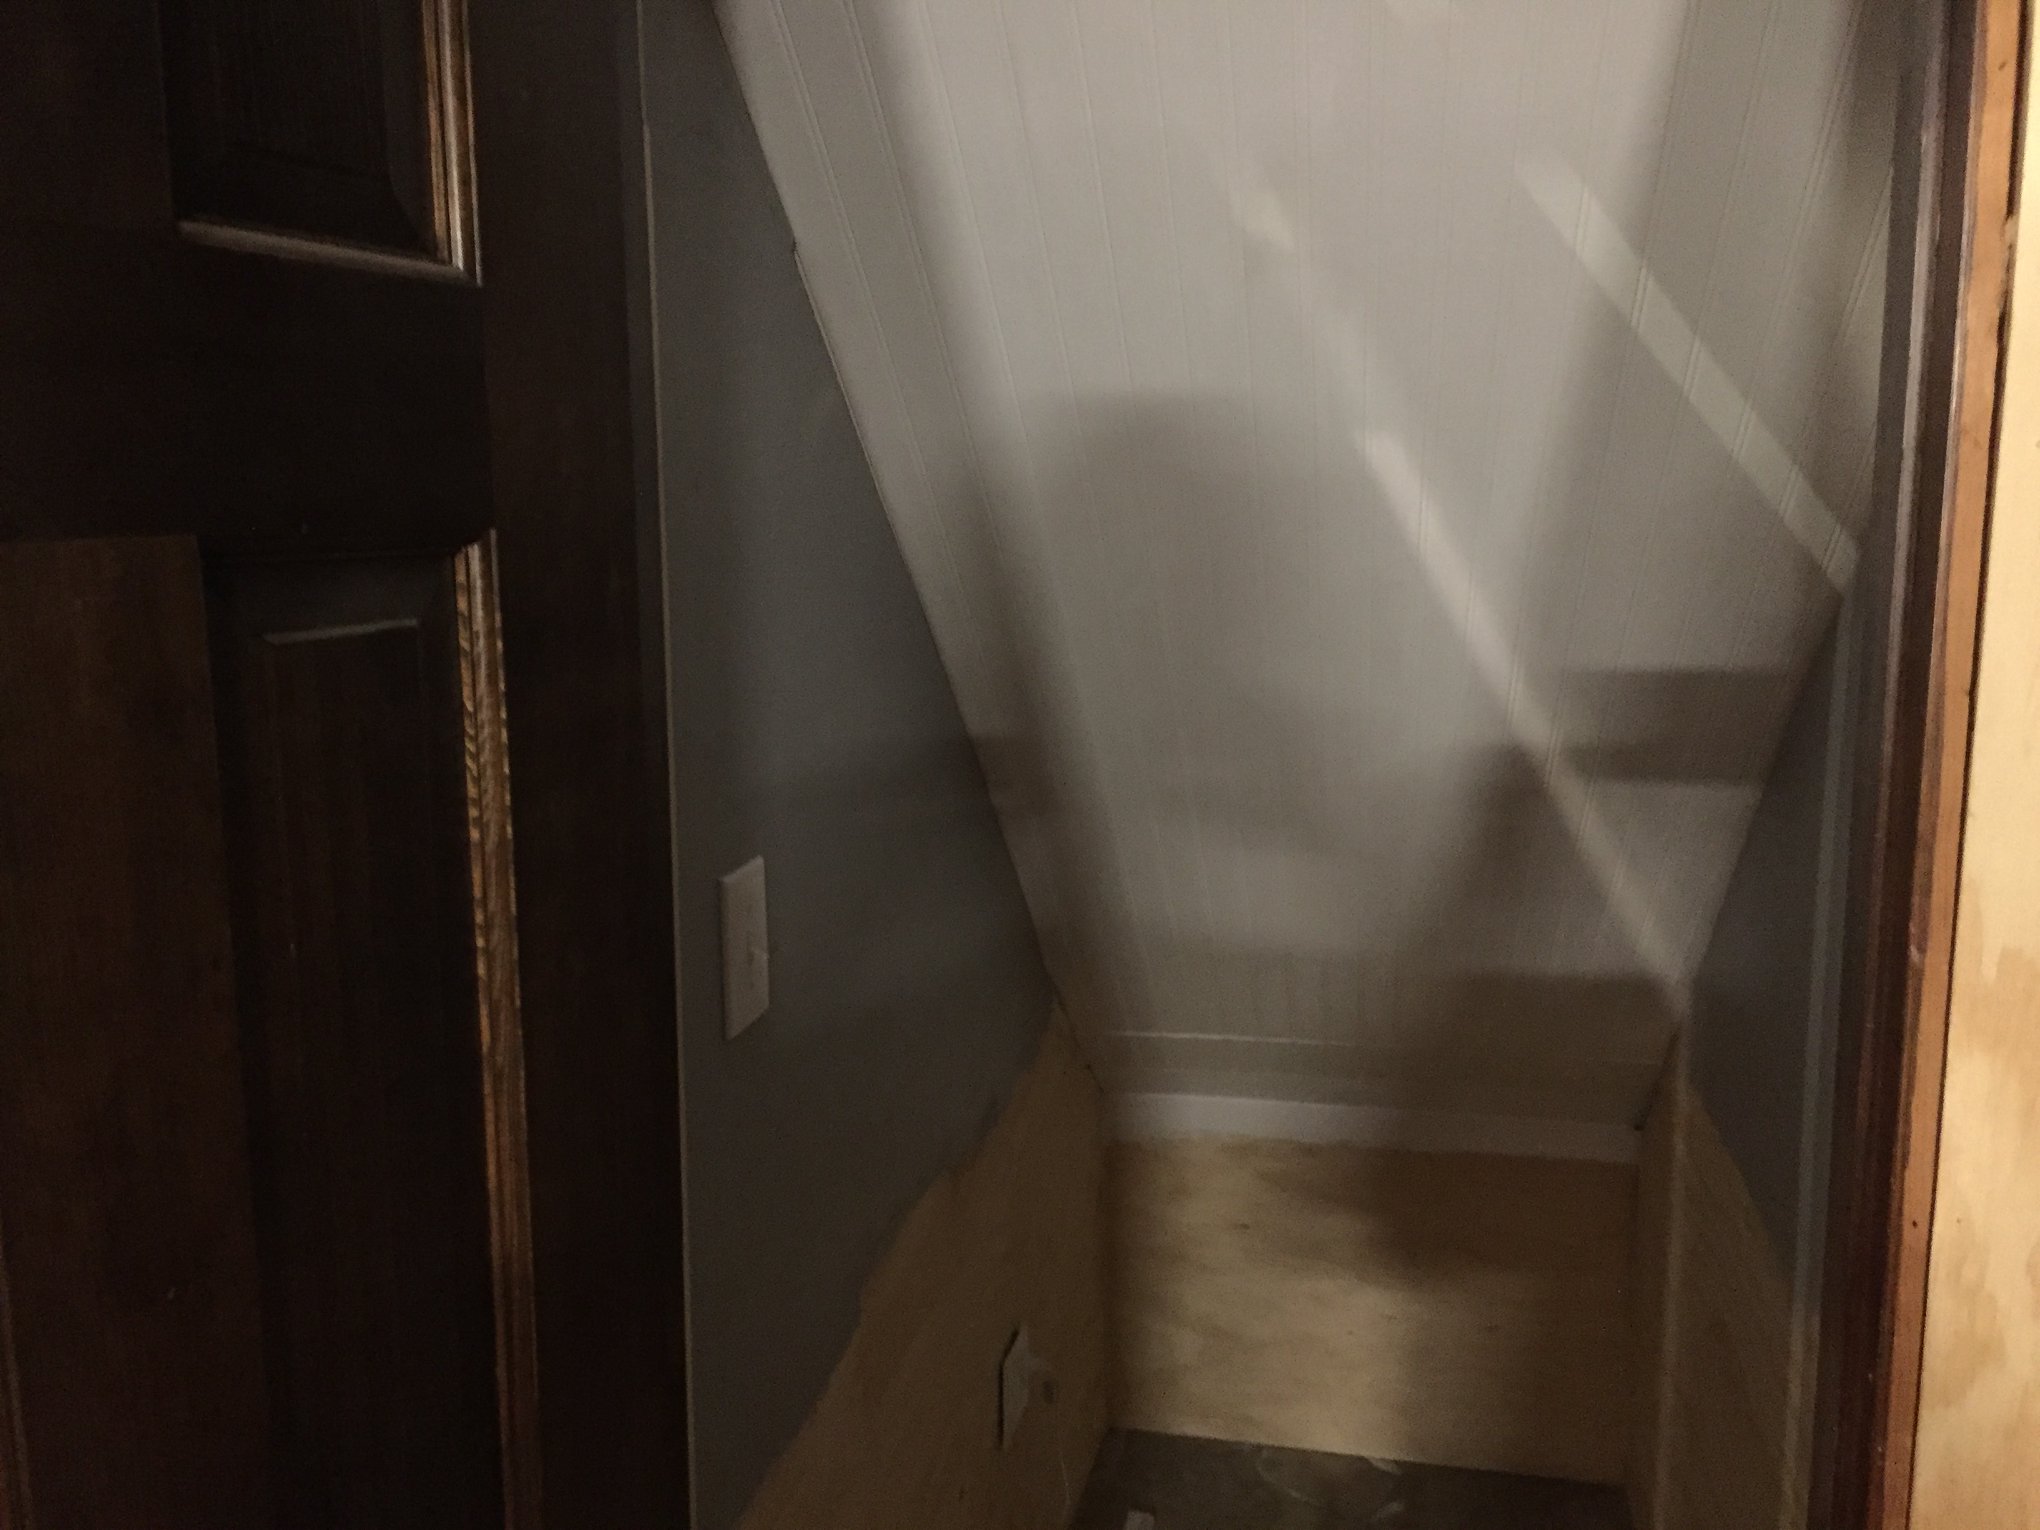
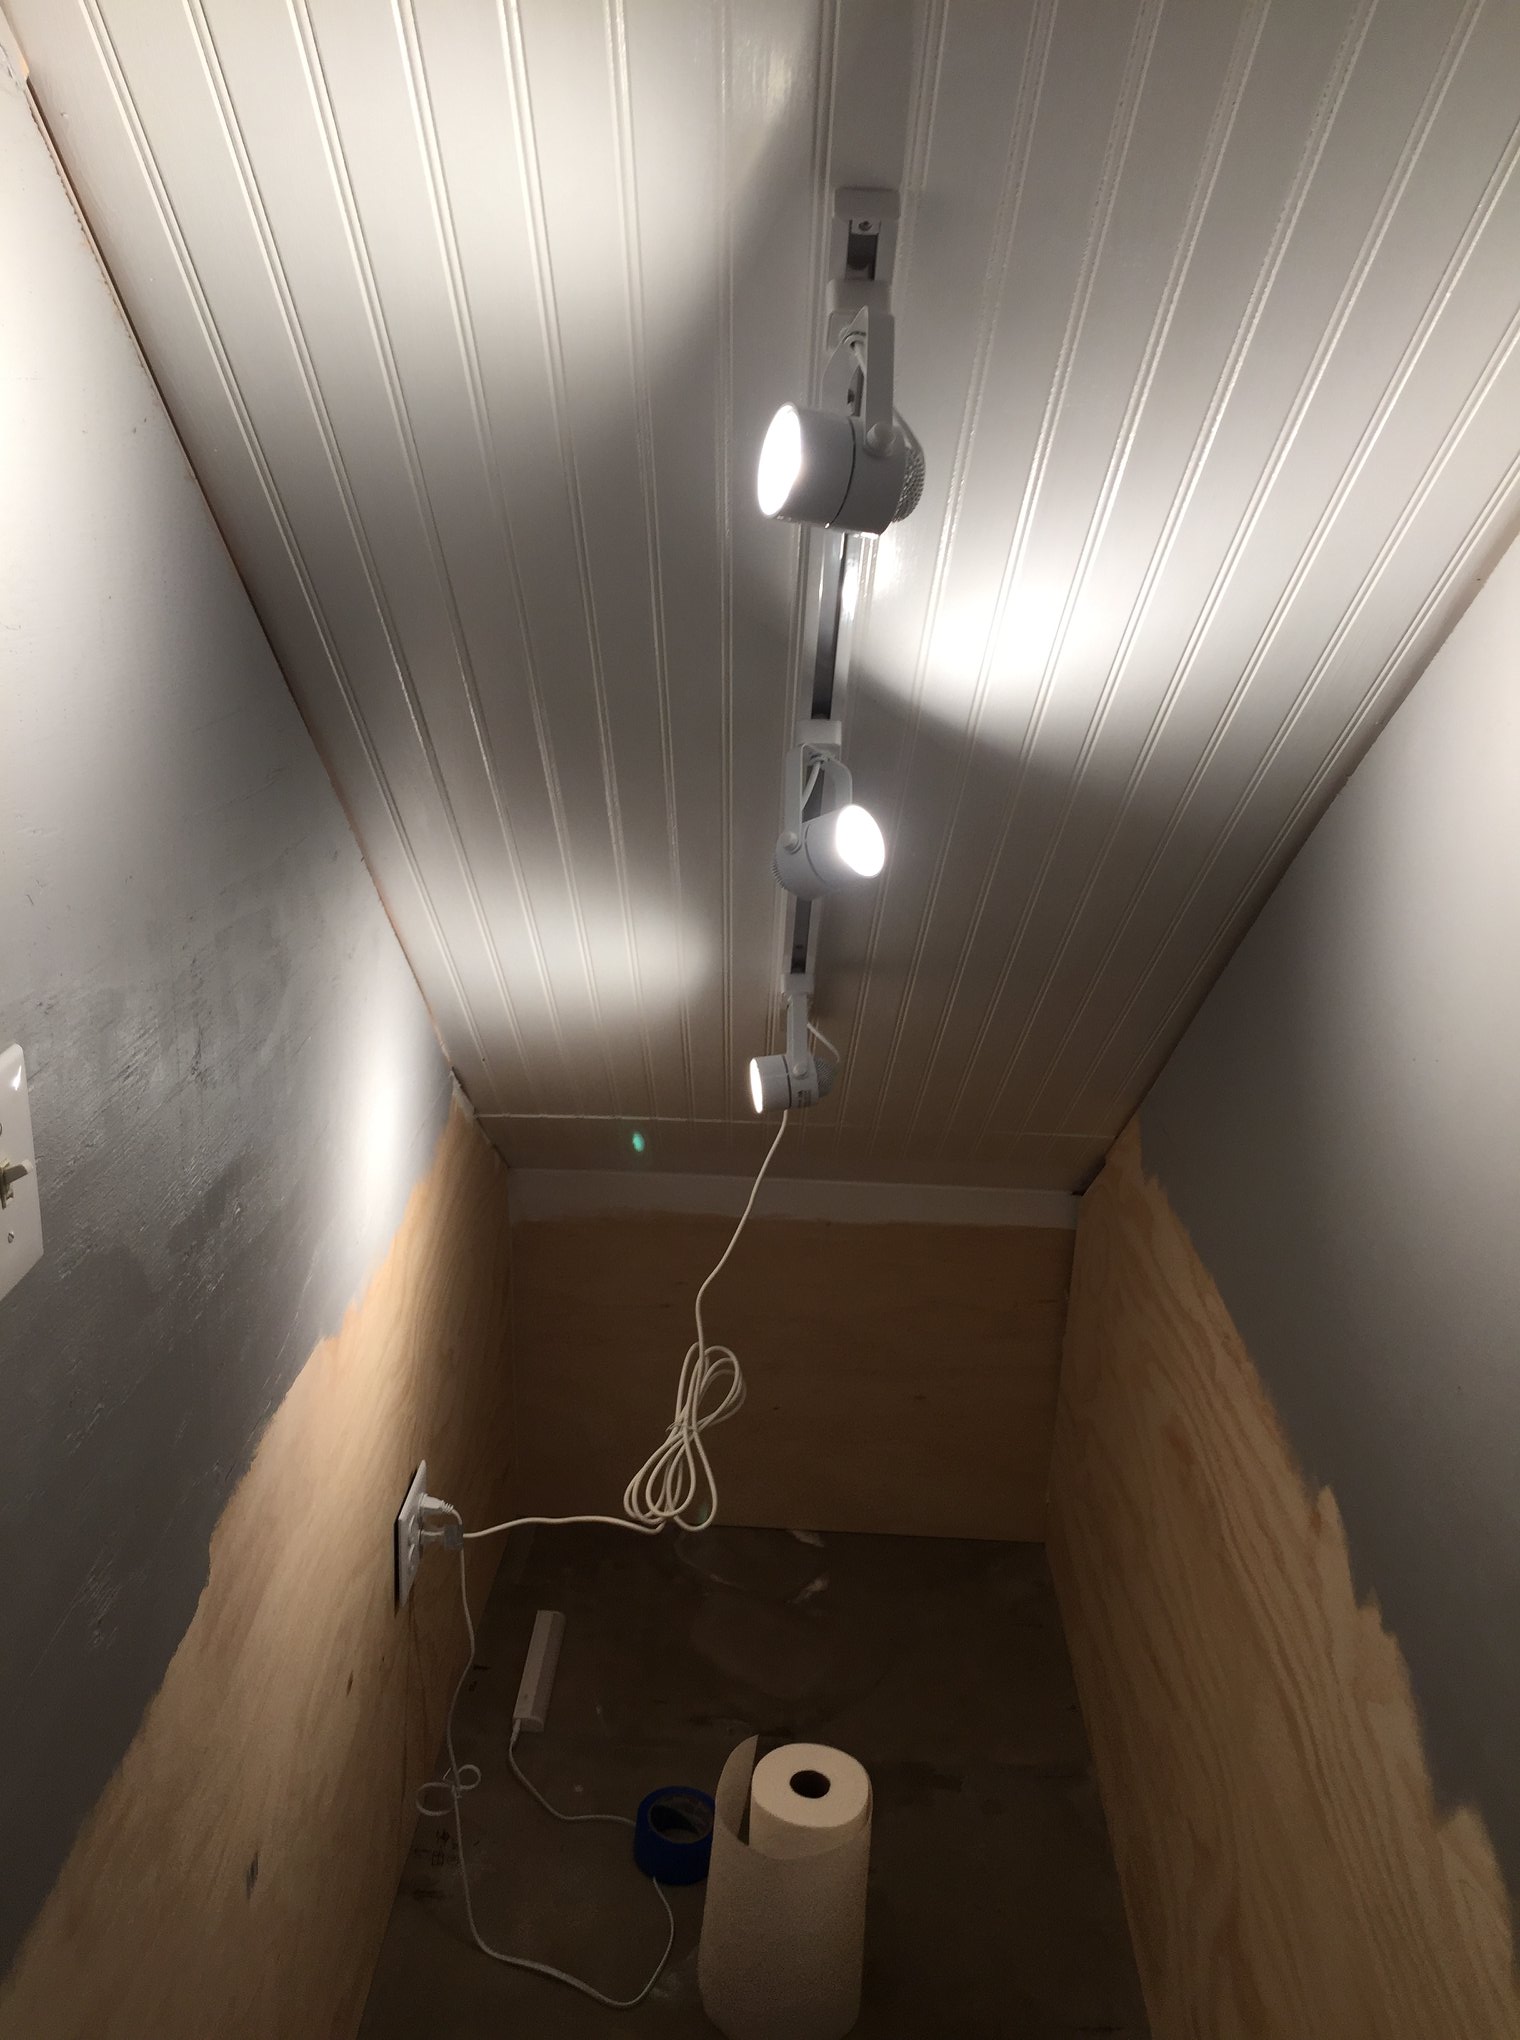
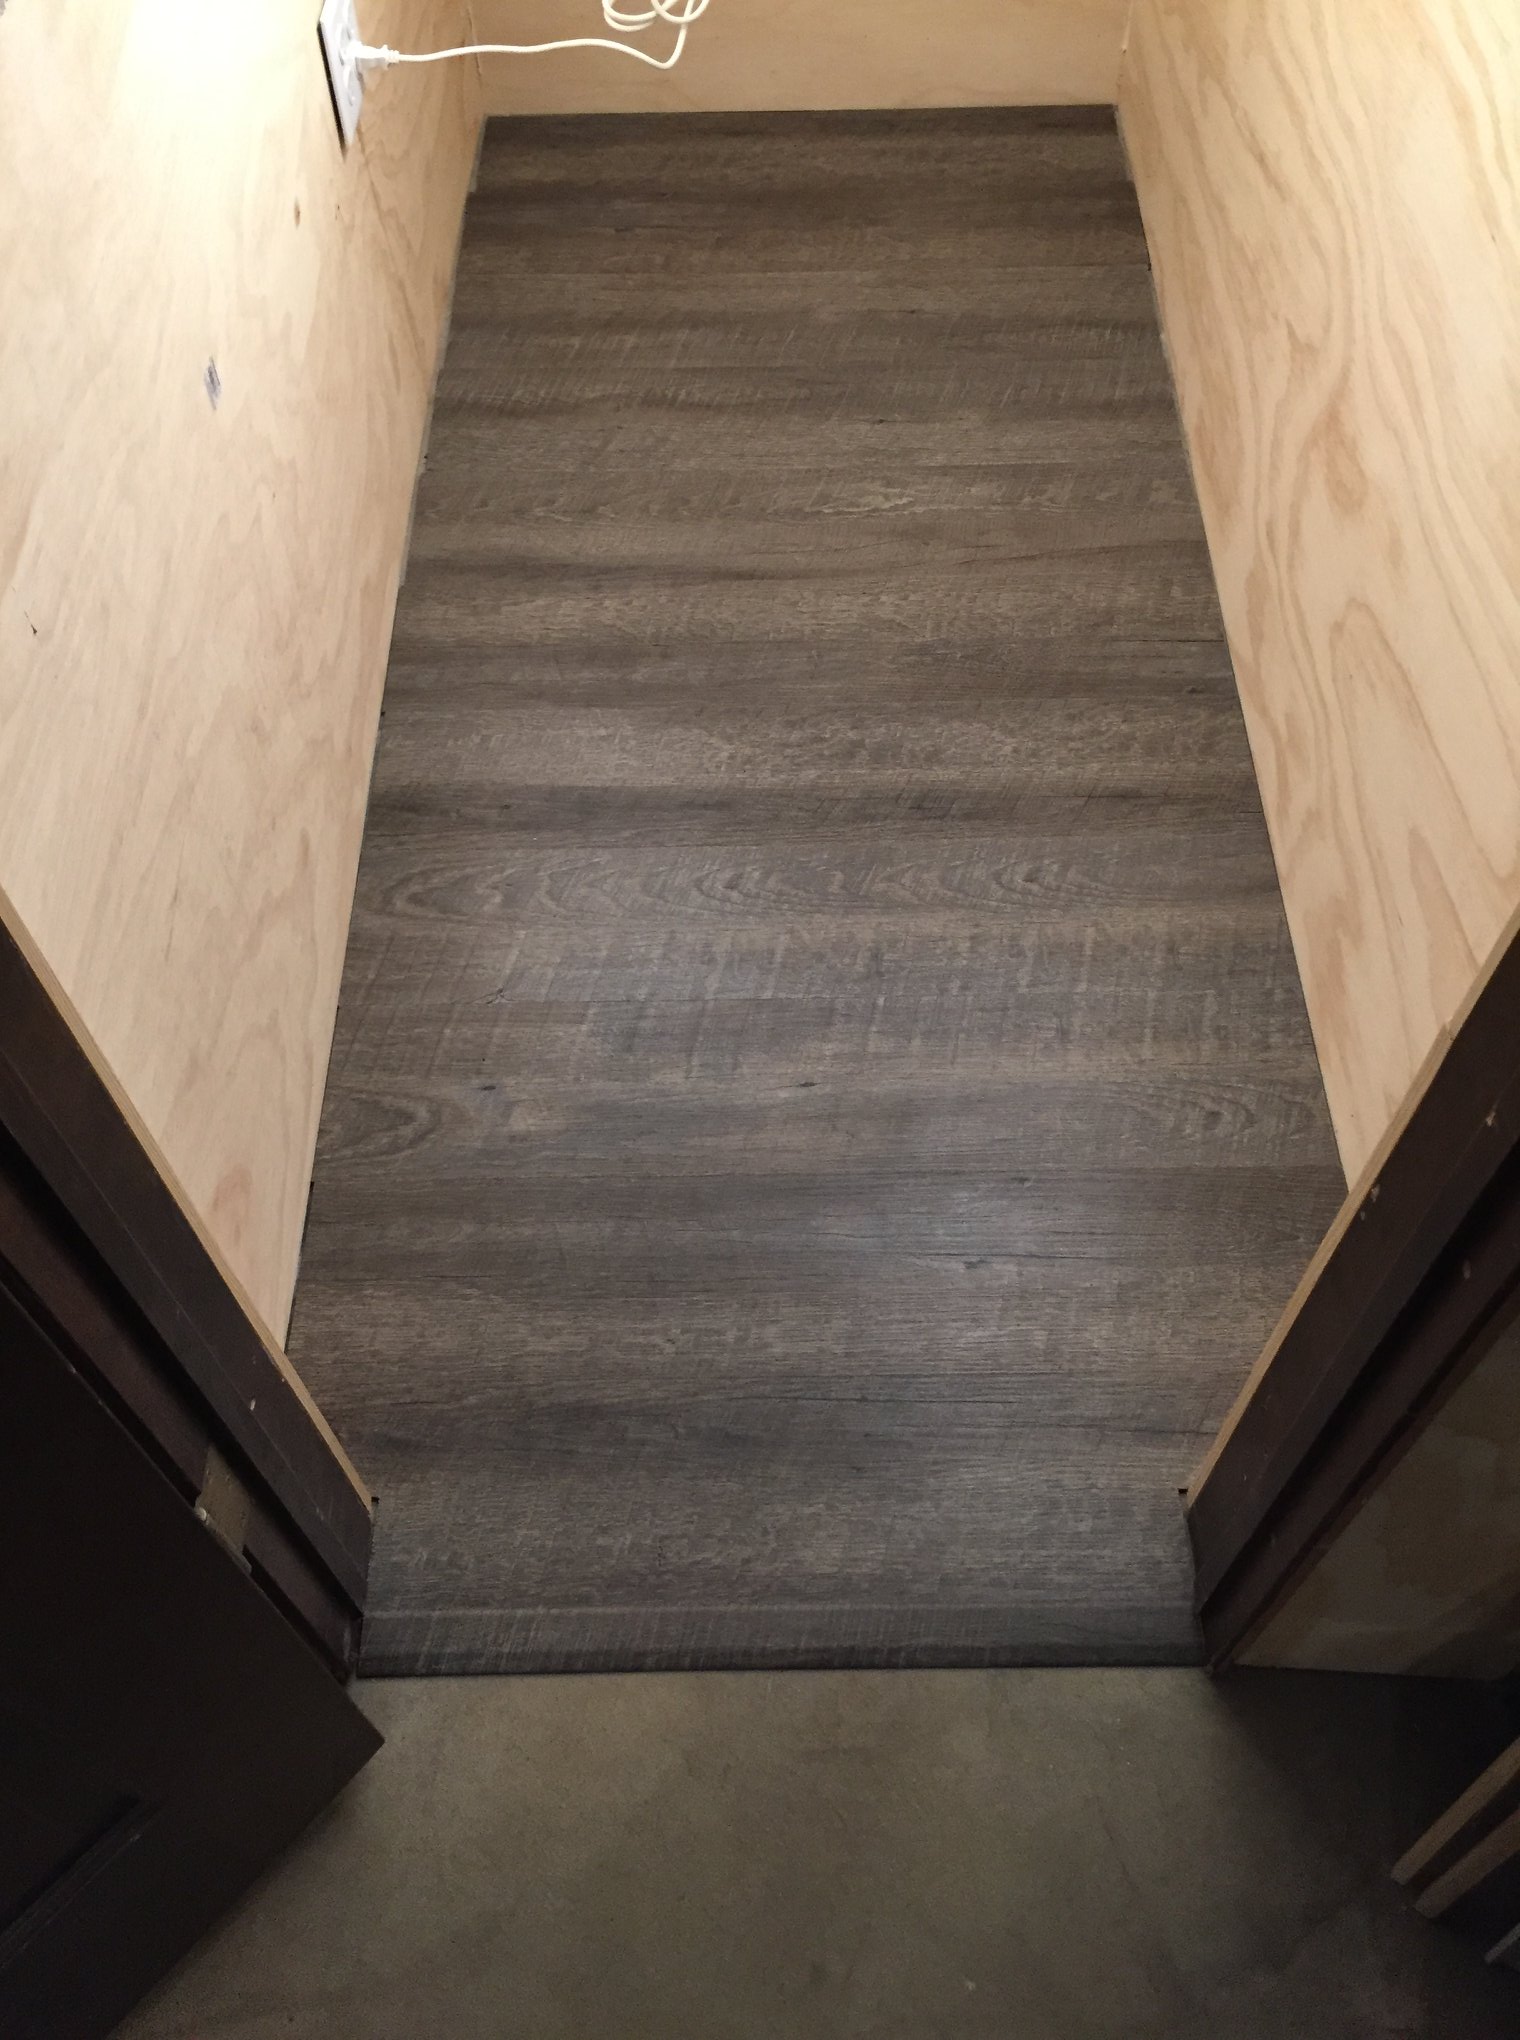
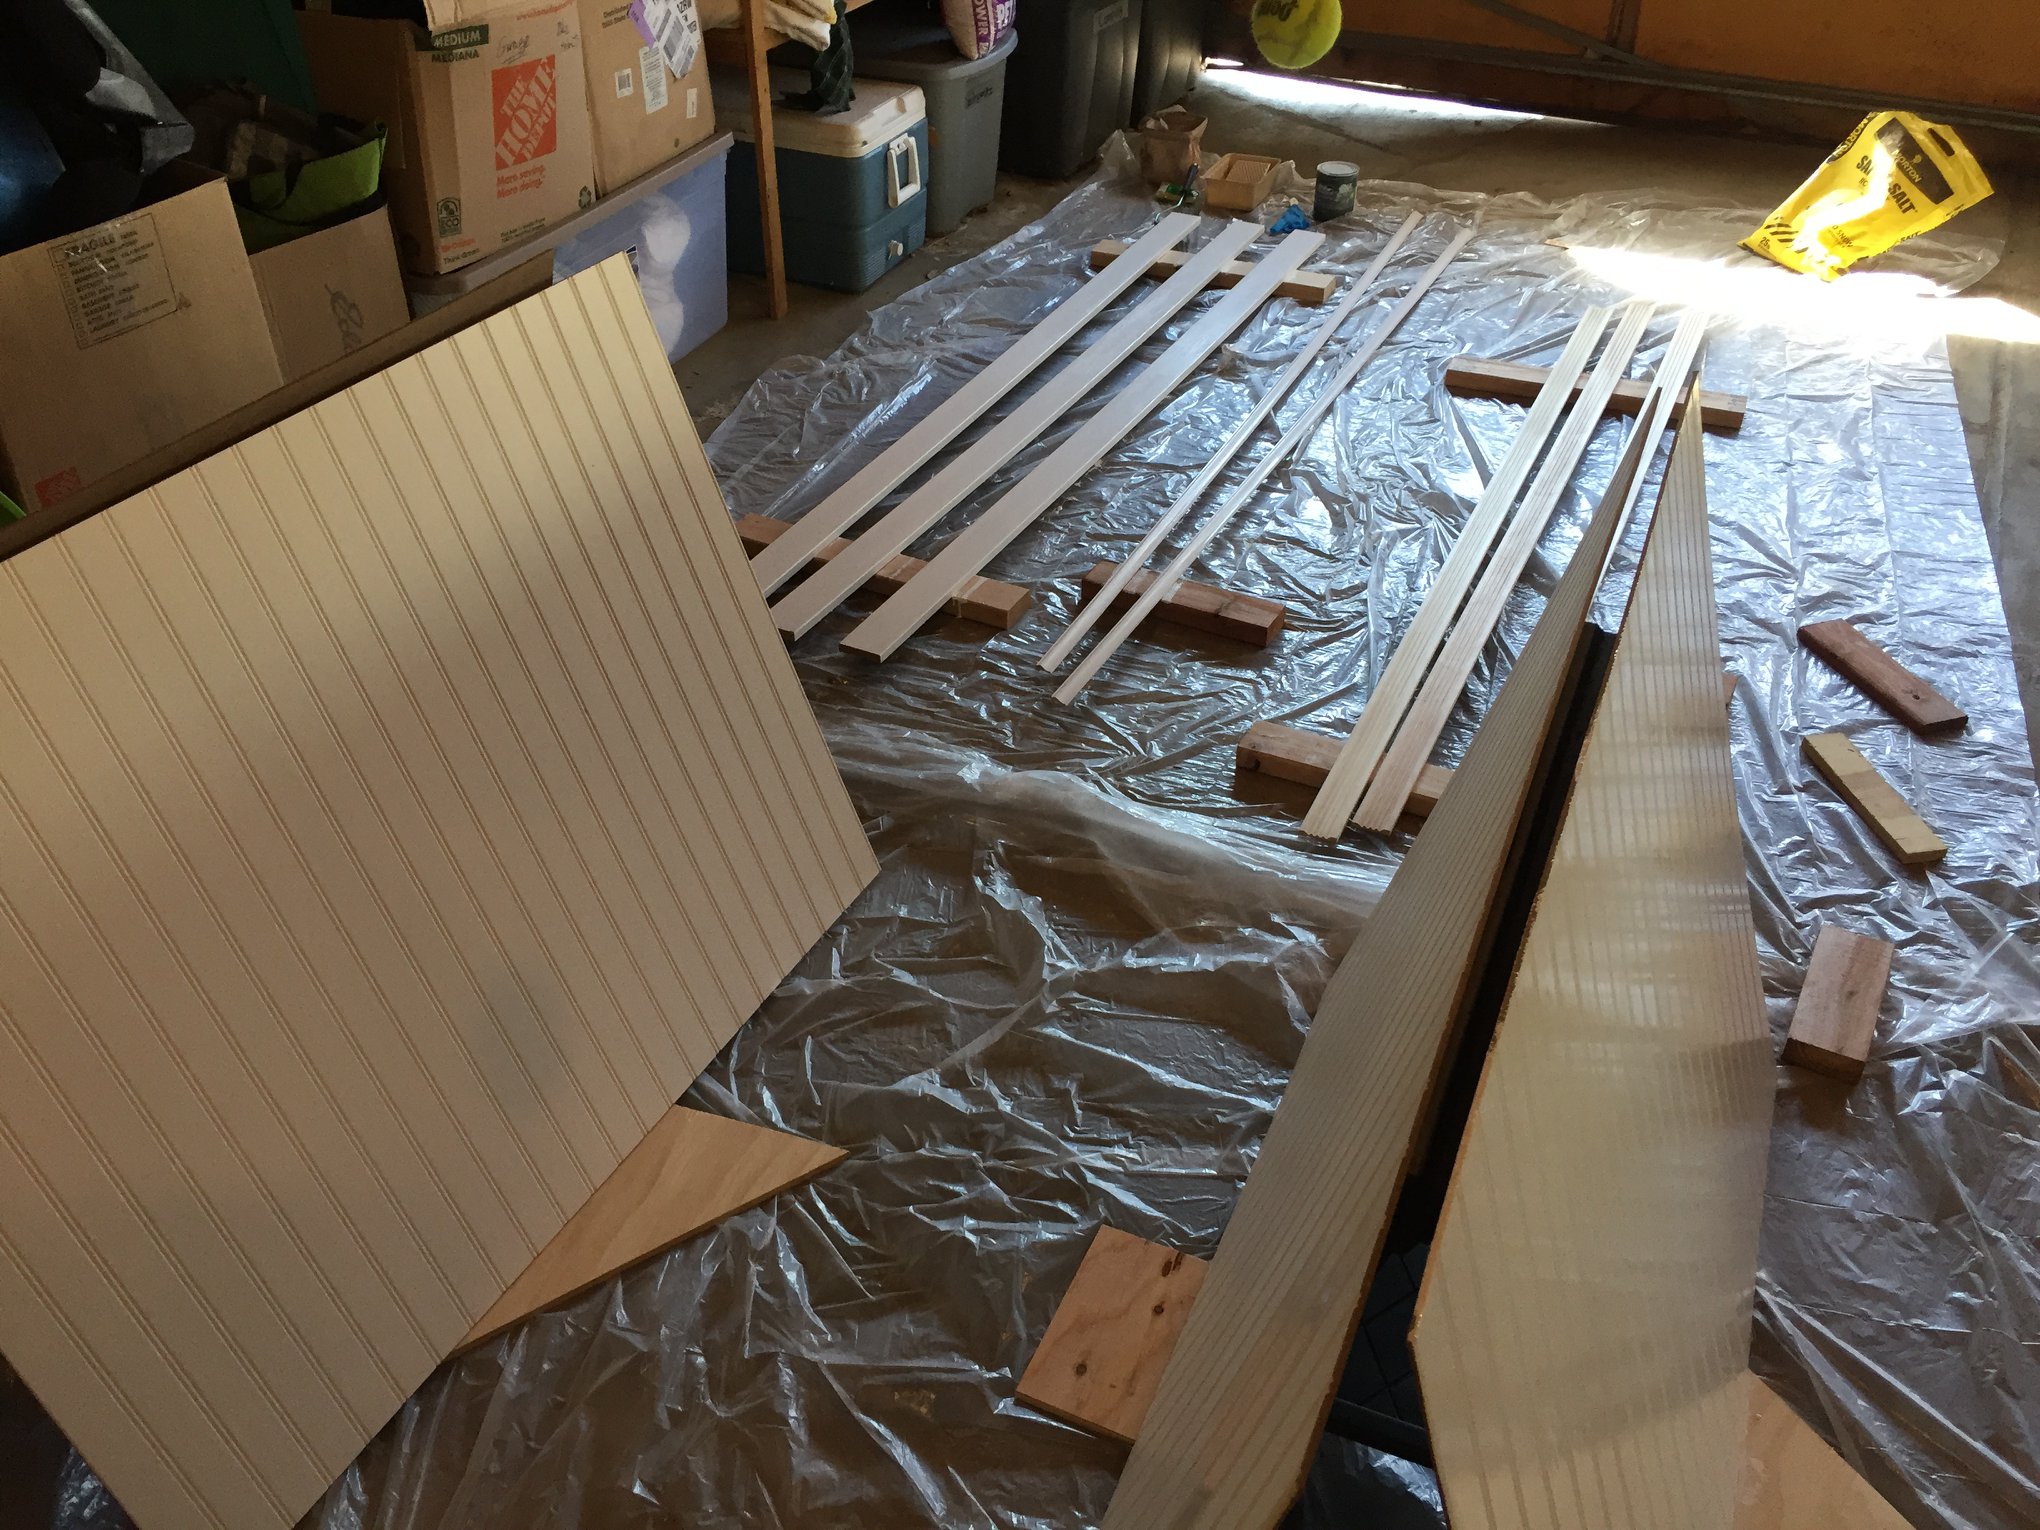
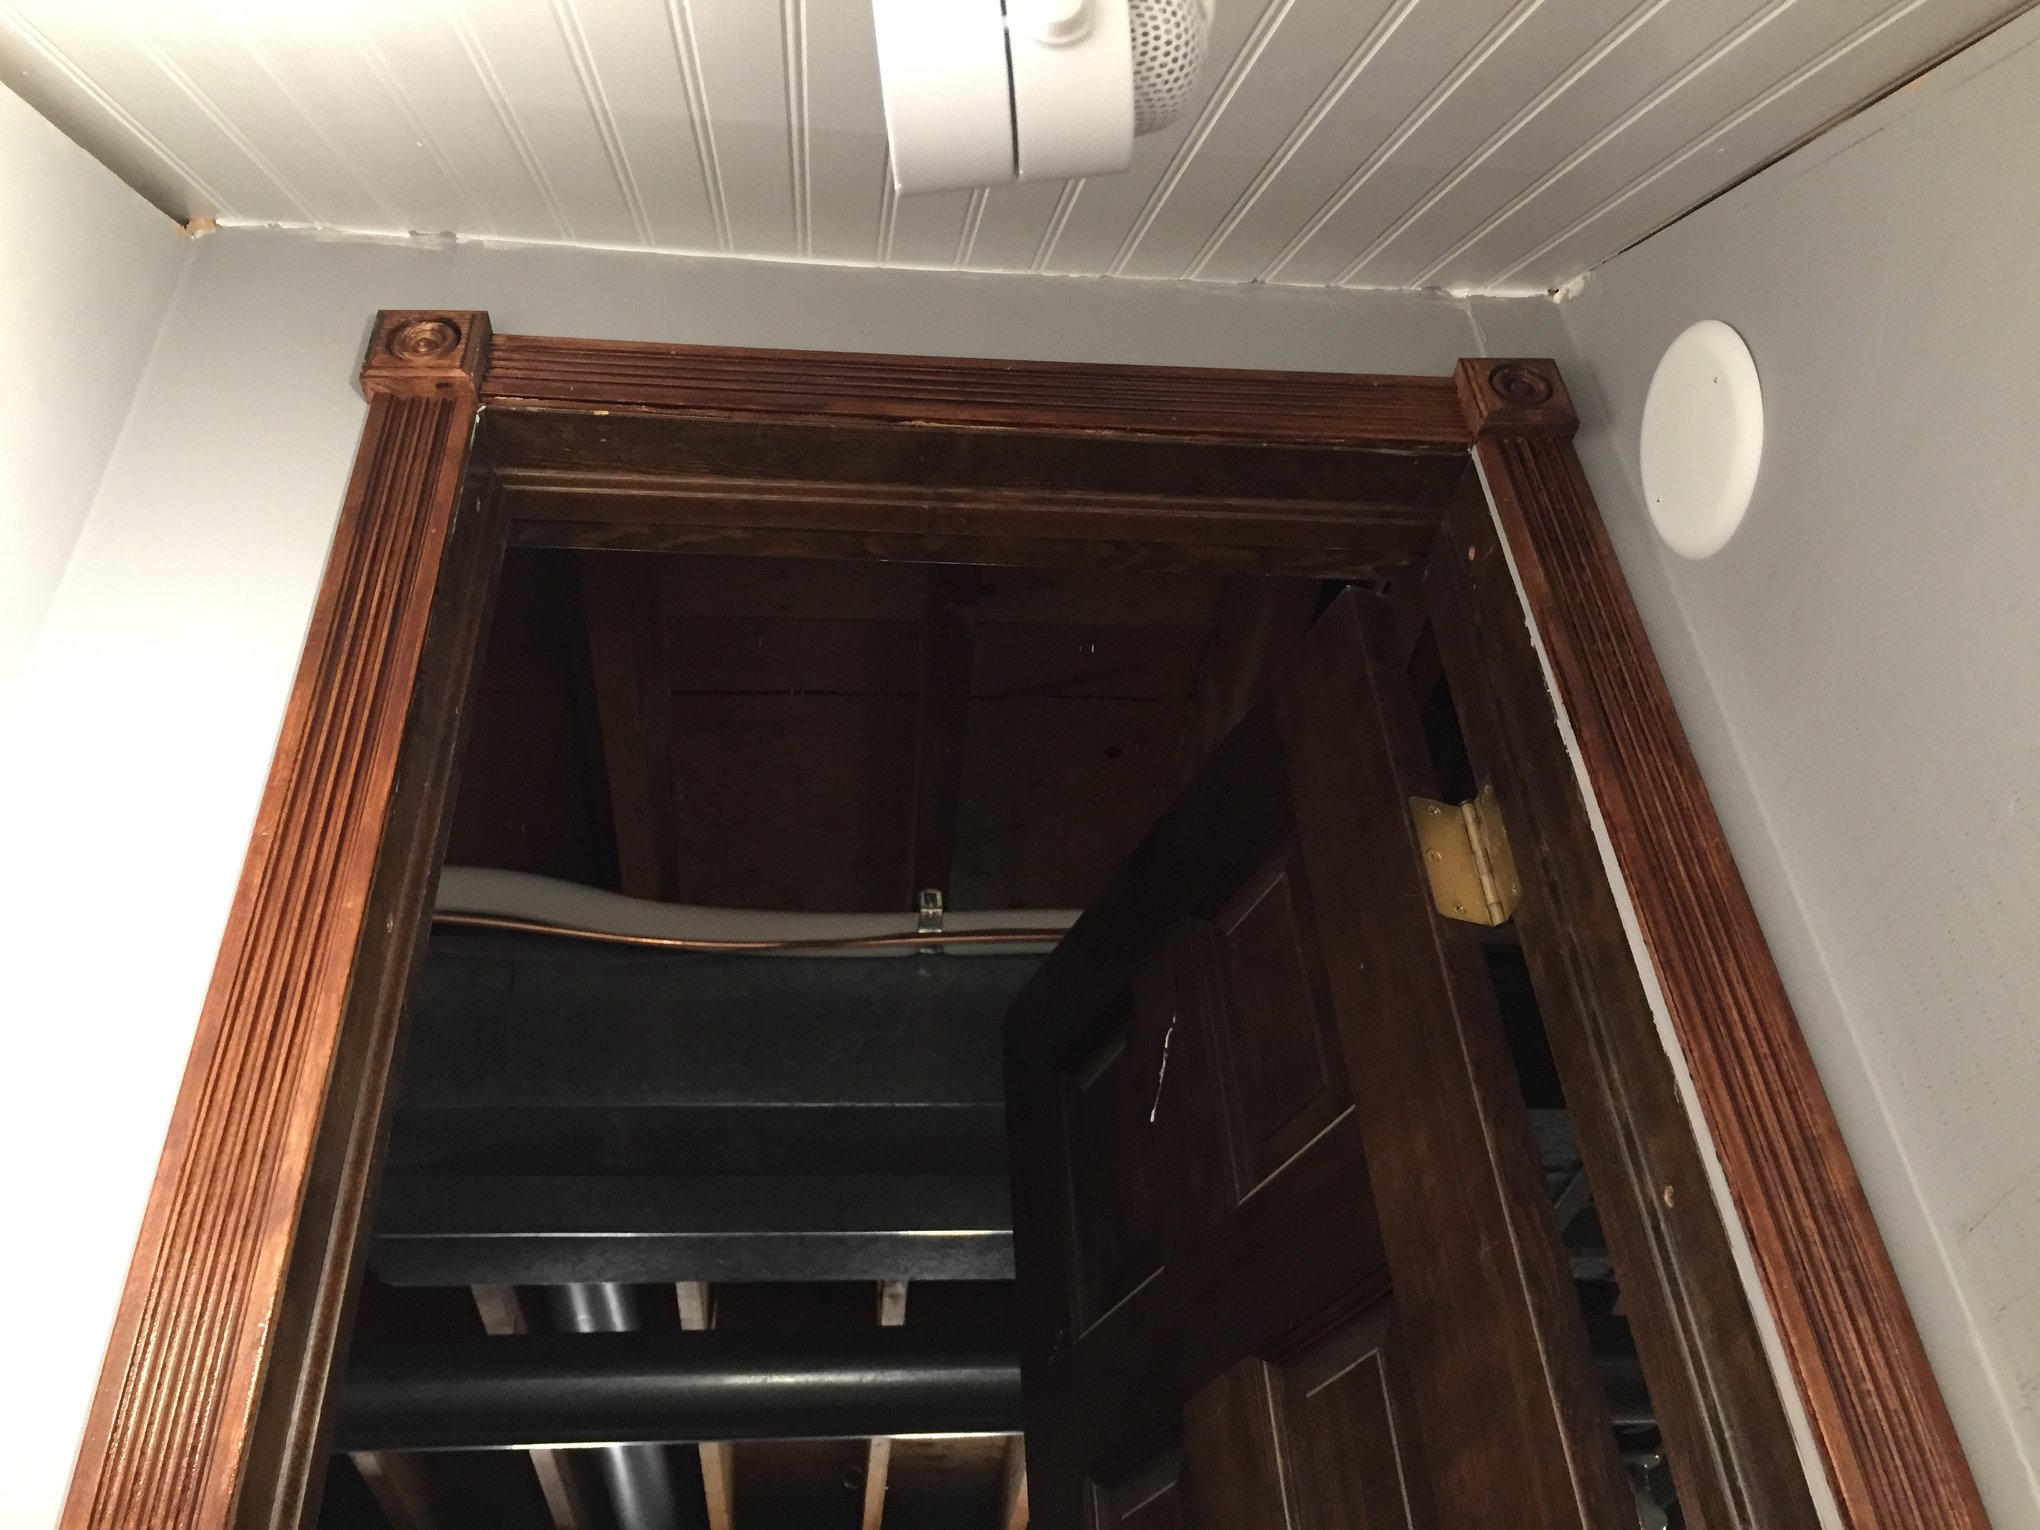
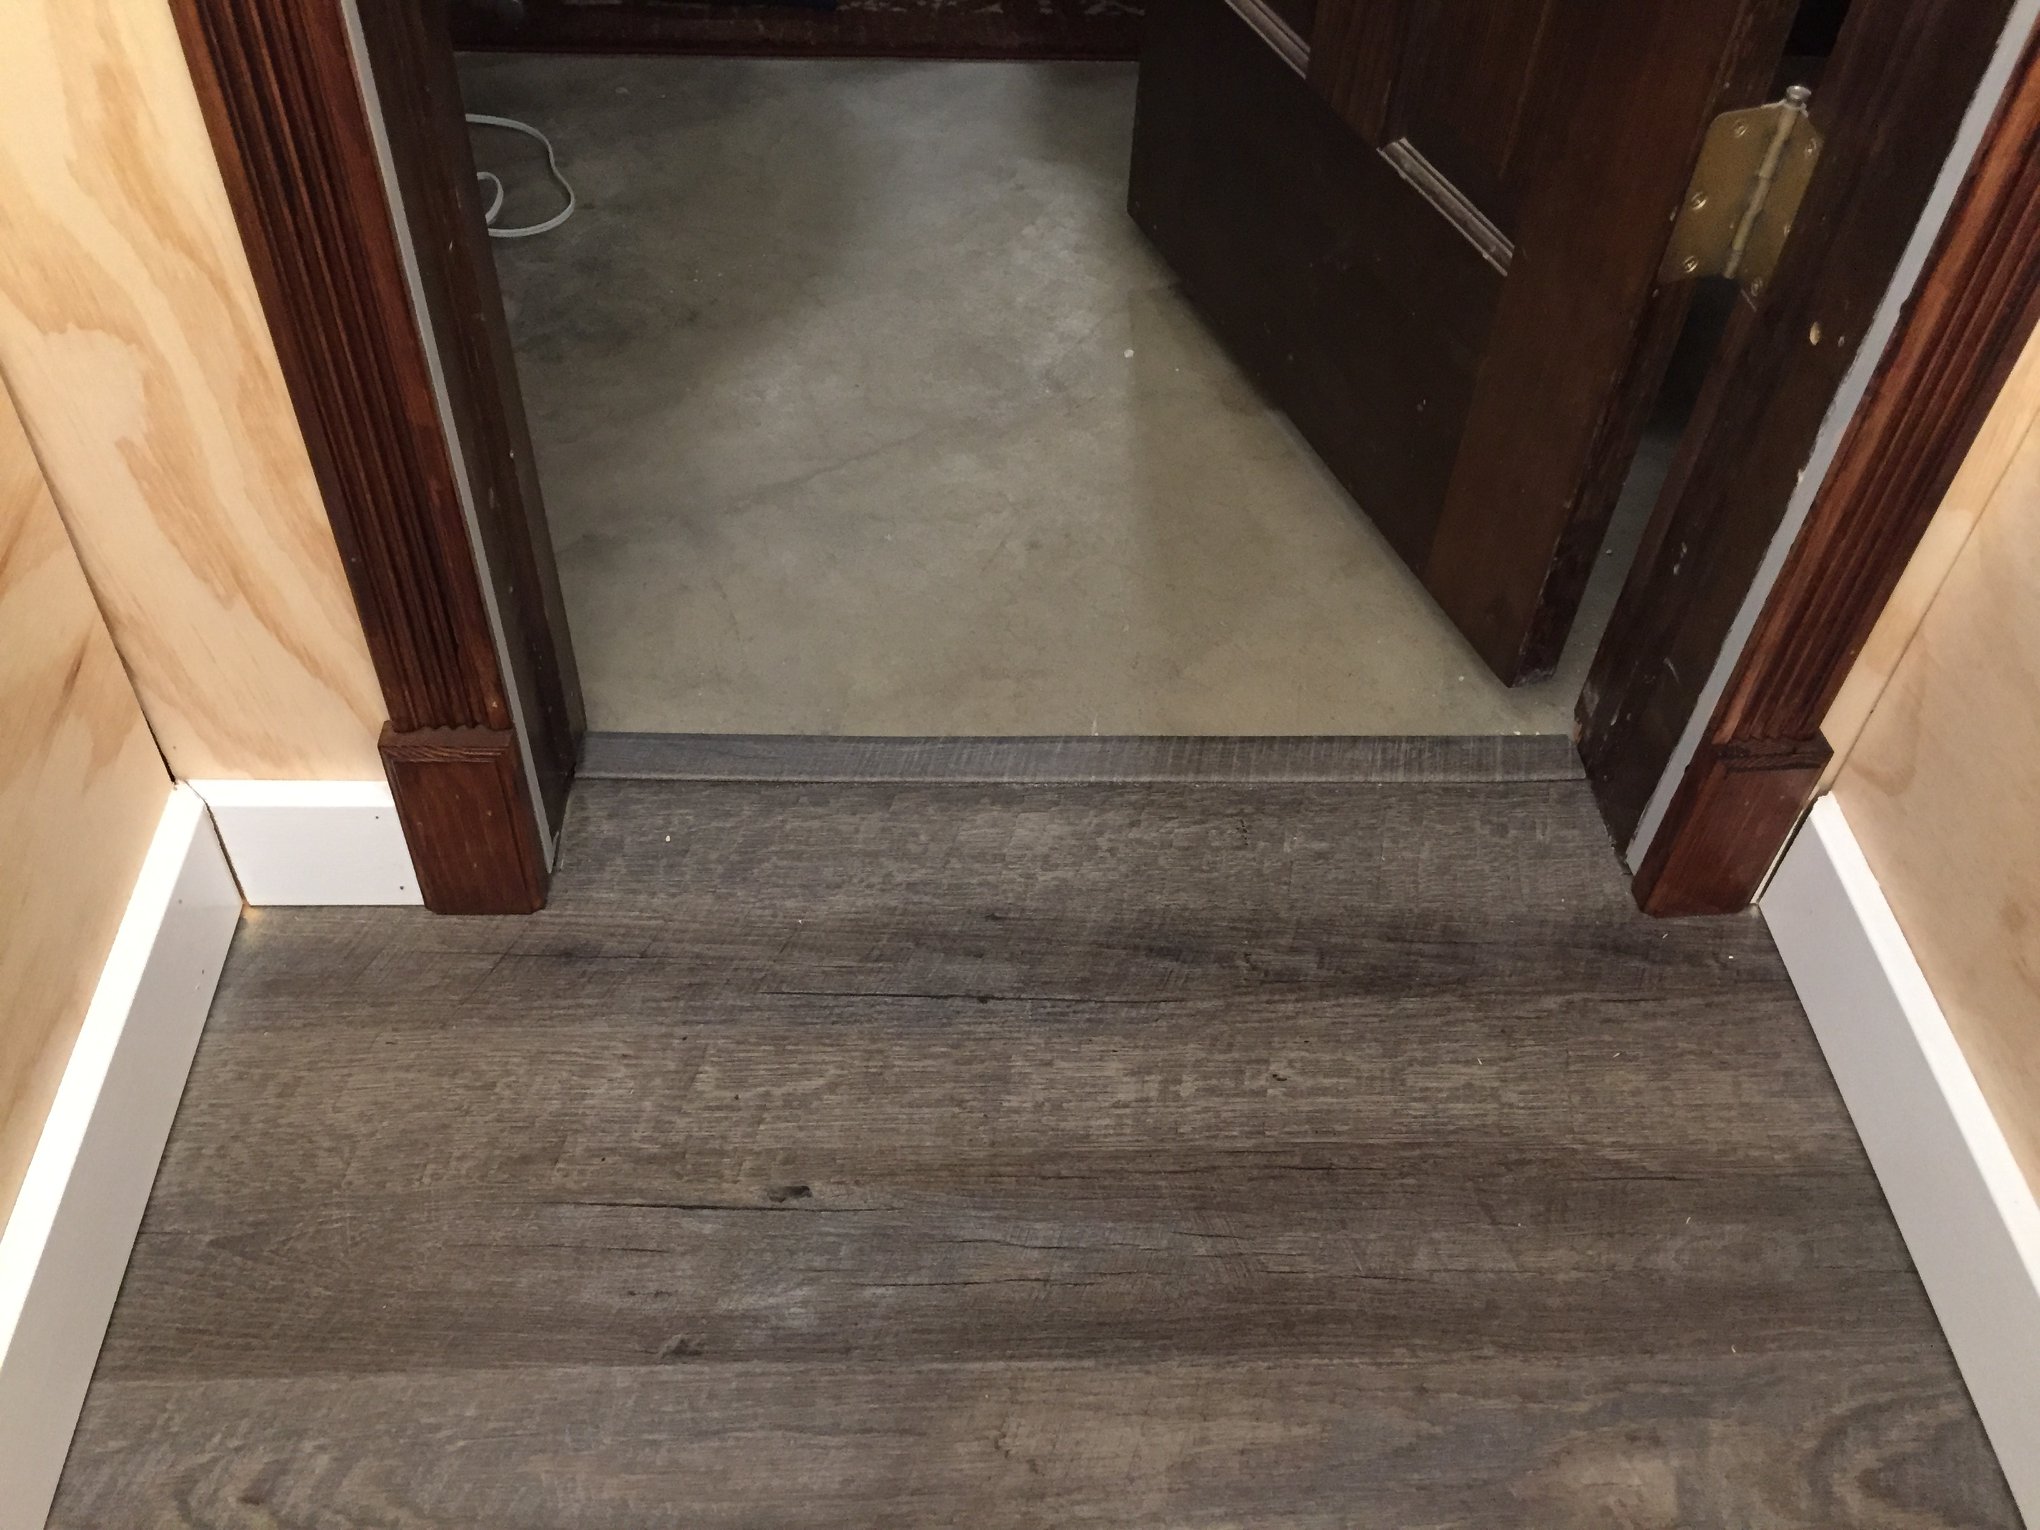
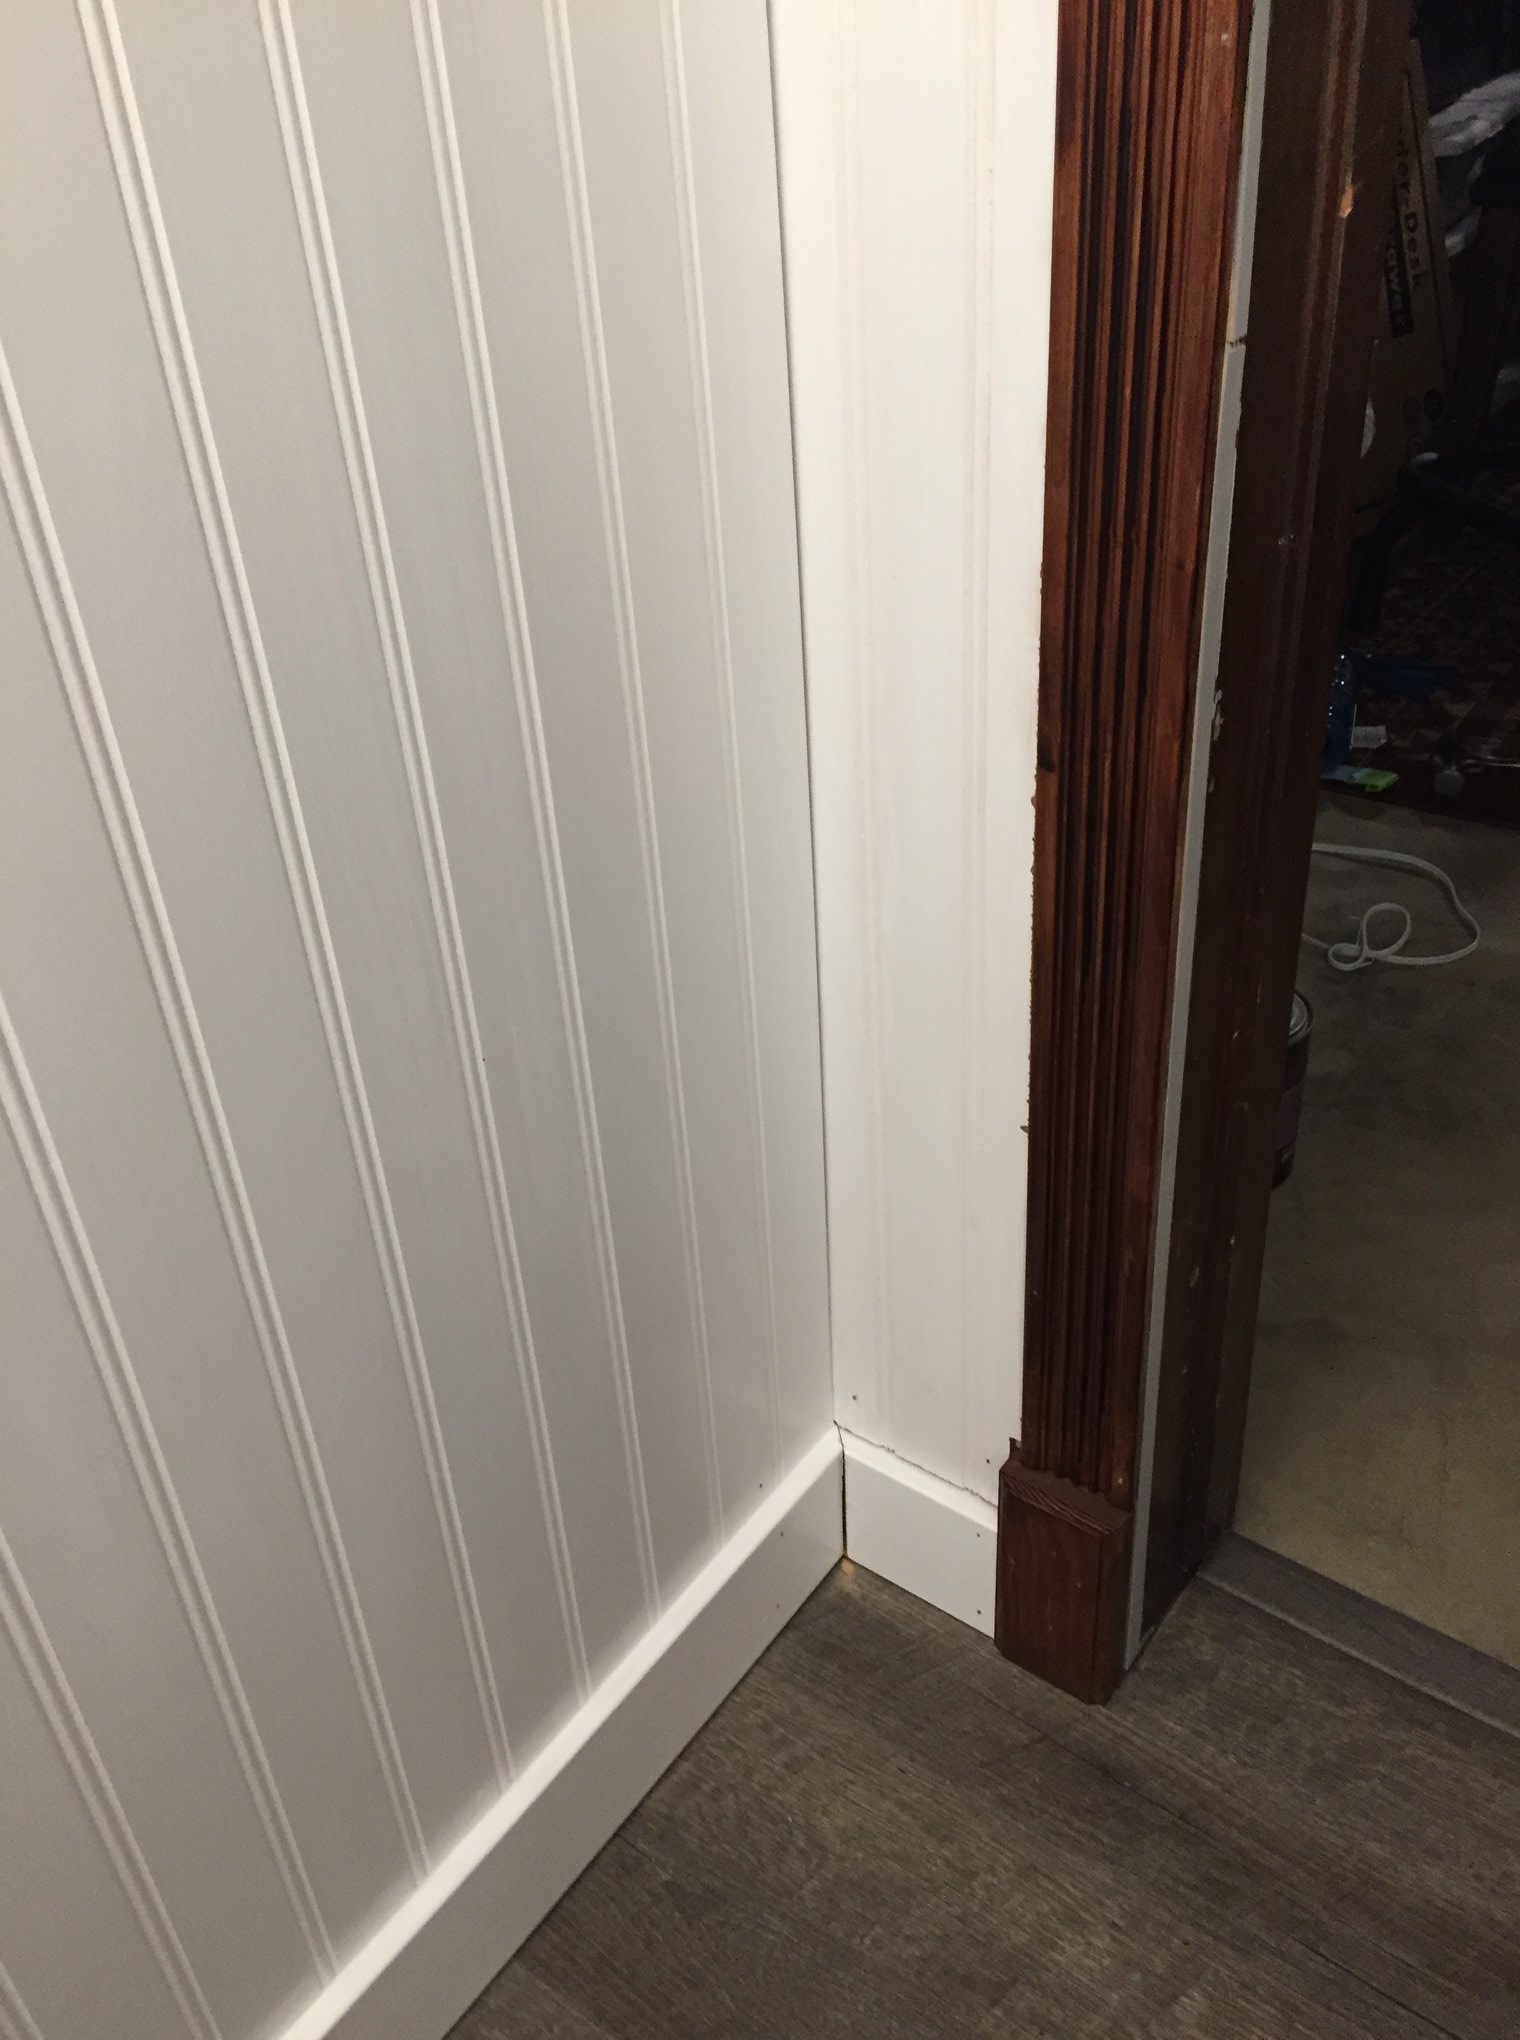
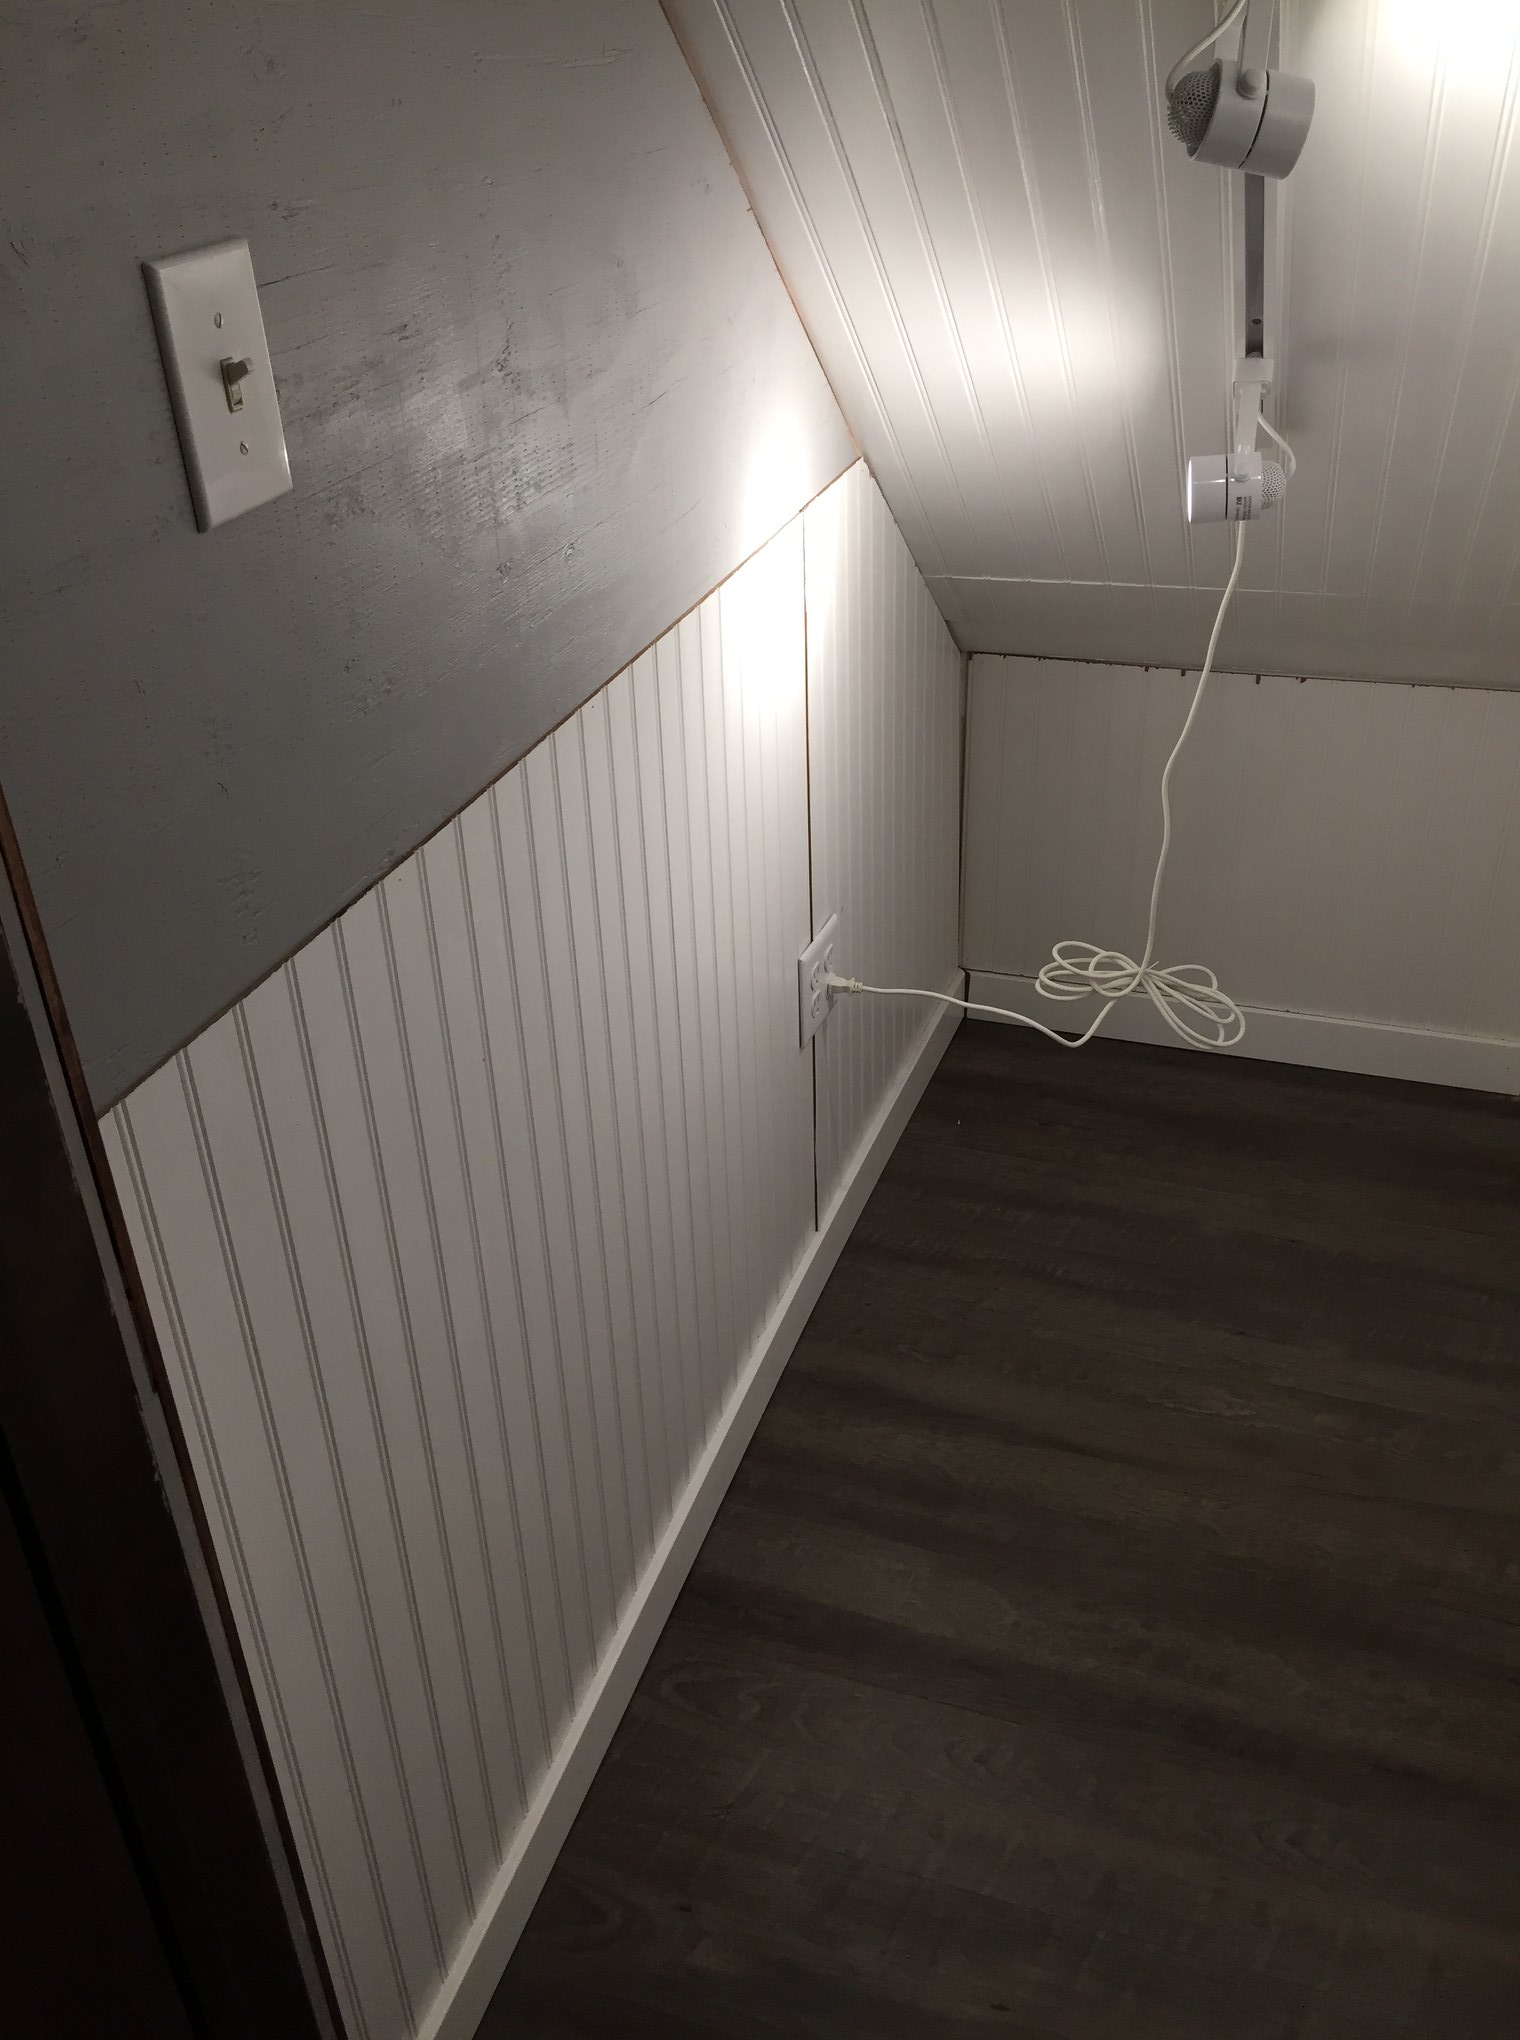
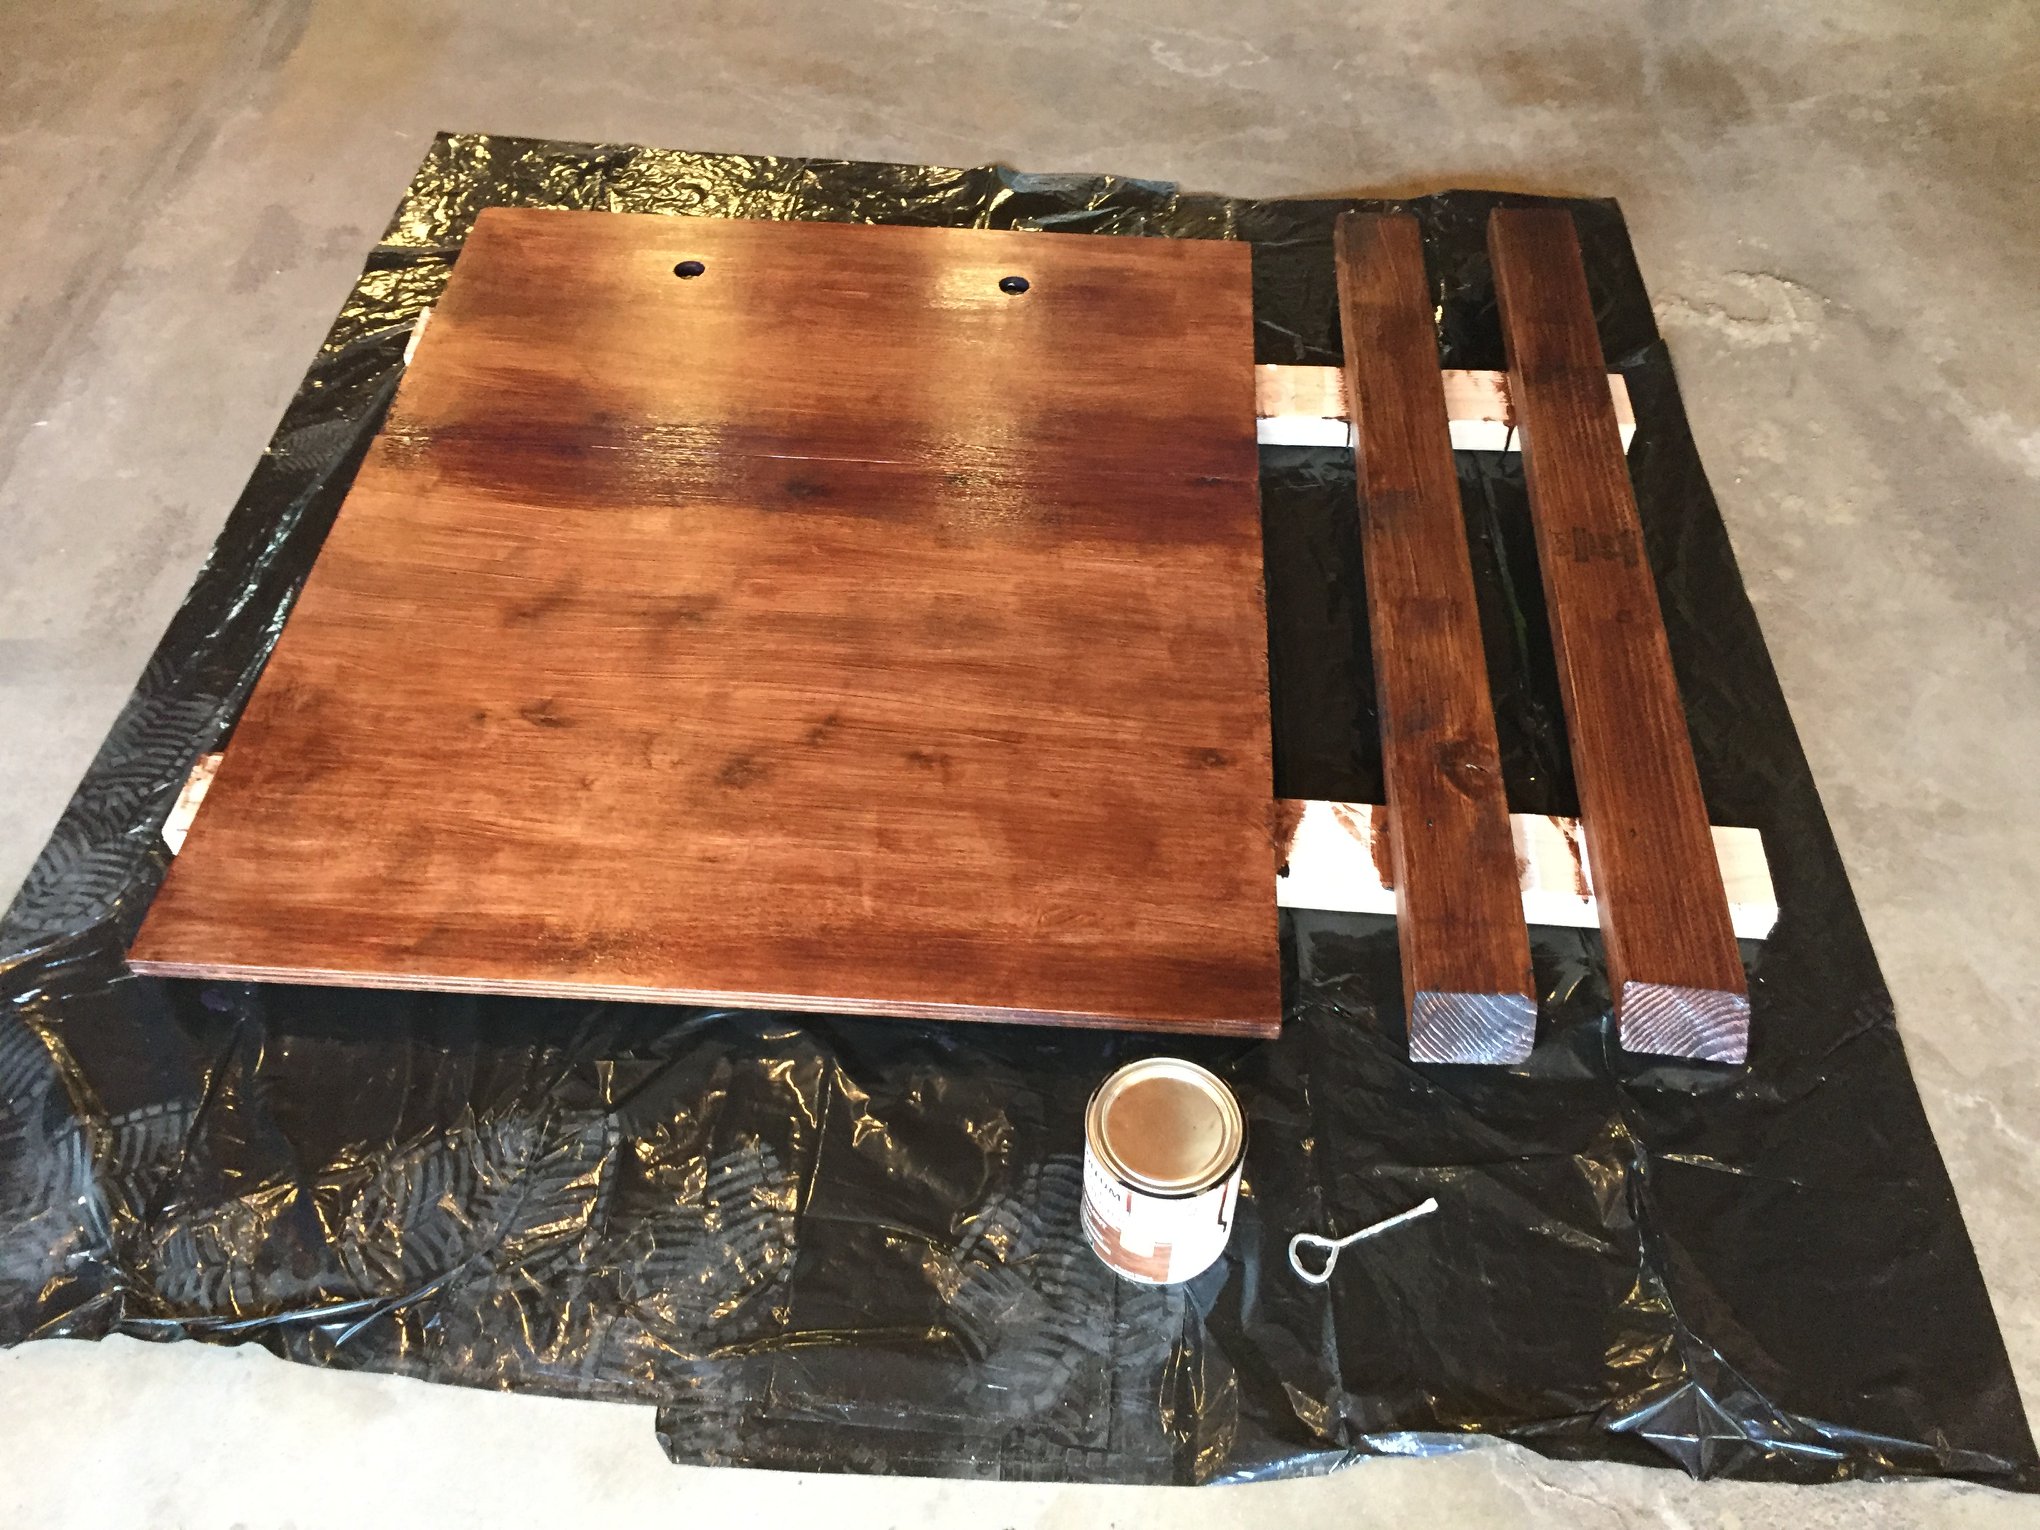
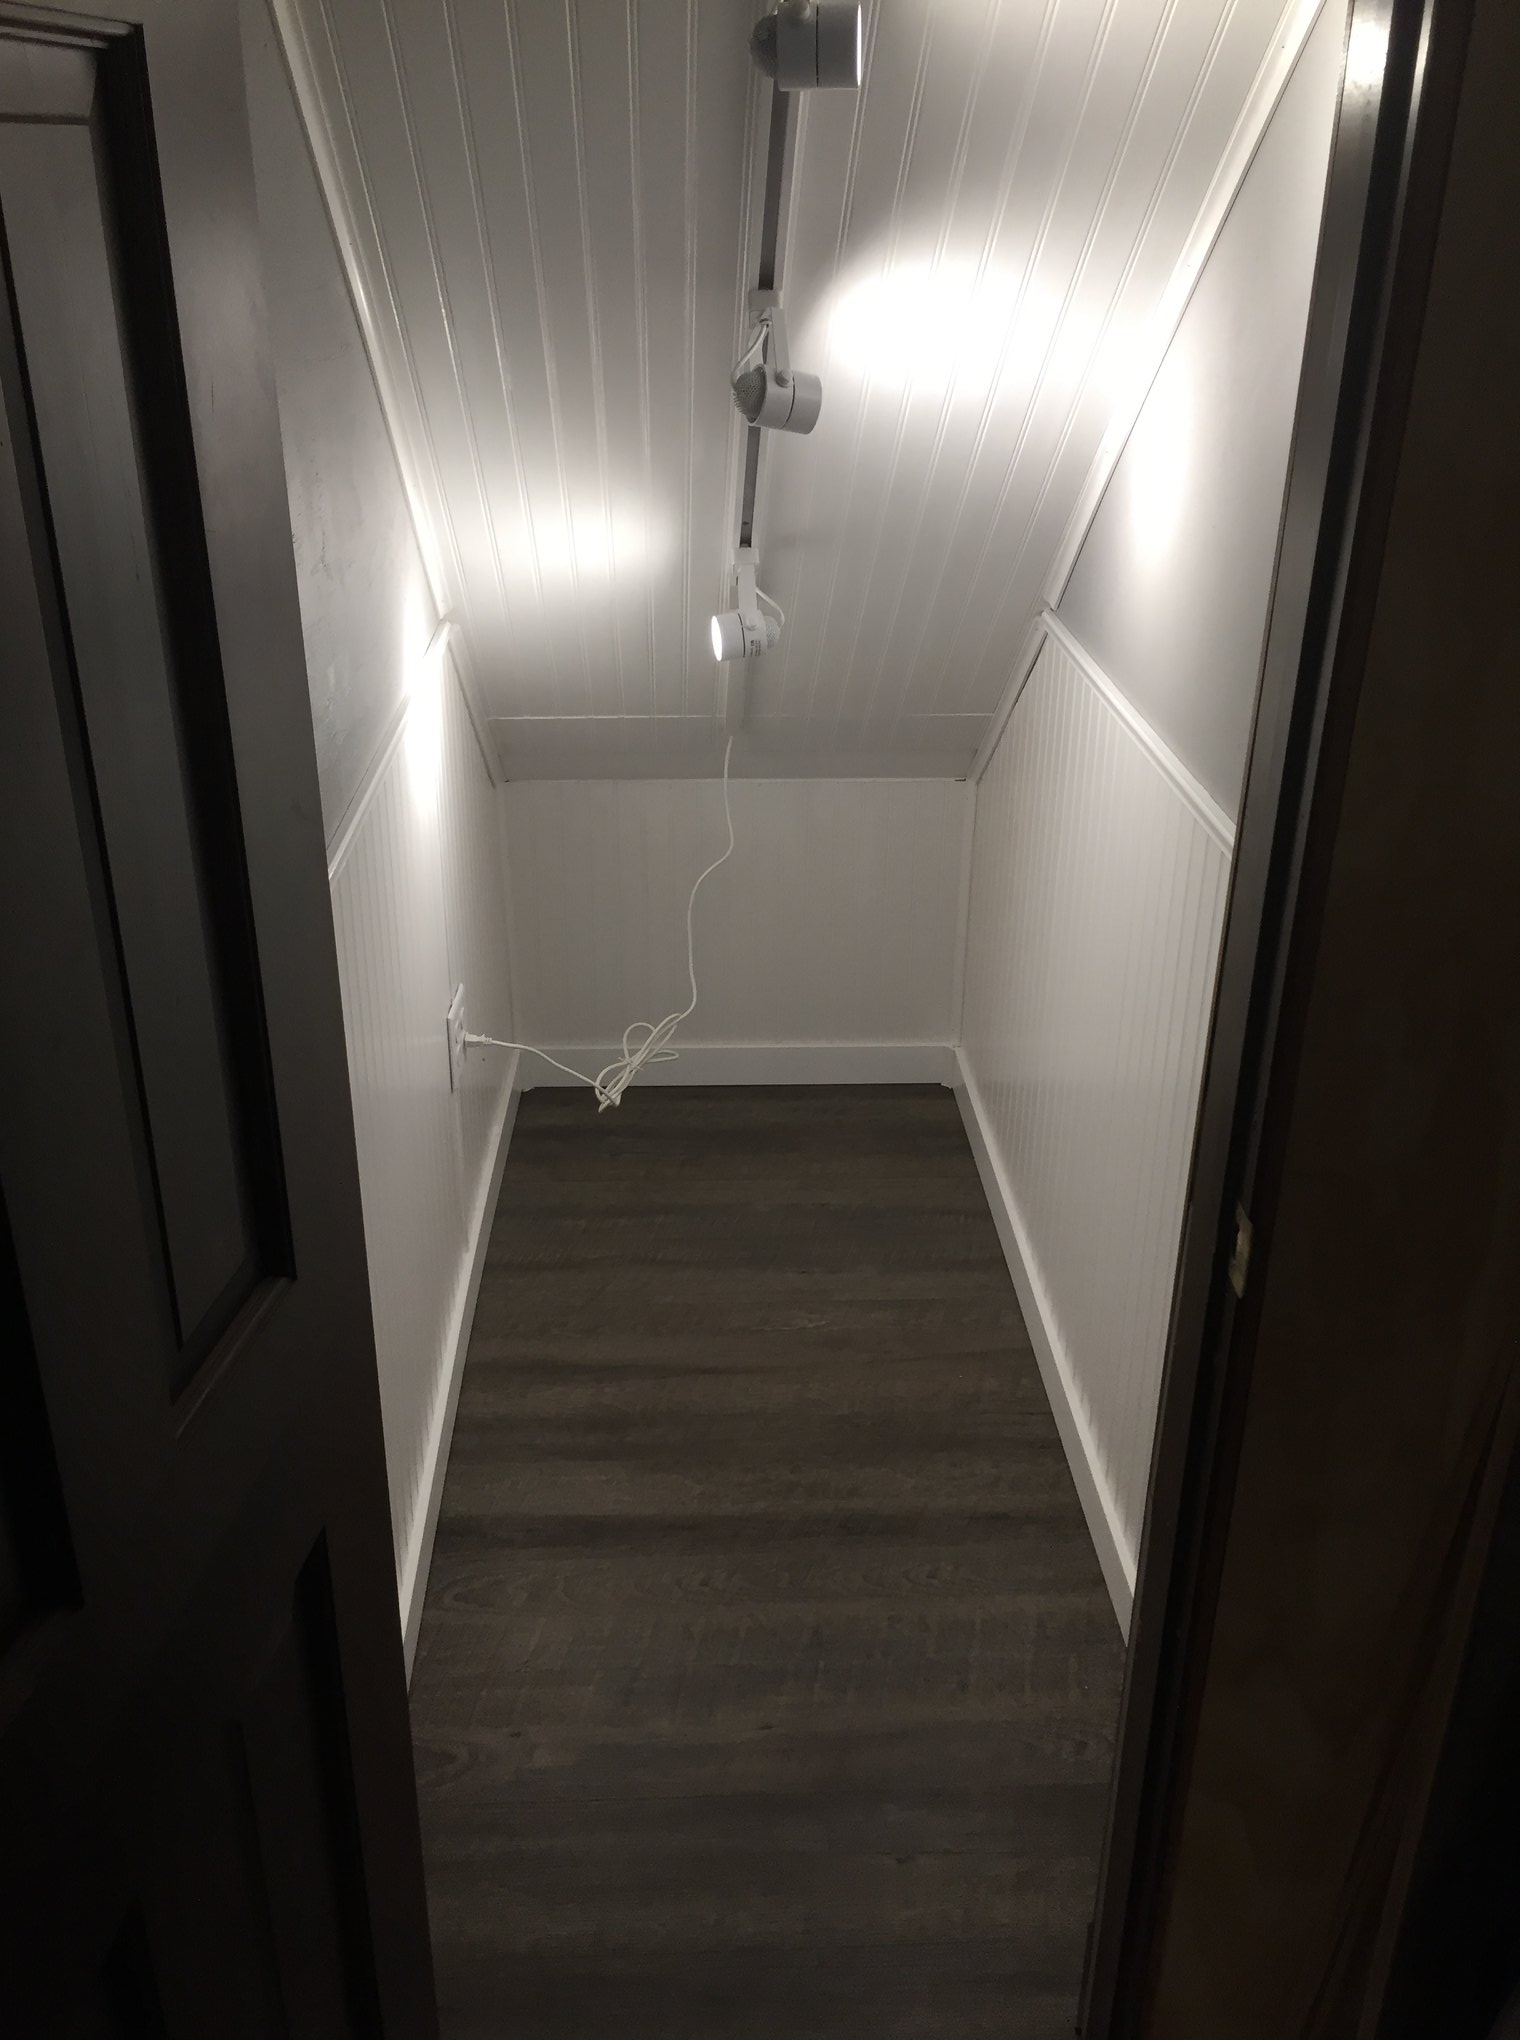
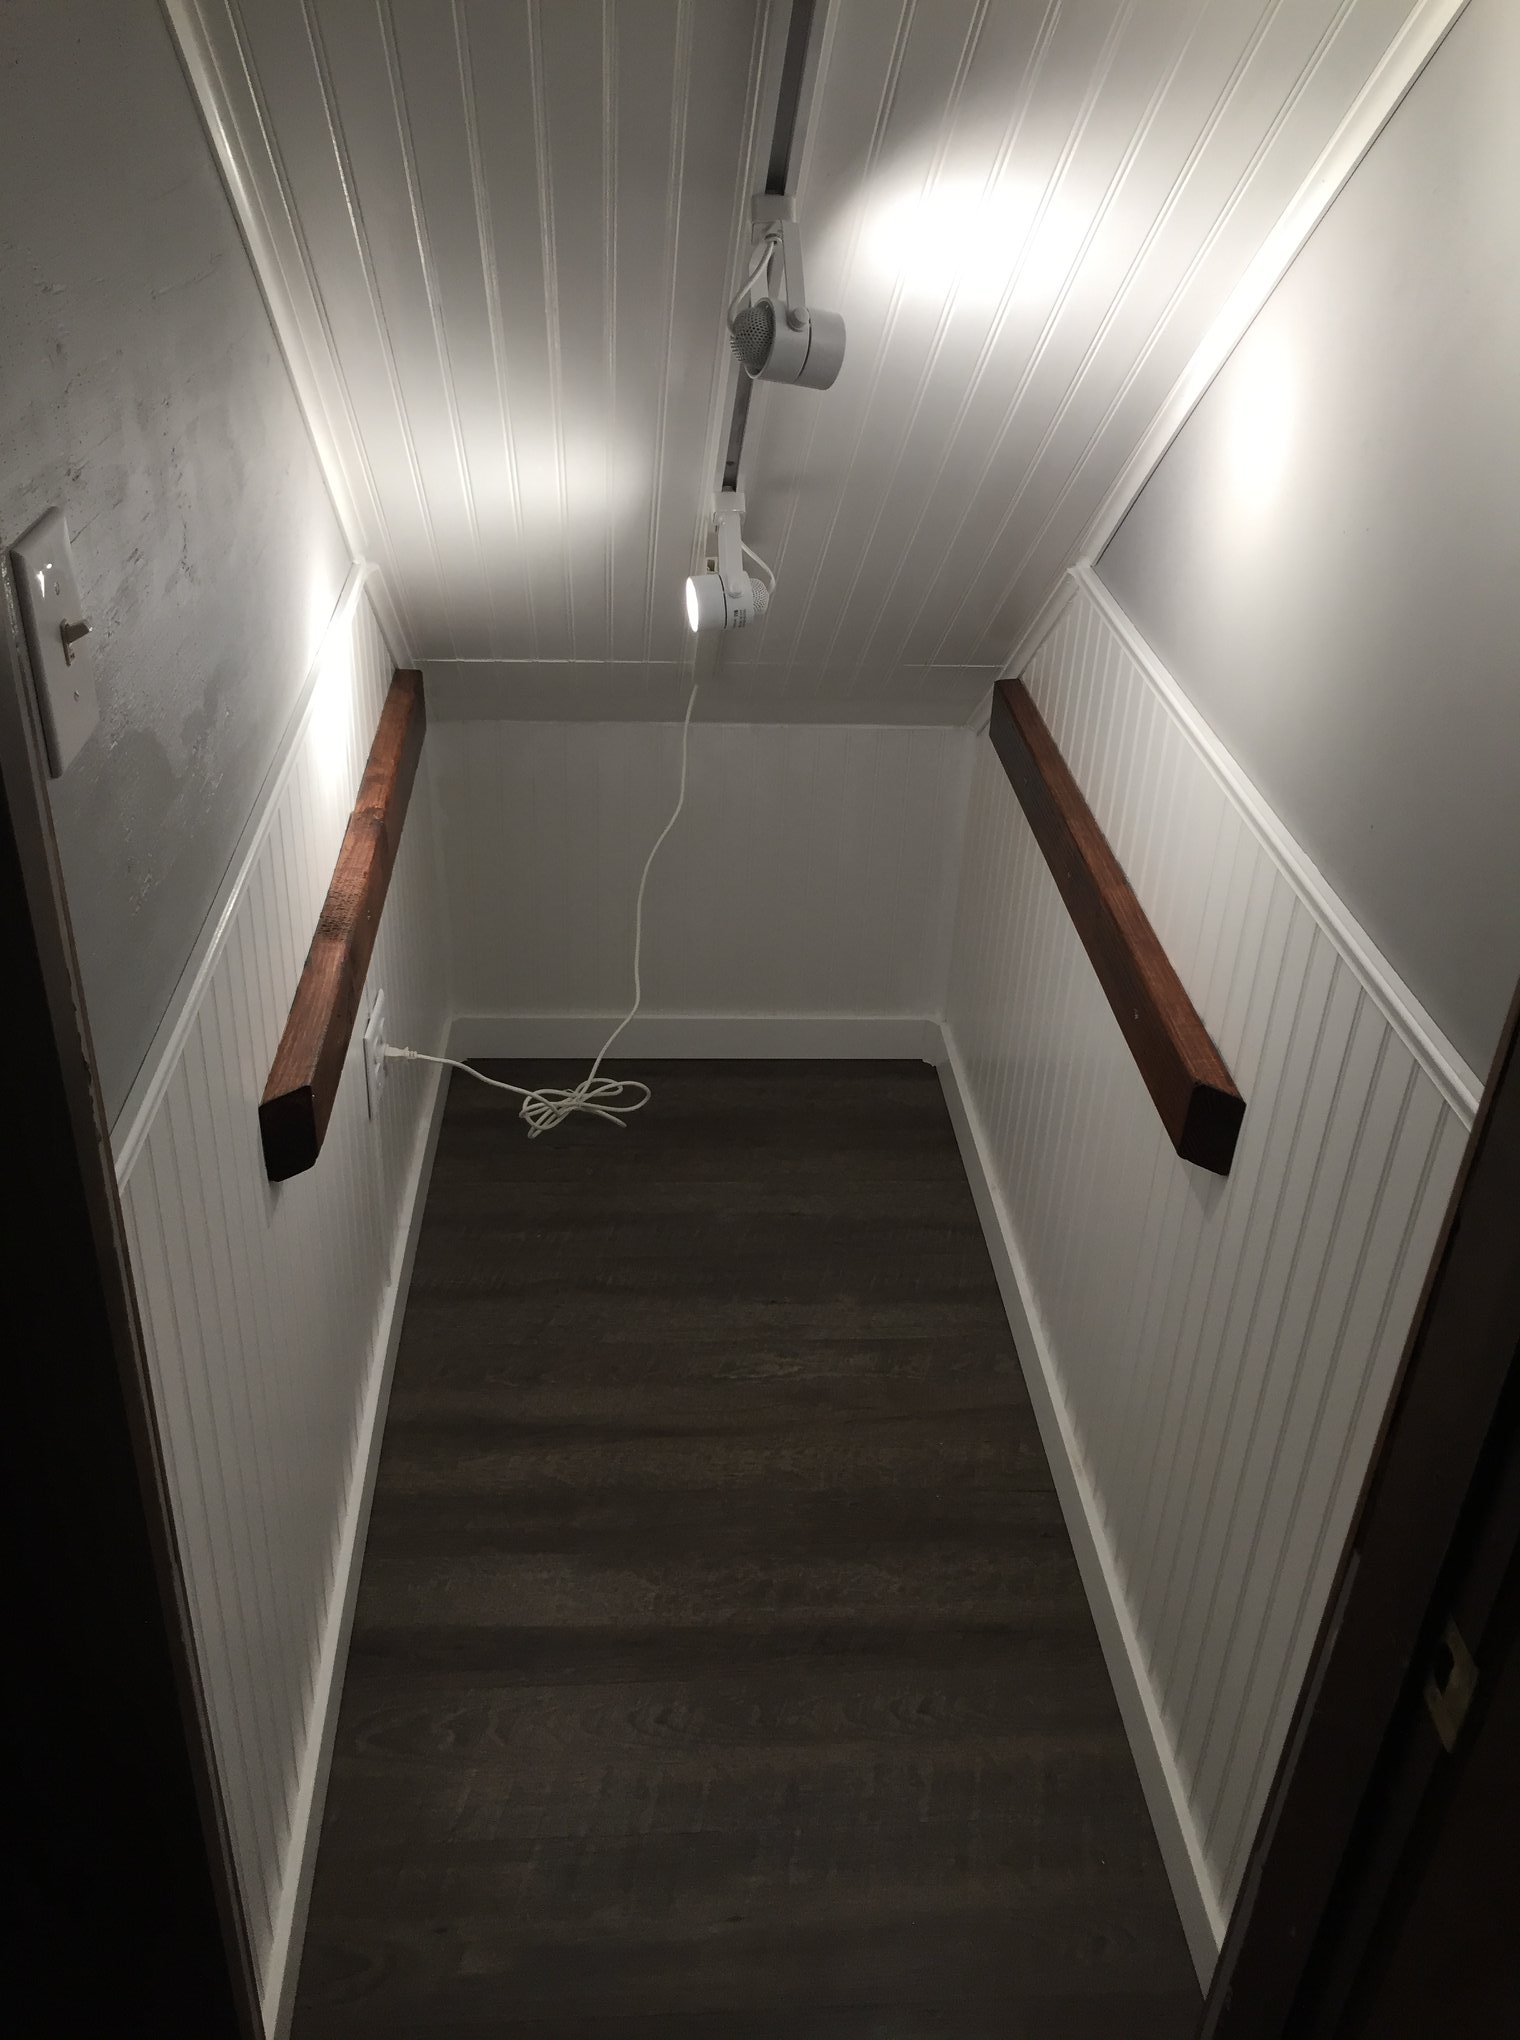
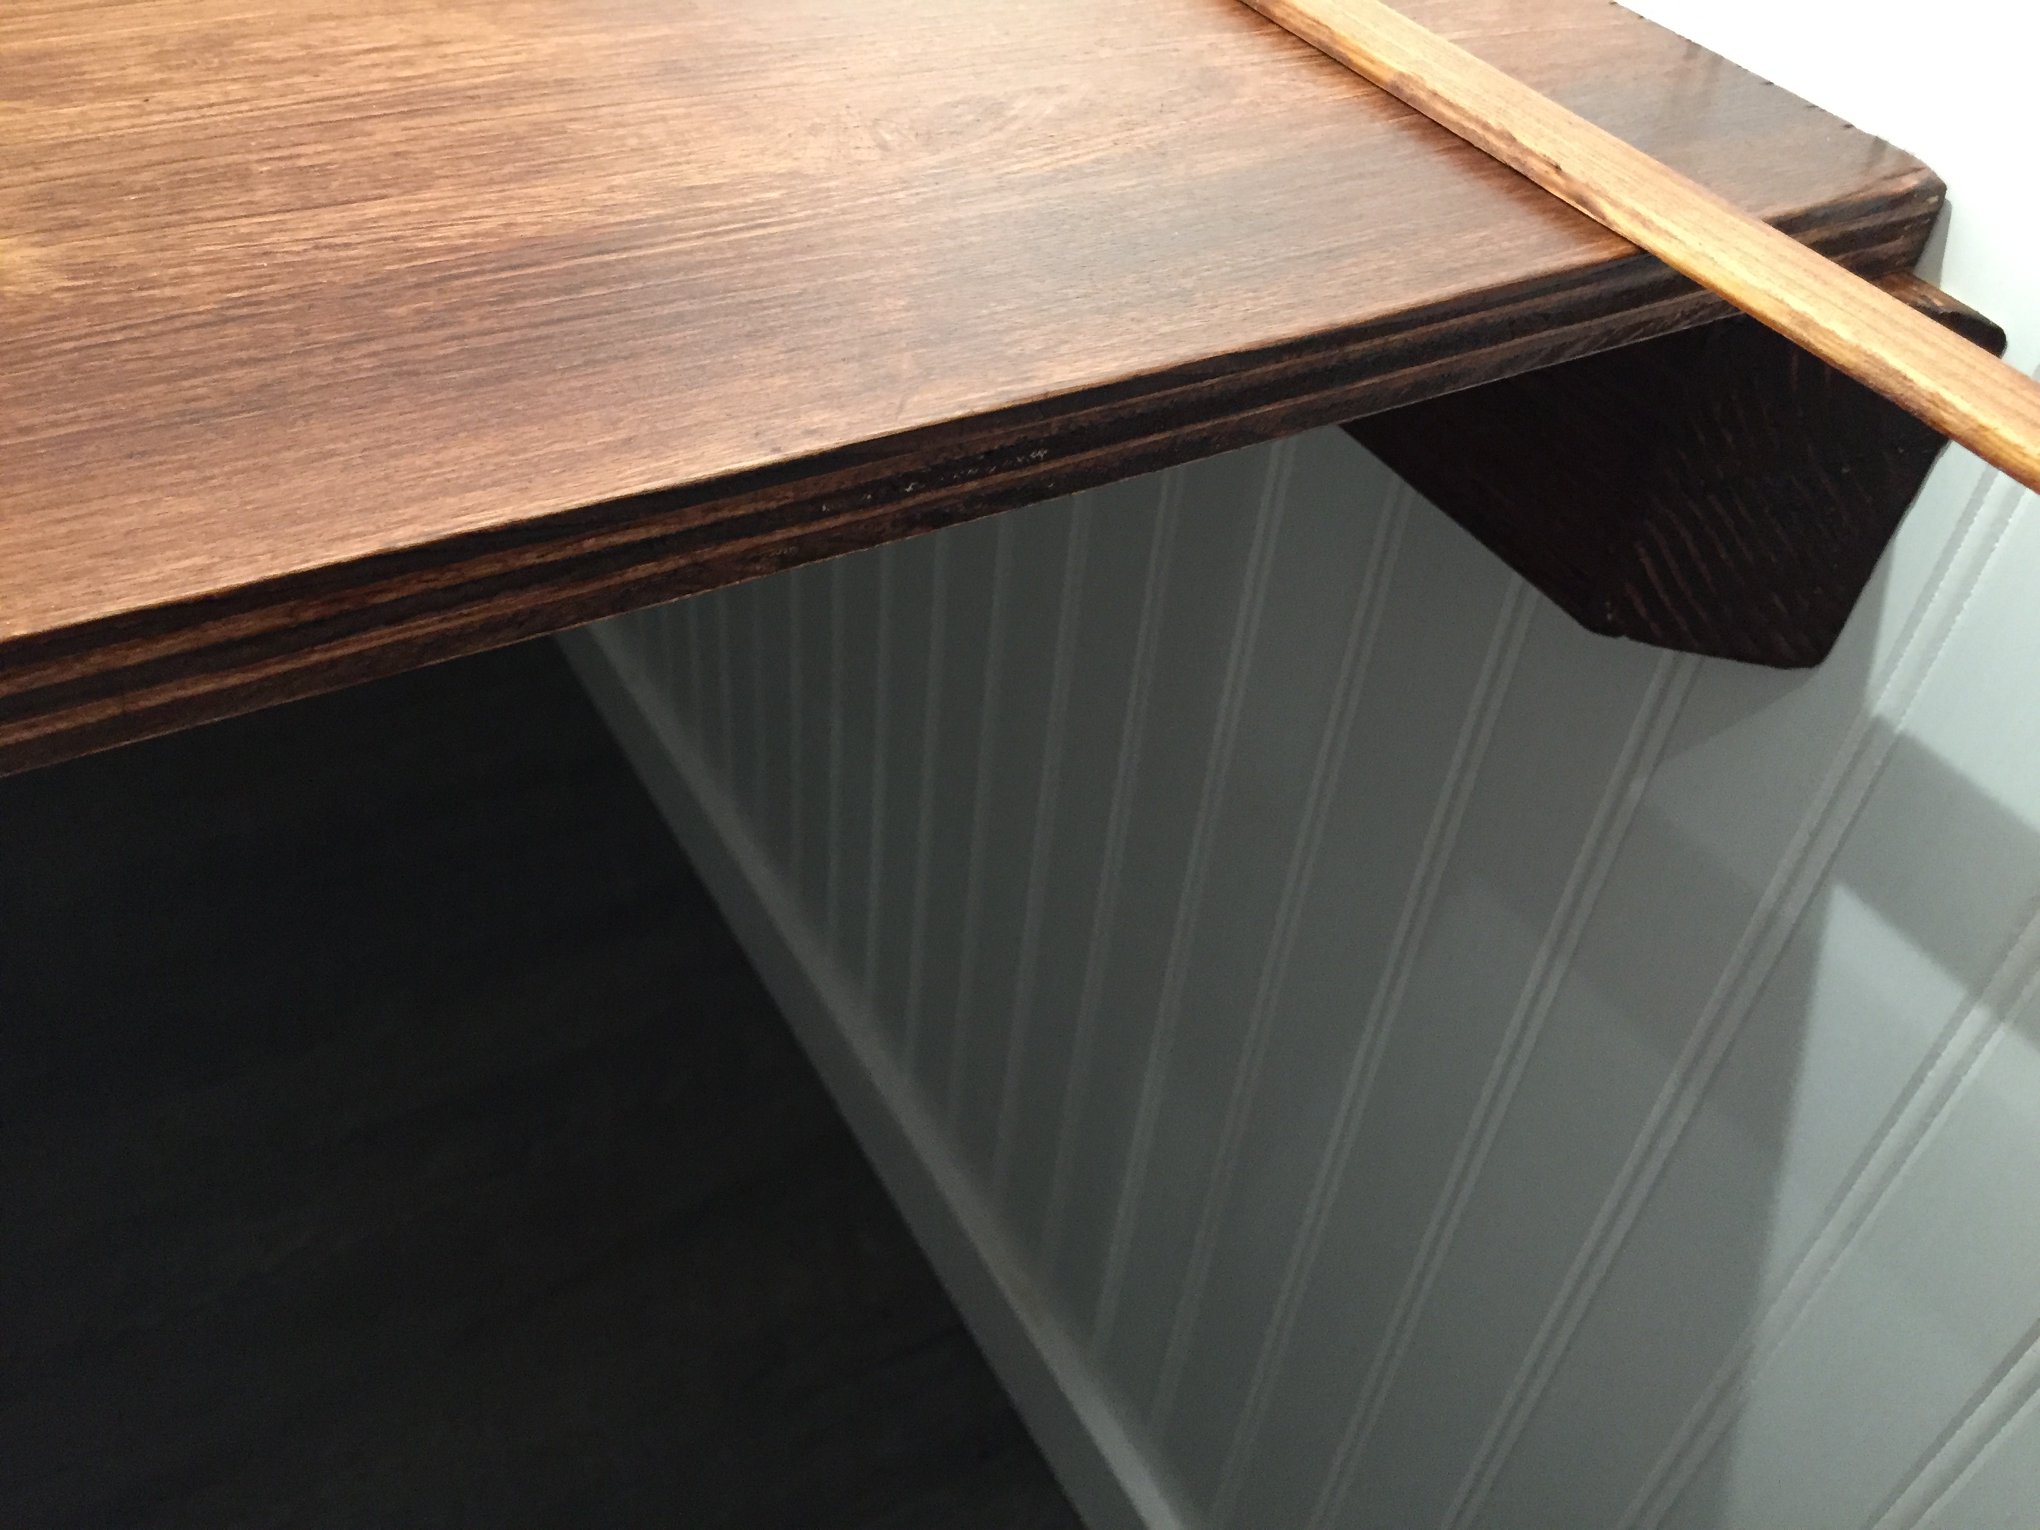
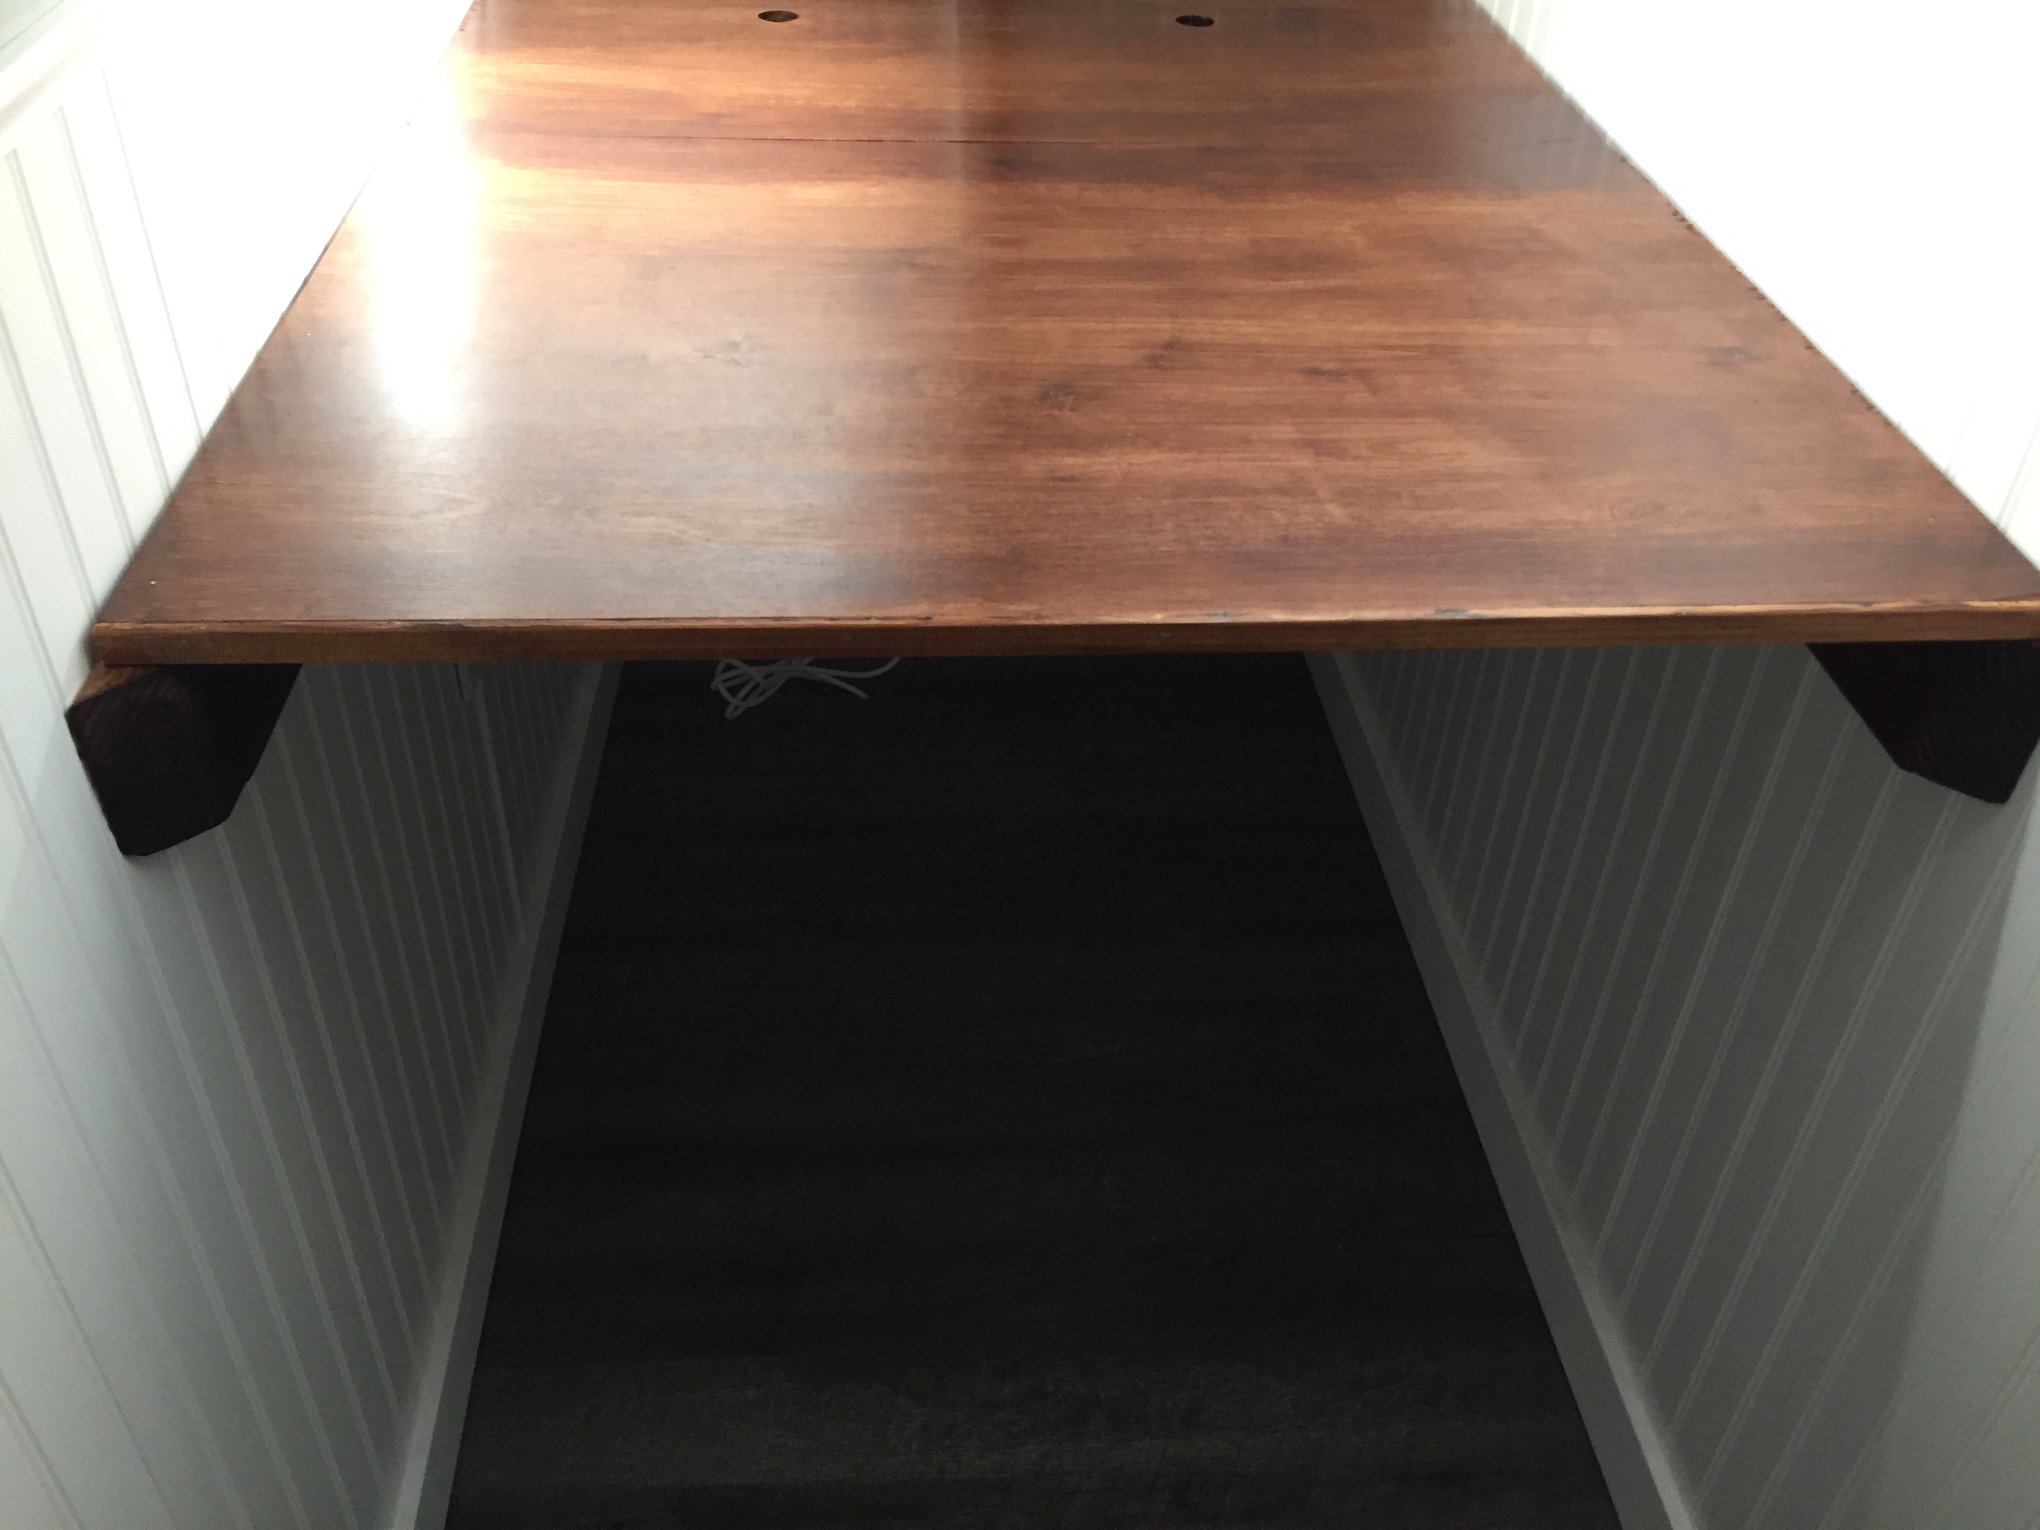
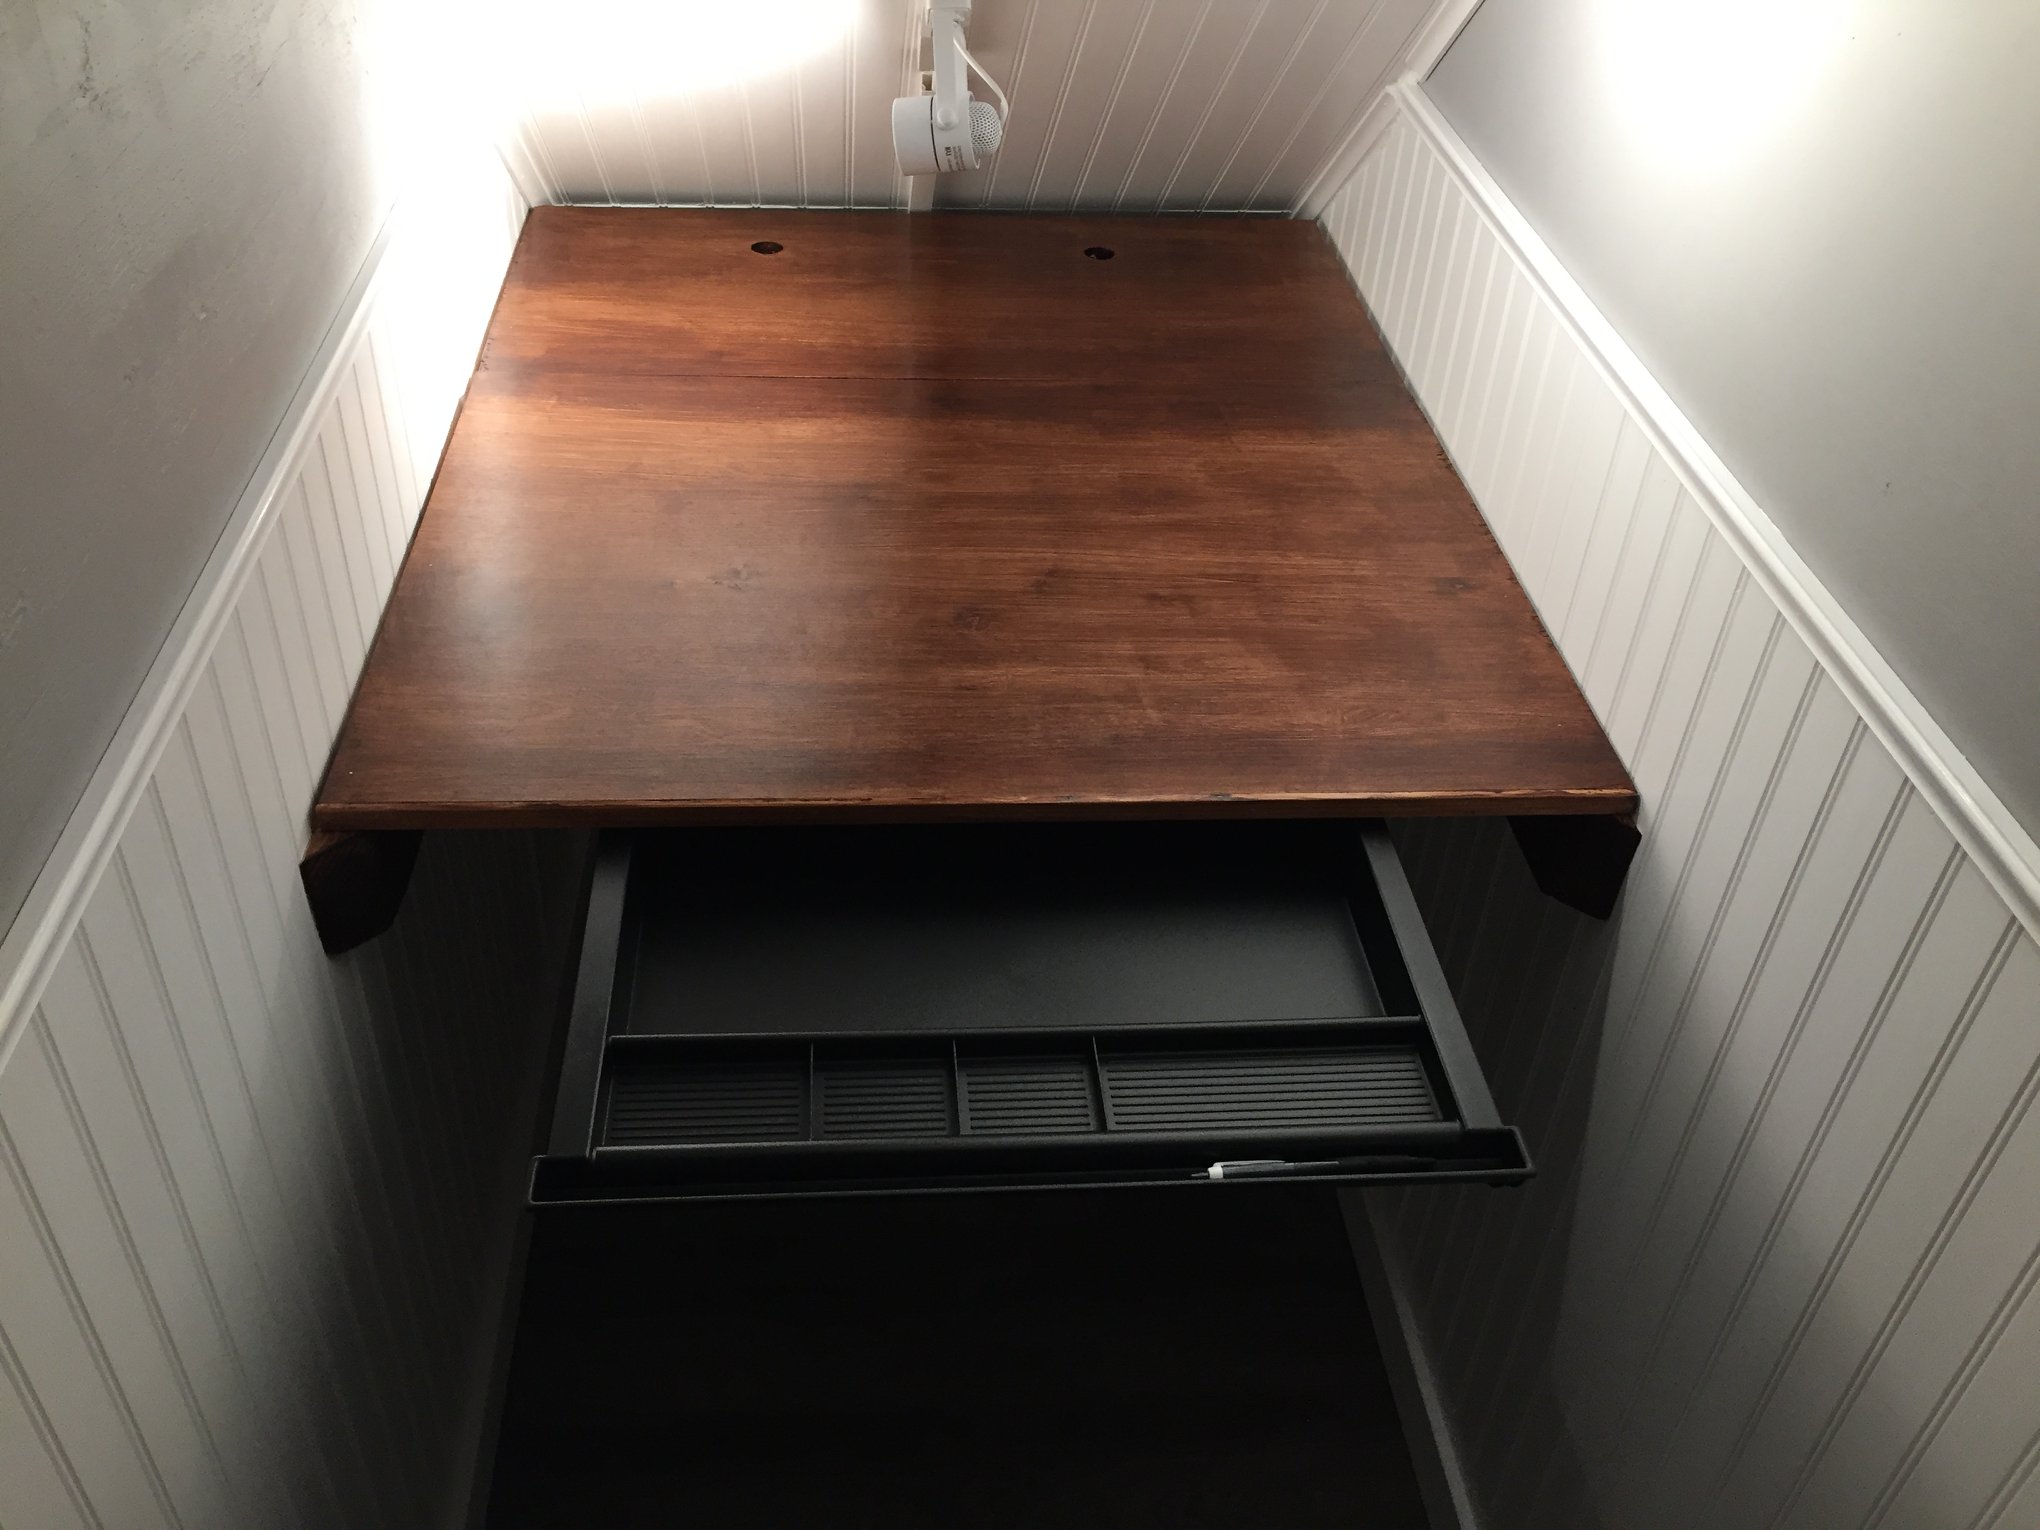
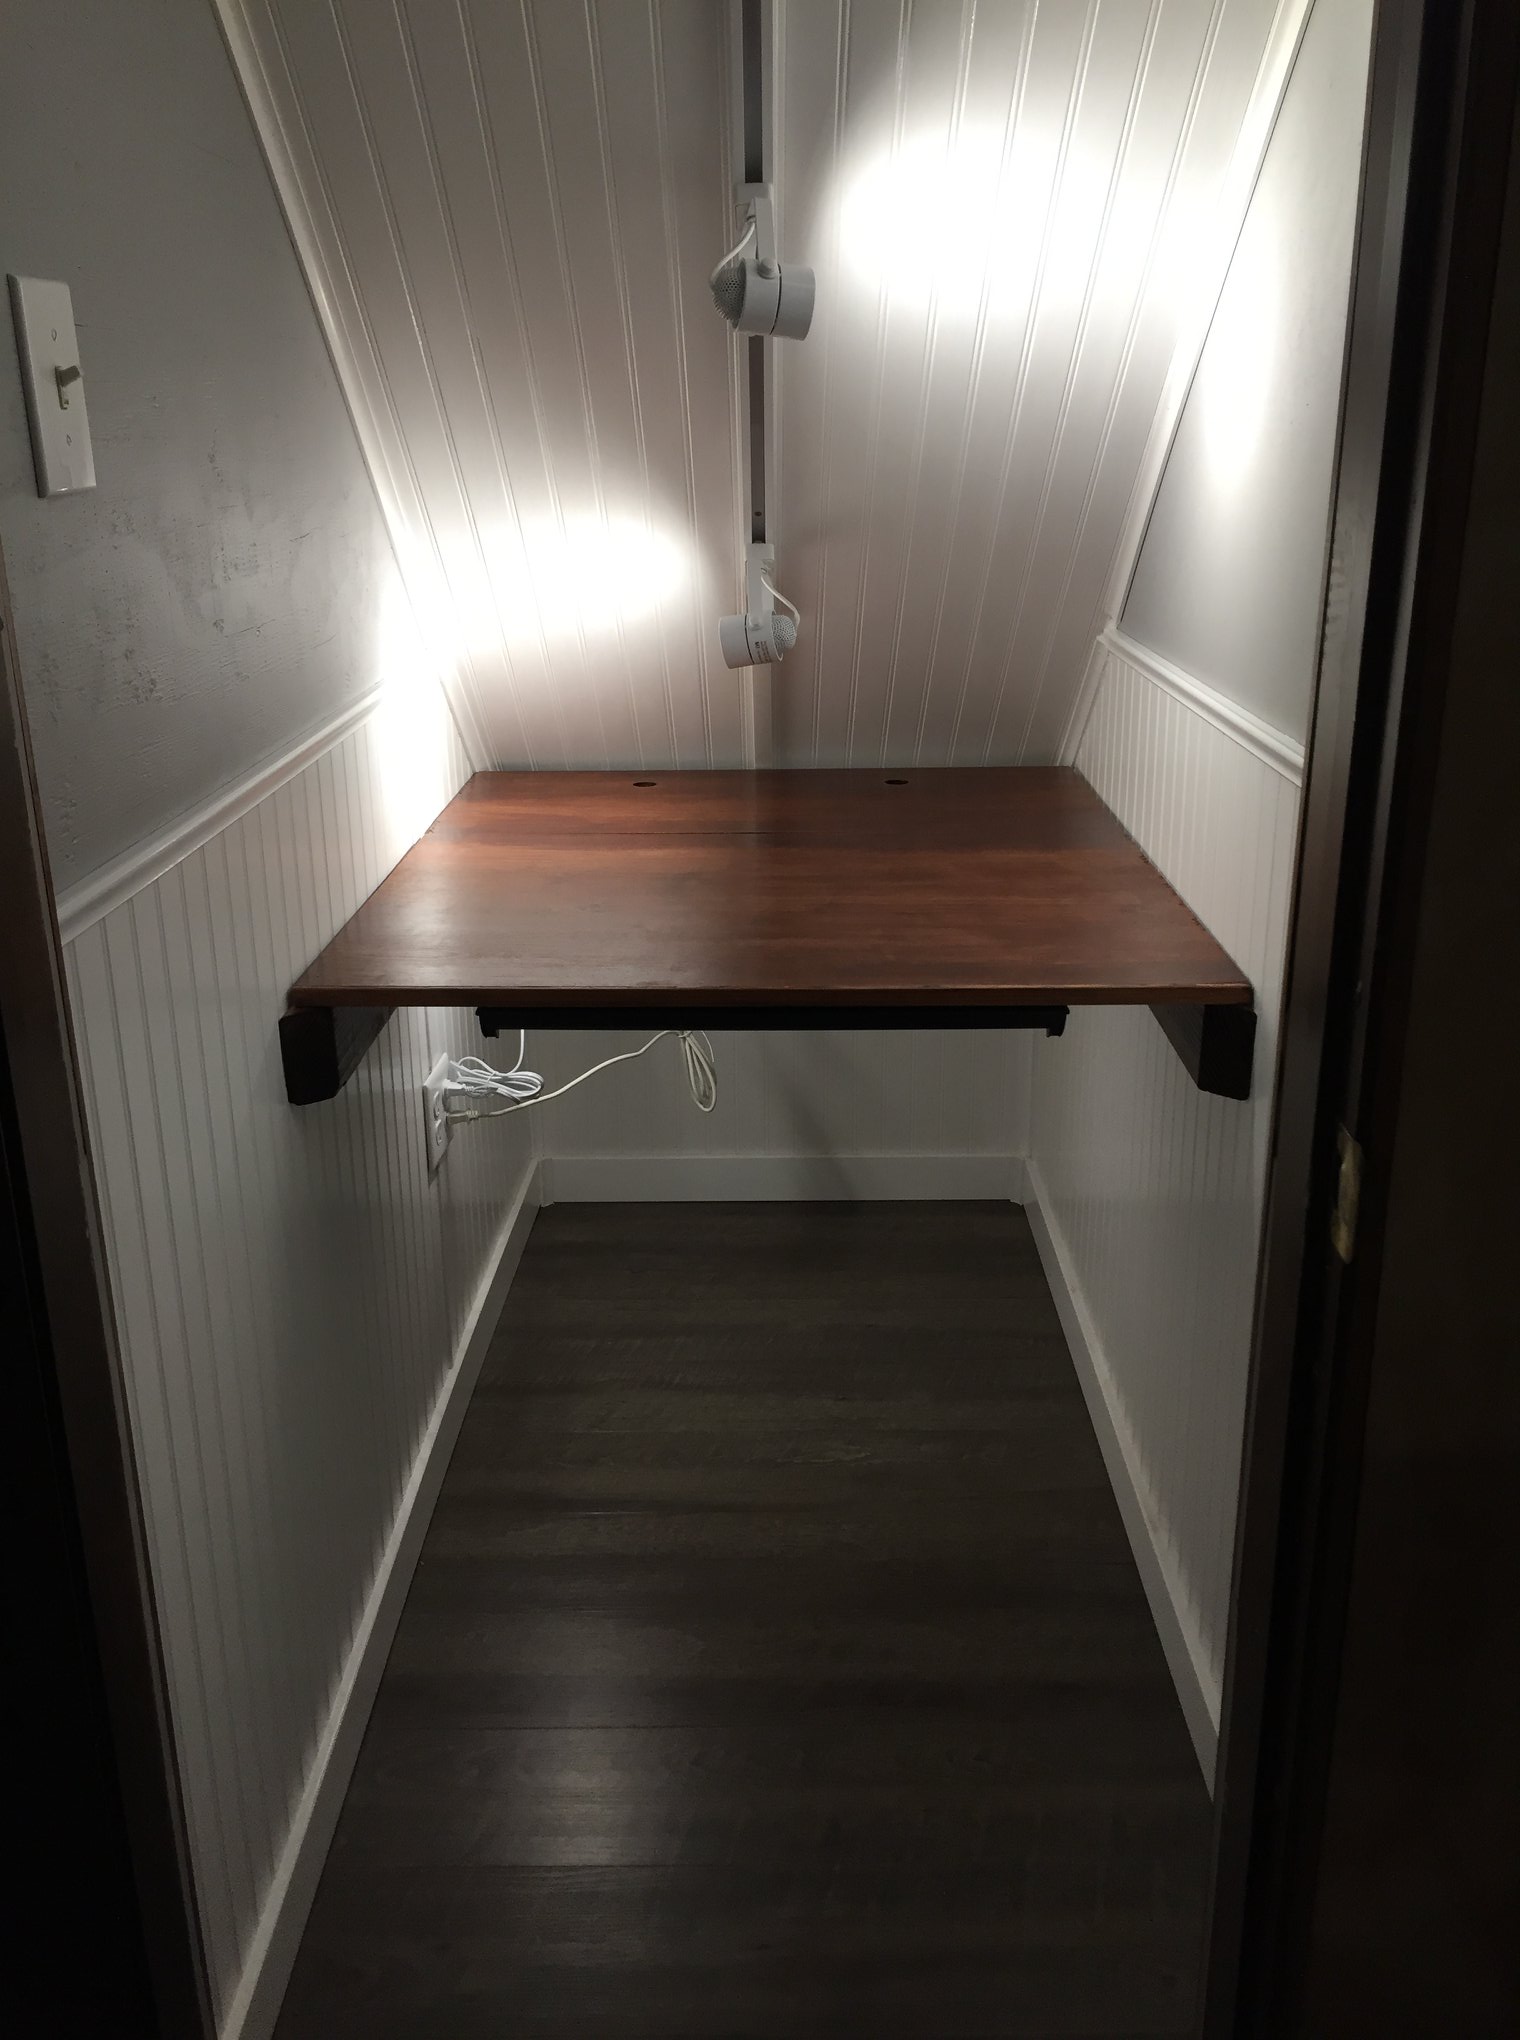
The starting point was in an unfinished section of our basement. It had electricity on the left wall and bare concrete on the right.First, I drew a line to continue the wall straight across the floor.Next, I attached some 2x4s to the underside of the stairsI made sure to mark on the wall where each of the 2x4s was located.Then, I attached some plywood to the 2x4s.I found a cheap used 24″ door at a used hardware store, and framed out the rest of the wall using tapcon screws to connect to the cement.I attached some treated 1x4s to the cement walls as a very thin frame.The thin frame let me keep as much of the room as space as possible.Next, I attached some beadboard to the ceiling. I also ran a 2×4 across the back of the closet to use for a backstop.Macsen (middle child) helped me put some plywood on the back and right side.I roughly cut the plywood to fit, knowing I’d cover it with trim later.Plywood all the way to the ceiling!Before I could cover the left wall, I had to figure out the electricity.I ran a switch to an outlet for an overhead light, and also made an outlet that was always on (computer, etc)I added some insulation to help with sound and heat. I thought briefly about putting inset shelving between the studs, but the sound deadening from insulation seemed more worthwhile.Then I covered the left wall with plywood.Next I spackled the plywood joints.And then caulked the seams.Next, I painted the top half of the walls gray.I added a plug-in row of track lighting.Next I added some vinyl flooring from Costco.Next, I painted the trim and wainscotting in the garage.I added some walnut stained trim to the door. I’ve always liked florets, so I added those.Next I nailed in the painted baseboards with brads.And then attached wainscotting.Installing the baseboards made the floor edges look good.I built a 36″ x 40″ in desk out of plywood., and stained it with walnut stain.Finally, I caulked and applied touchup paint.Next, I added railings for the desk to sit on.The edge of the plywood desk was rough, so I also stained an edge piece of oak.I attached the oak edge piece.I next added a pull out drawer to the bottom of the desk.All done! The desk is big enough for a 27″ in monitor and speakers, and deep enough for a UPS and computer behind. I’ll use the space below for storage.The space with a computer set up and some art on the walls! Could still use some cord control.
If you do a similar project in your home, I’d love to see pictures in the comments below!
8 thoughts on “Building an Under-Stair Cloffice (Closet Office)”
Evan – awesome “Cloffice”/Harry Potter Office — I was just thinking though since the desk was deep enough could have split the depth and put the front on standing desk legs to move up or down — the back would have been a problem hitting the sloped stairwell/ceiling – but would the front have cleared if raised? Can’t tell from the photo — but love it! I love efficient space utilization – tiny houses, the small Mercedes RV conversions. Very cool!!
I have a similar space in my house. Do i need to attach plywood under the stairs and to the walls first, or can i just attach the bead board directly to the frames you built on the walls or to the 2x4s on the underside of the stairs? Great project
Great question! I think both approaches would work, but I wanted to make it as sturdy as possible so that the cloffice ceiling wouldn’t fall on me when my kids run up the stairs! Stairs should be pretty solid, but they will potentially move some. So, I ended up mounting the ceiling to the bottom of the stairs and then joining it to the walls loosely using moulding. Framing it from the bottom walls would work, too, but might reduce the usable space.


Evan – awesome “Cloffice”/Harry Potter Office — I was just thinking though since the desk was deep enough could have split the depth and put the front on standing desk legs to move up or down — the back would have been a problem hitting the sloped stairwell/ceiling – but would the front have cleared if raised? Can’t tell from the photo — but love it! I love efficient space utilization – tiny houses, the small Mercedes RV conversions. Very cool!!
You never cease to impress me, Evan!
I have a similar space in my house. Do i need to attach plywood under the stairs and to the walls first, or can i just attach the bead board directly to the frames you built on the walls or to the 2x4s on the underside of the stairs? Great project
Great question! I think both approaches would work, but I wanted to make it as sturdy as possible so that the cloffice ceiling wouldn’t fall on me when my kids run up the stairs! Stairs should be pretty solid, but they will potentially move some. So, I ended up mounting the ceiling to the bottom of the stairs and then joining it to the walls loosely using moulding. Framing it from the bottom walls would work, too, but might reduce the usable space.
How wide is it wall to wall?
34 inches 🙂
About how many hours and how many $ would you estimate you invested?
It took a few days because of the painting (and letting the paint dry!). I think it probably cost in the $400 – $800 range.